3D Printing an Aerobar Armrest Riser
Tech Blog
June 2, 2024 • ☕️ 4 min read
This weekend, I experimented with installing aerobars on my gravel bike in preparation for the Warta Gravel, an ultra-endurance race starting in my hometown, Poznań. Given the mostly flat profile of the route, aerodynamics is crucial. Aerobars can help achieve a more comfortable and efficient riding position. However, I realized that my aerobars were too low, preventing me from maintaining the proper position on the bike.
Fortunately, my very good friends at Hazay Bikes are engineers and designers with access to a 3D printer. They suggested I design and print a custom riser for the armrests. Although I had never done any CAD design or 3D printing before, I was very excited to give it a try.
In this post, I’m sharing yet another cool weekend project!
Designing a 3D model
Measurements
I have basic Aptonia Aerobars from Decathlon, which have a straightforward mounting system. The armrest is attached to the bar with two screws. I unscrewed the original riser and took the measurements.

My aerobars have armrests with a base of 5x5 cm, and 9 mounting holes (6mm wide) that are evenly spaced 1.5 cm apart. The default mounting screw is M6x10mm. For my starting point, I decided that the riser should be 30mm thick to fit my body geometry.
CAD design
I used Autodesk Fusion 360 software to design the riser. There is a free version for non-commercial use. I had no idea how to use it, but ChatGPT’s voice mode guided me through the entire design process without needing to Google anything (crazy times to be alive!).
The process was straightforward: you start with a 2D sketch on a chosen plane with precise measurements, then extrude it to 3D. Just like that! You can also play around with other transformations, like adding chamfers to the edges, fillets to the corners, or drafts to planar surfaces to make it look cool.
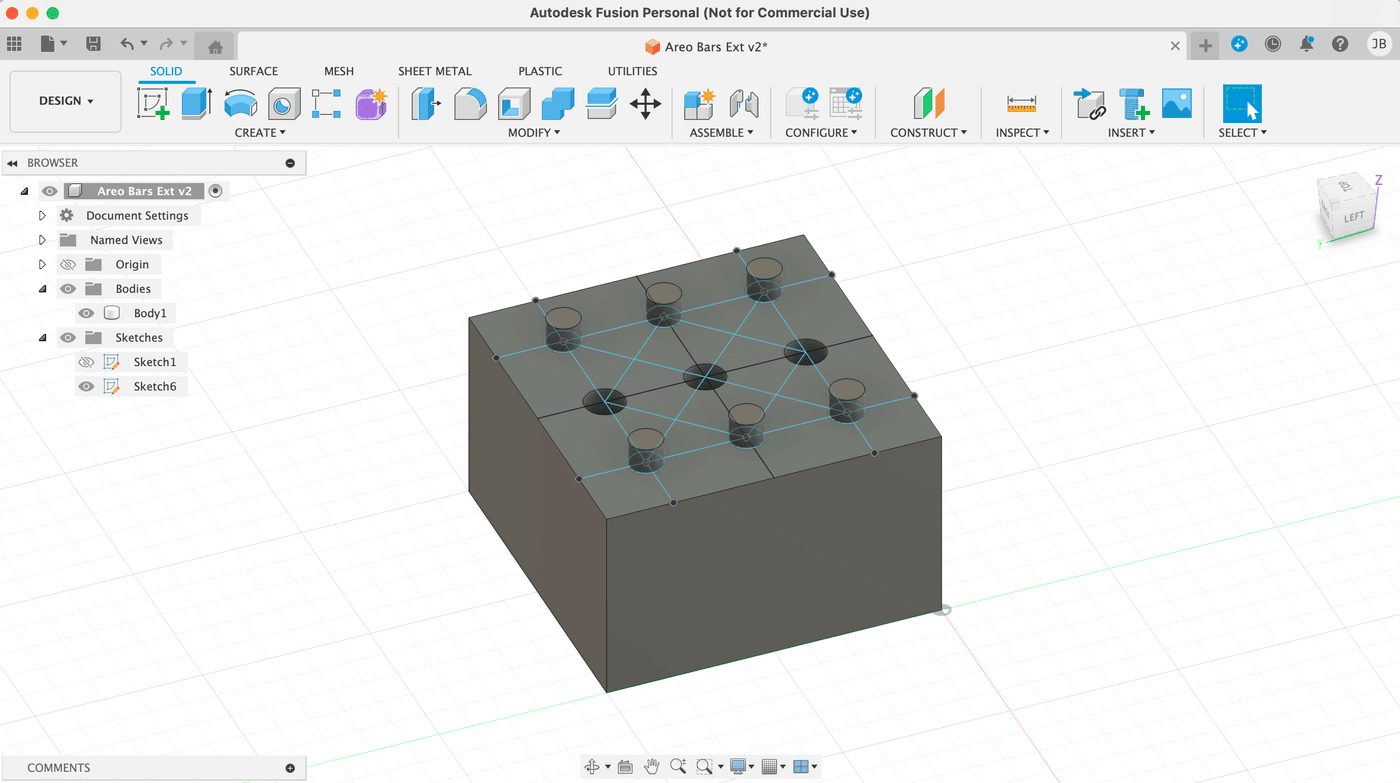
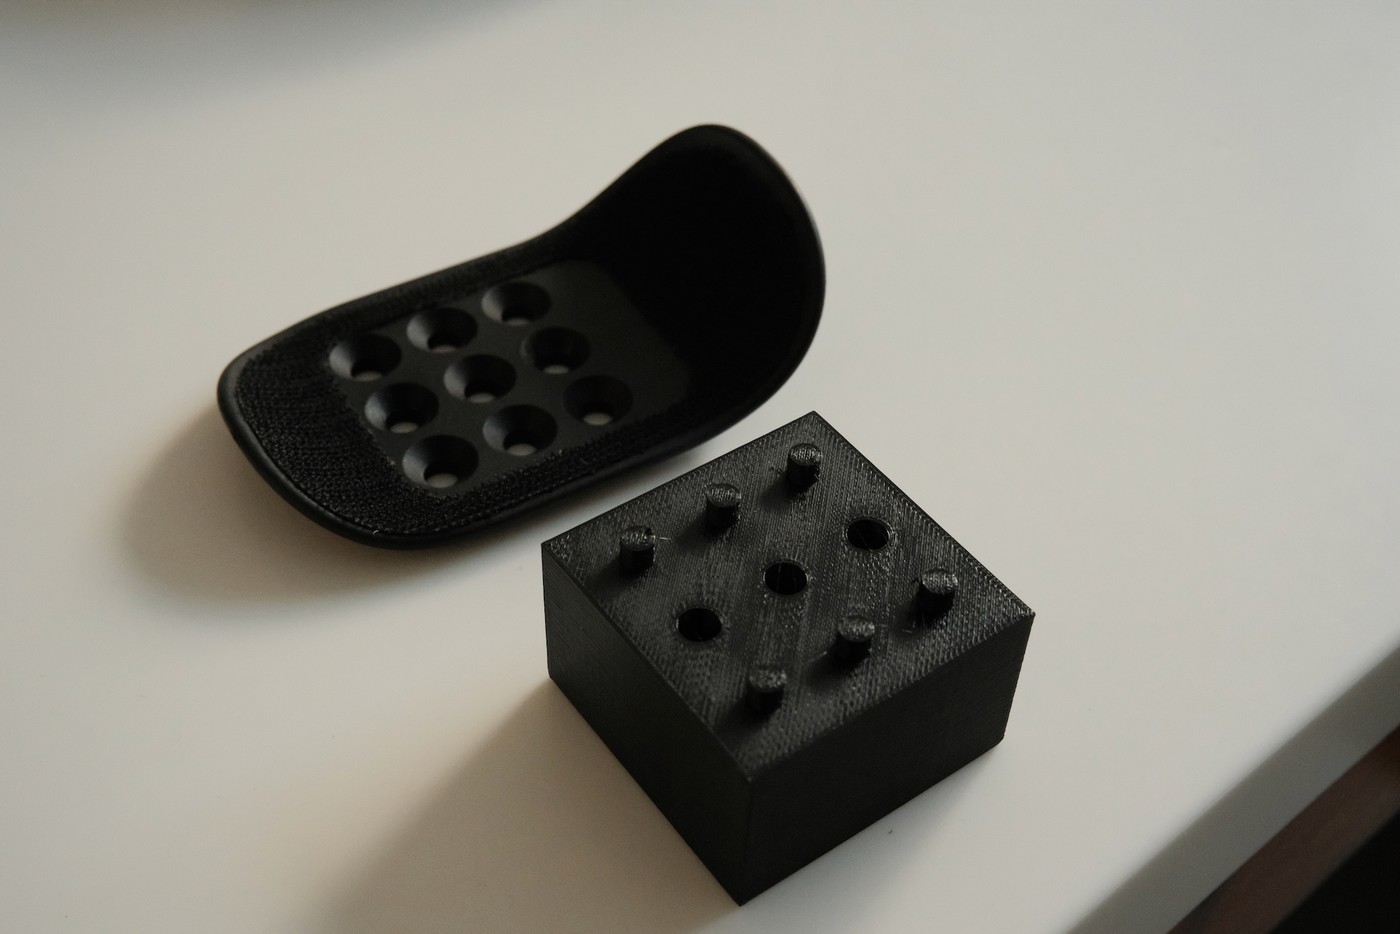
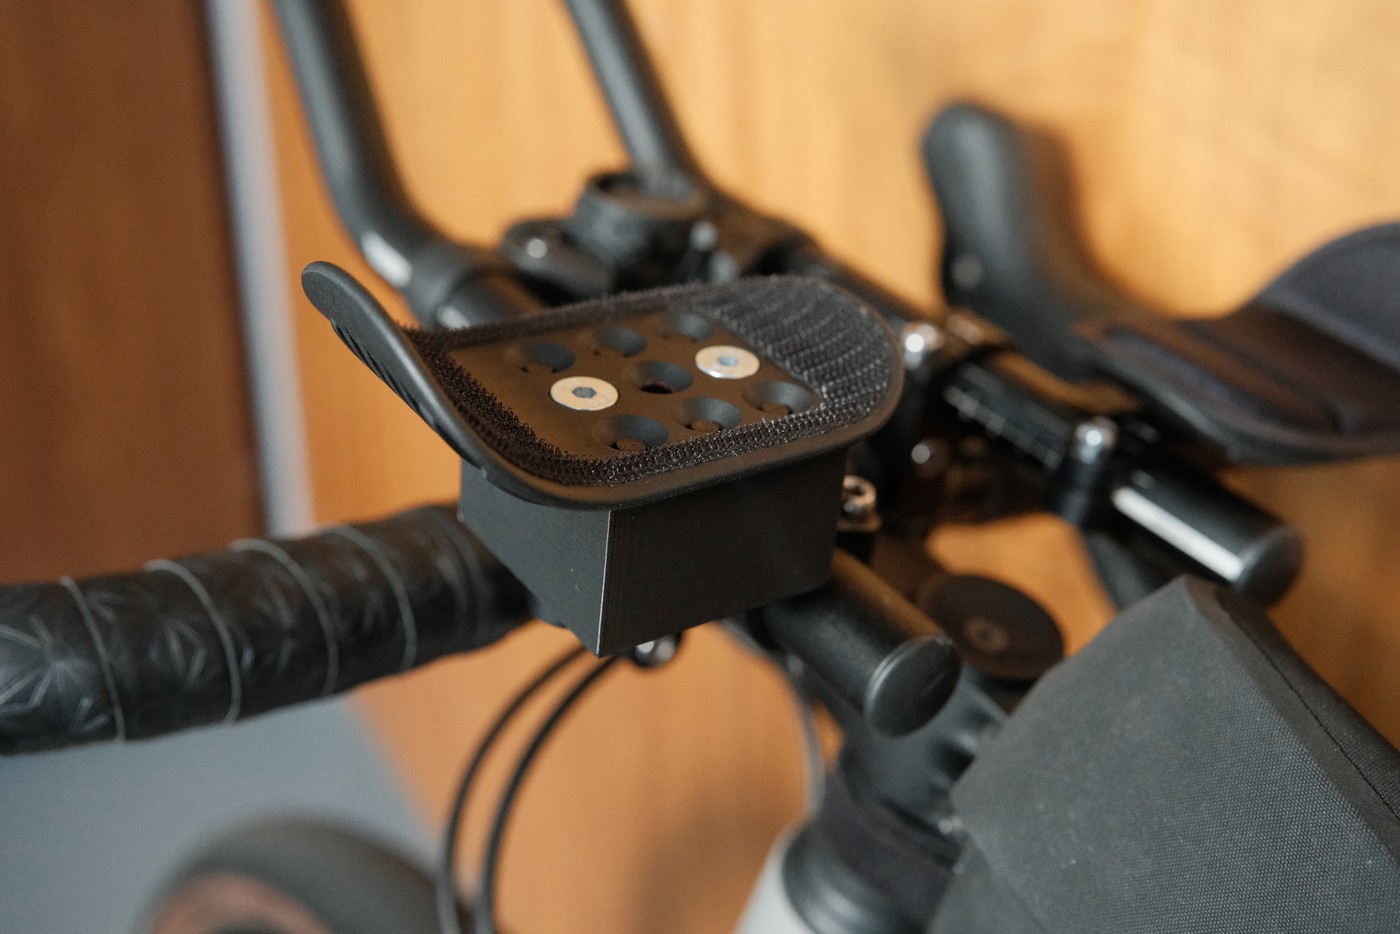
The riser had a base of 5x5 cm and a height of 30 mm. It included three holes for mounting screws and six additional guide pins for proper alignment when installing the riser. Here is the initial prototype that was 3D printed and tested:
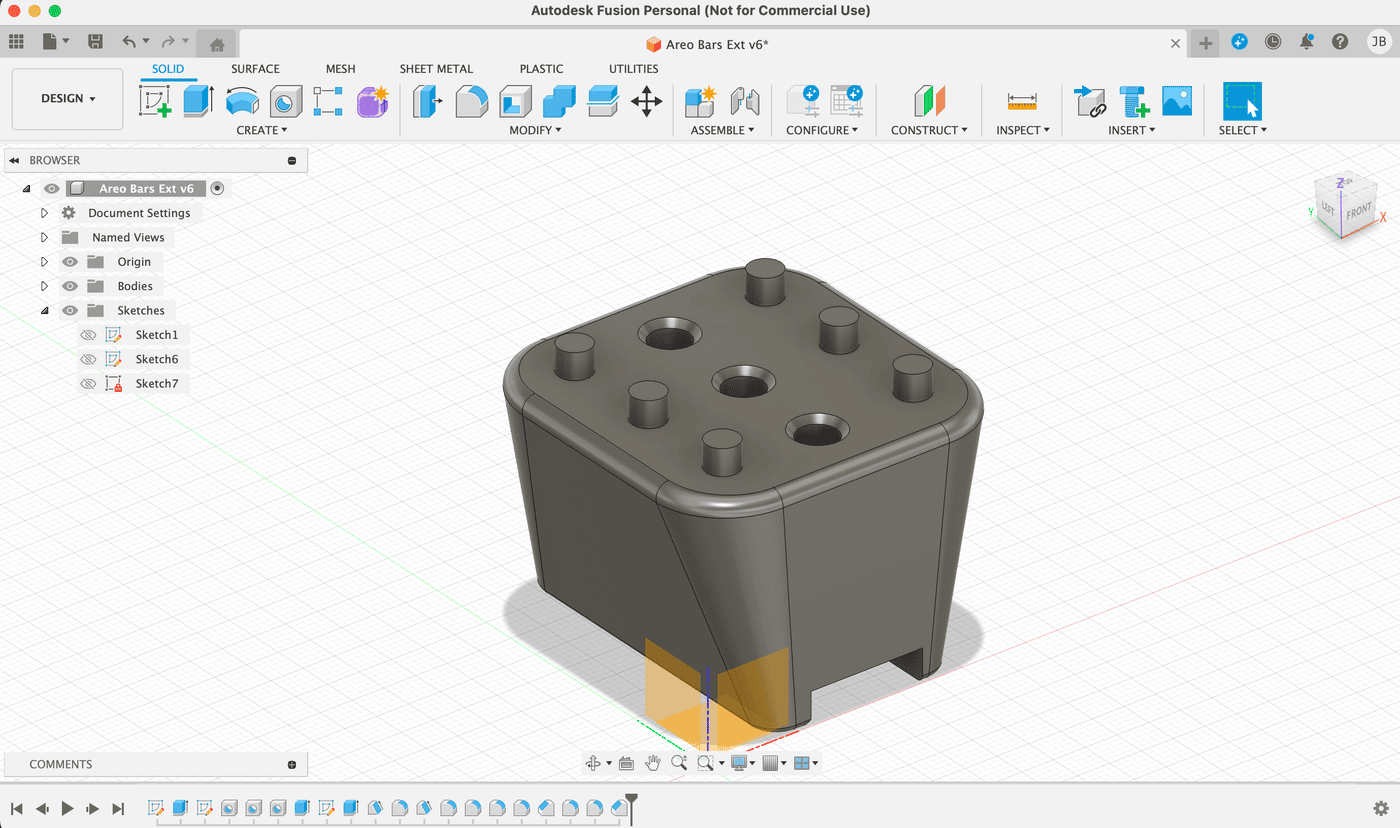
This is the improved, “cool” version that still needs to be tested:
Once I was happy with my work, I exported the model to an STL file, which seems to be a standard file format for 3D printing.
3D Printing
Slicing
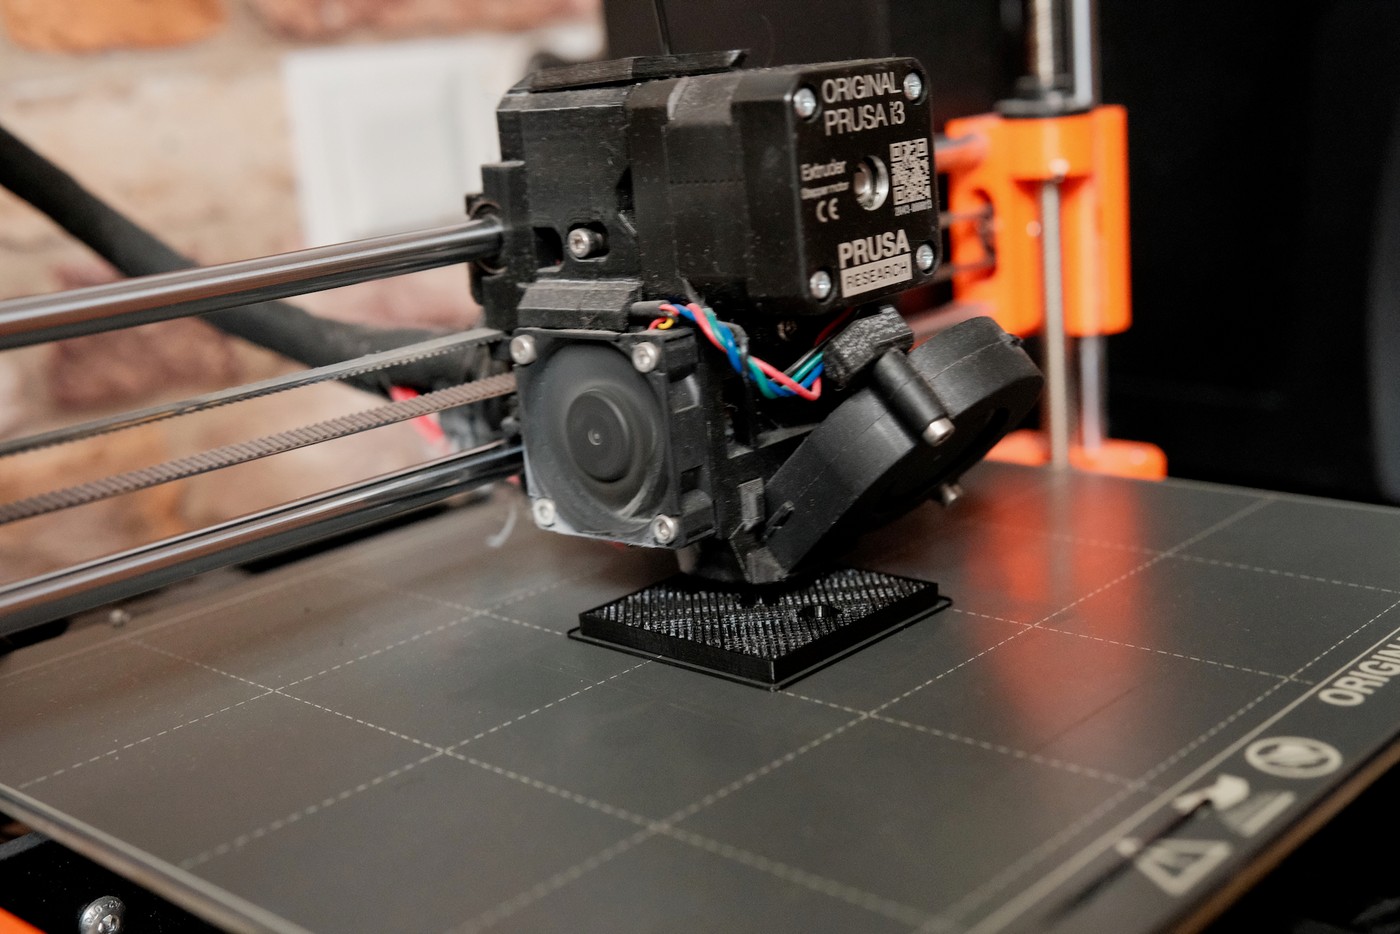
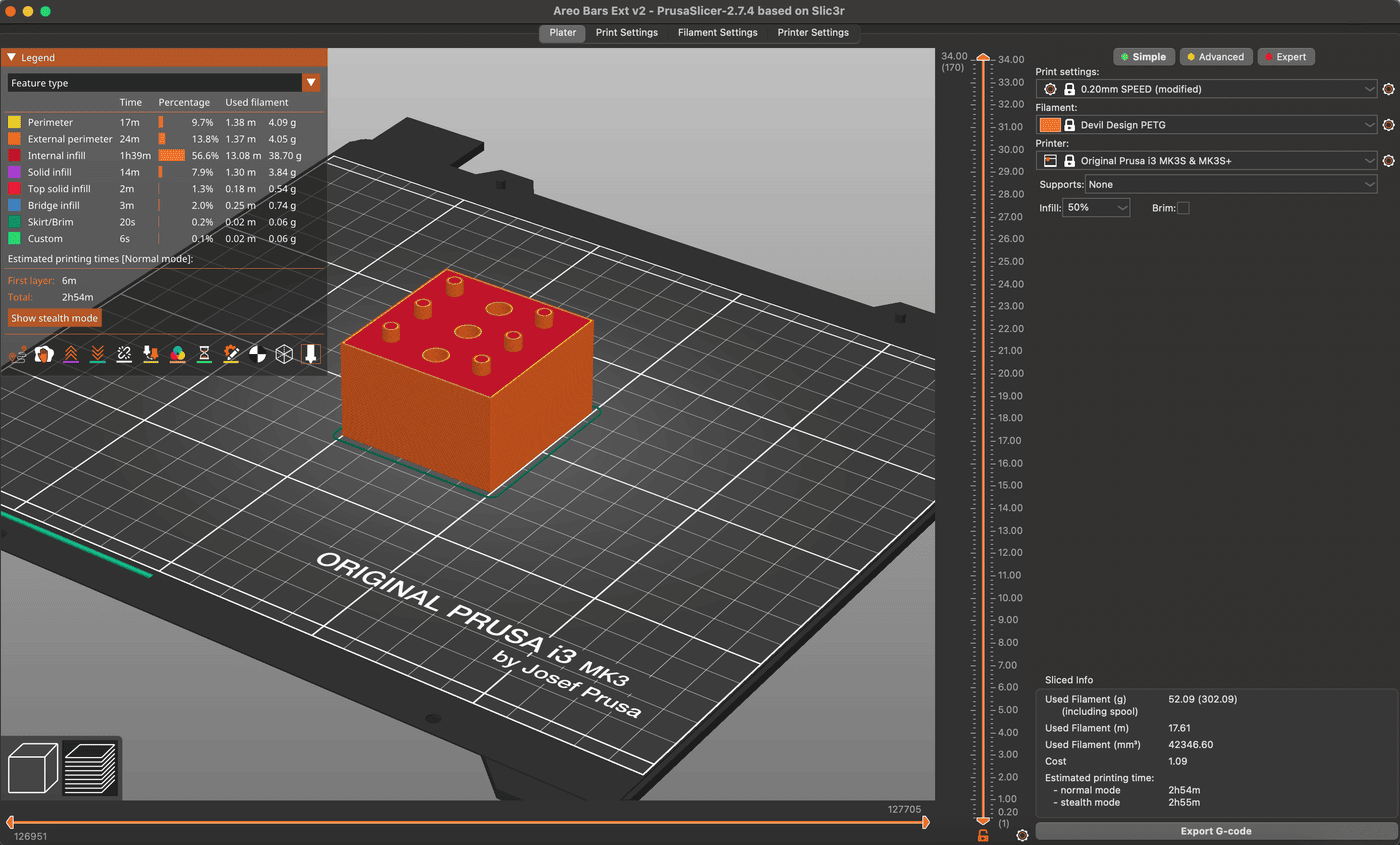
To convert the STL model into printable layers (slices), you need to calculate the printing path using slicer software. I had access to a Prusa MK3S printer, so I downloaded PrusaSlicer and imported the model.
The software allowed me to set various printing parameters, such as layer height, infill density, and pattern. For the first print, I kept the default settings but increased the infill to 50% for extra strength. I used PETG, a strong and durable plastic ideal for rigid structures.
For my second iteration, I plan to experiment with a lower infill density (30-40%) using a gyroid pattern to save weight while maintaining strength.
Result
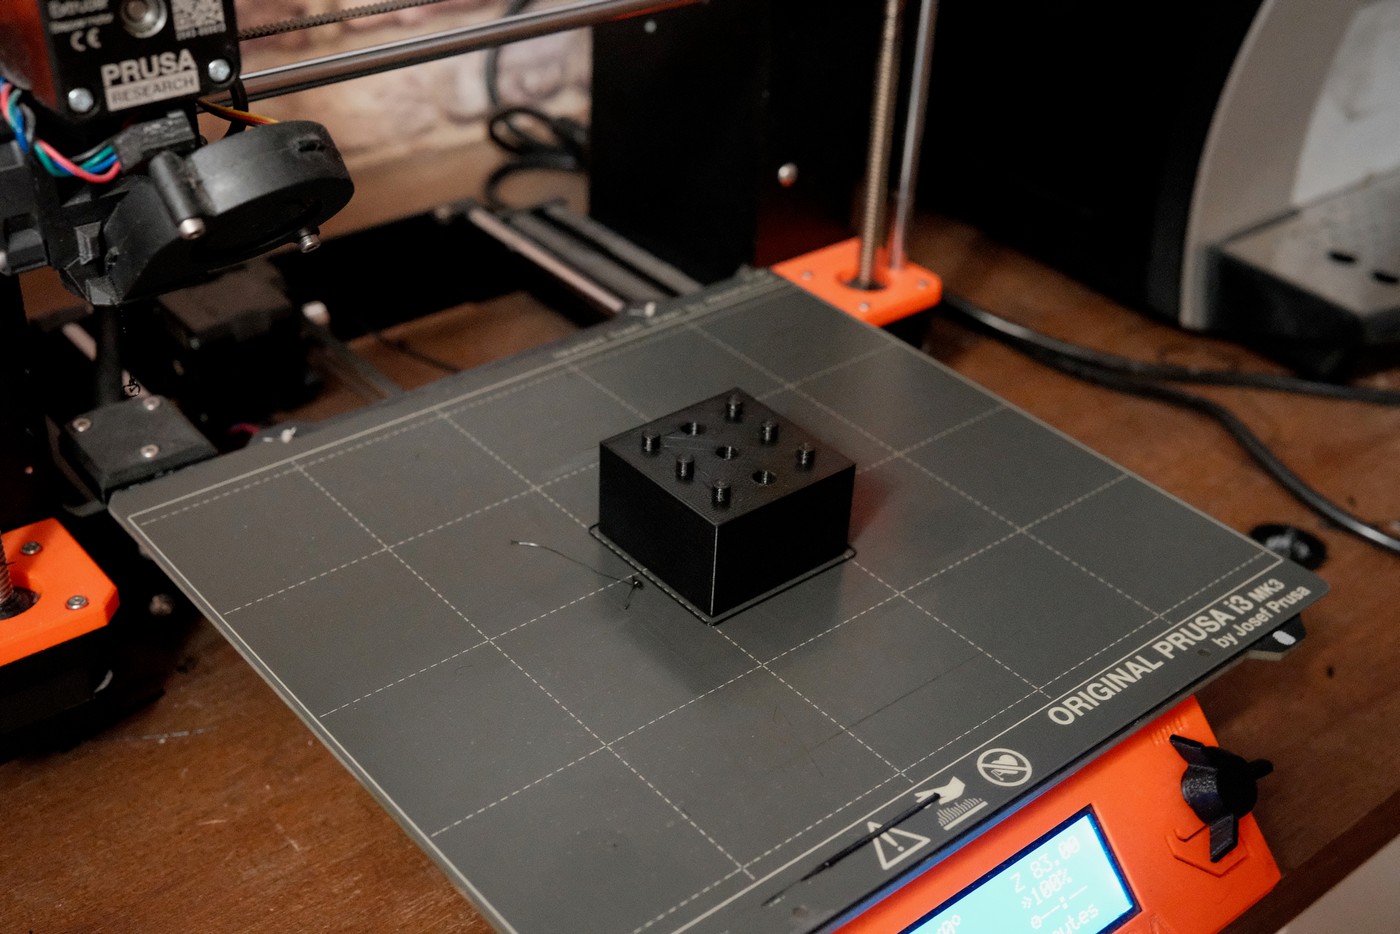
I kick-started the print and waited for the magic to happen. After three hours, this was the result:
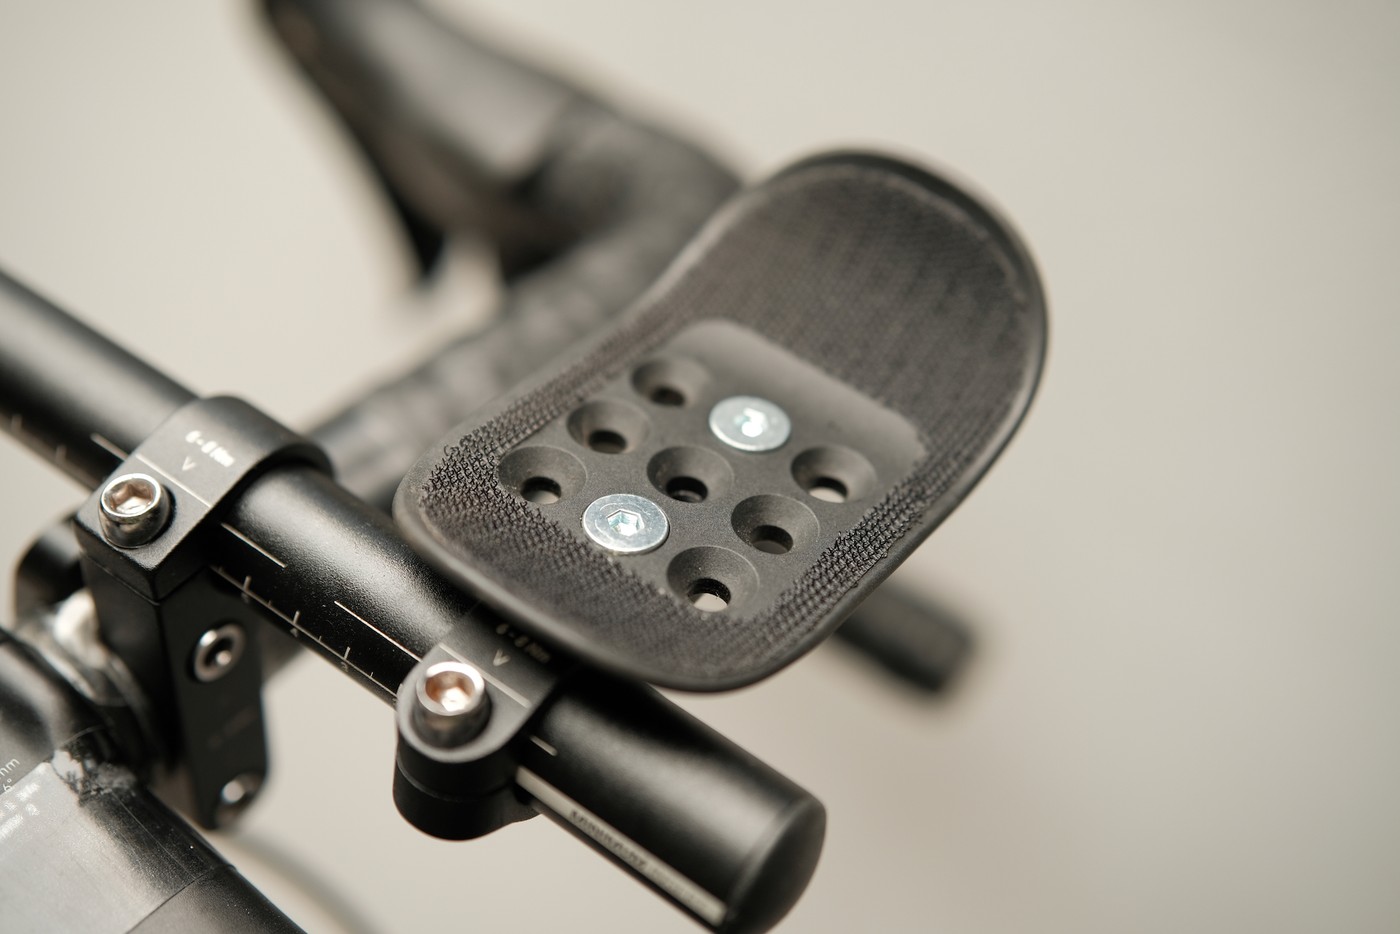
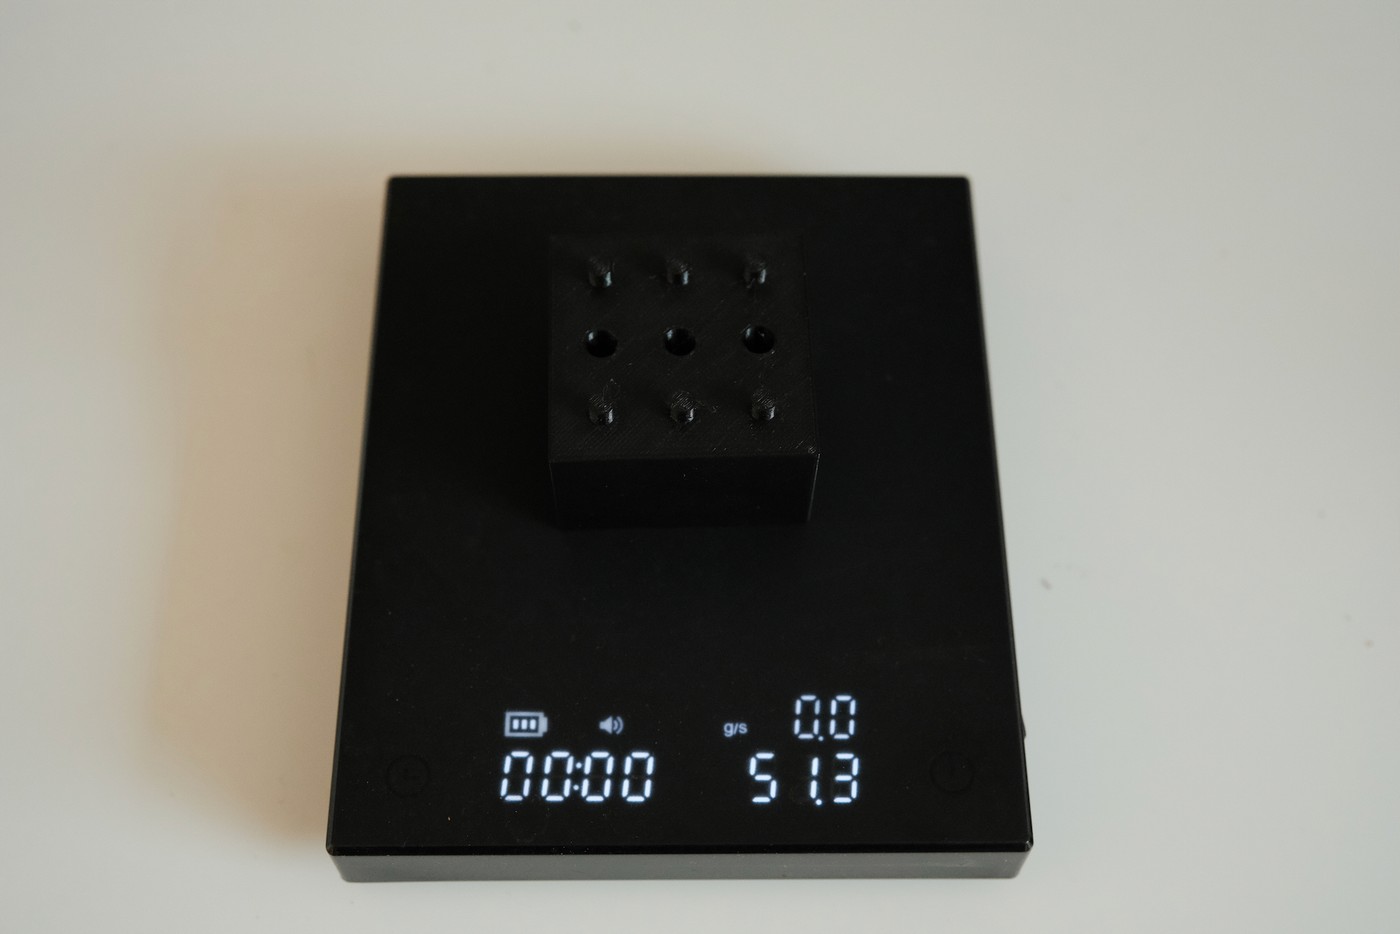
I was so happy as the riser fit perfectly with the pad. The measured weight was 51g, which I hope to reduce in the next iteration with the “cool” design mentioned above.
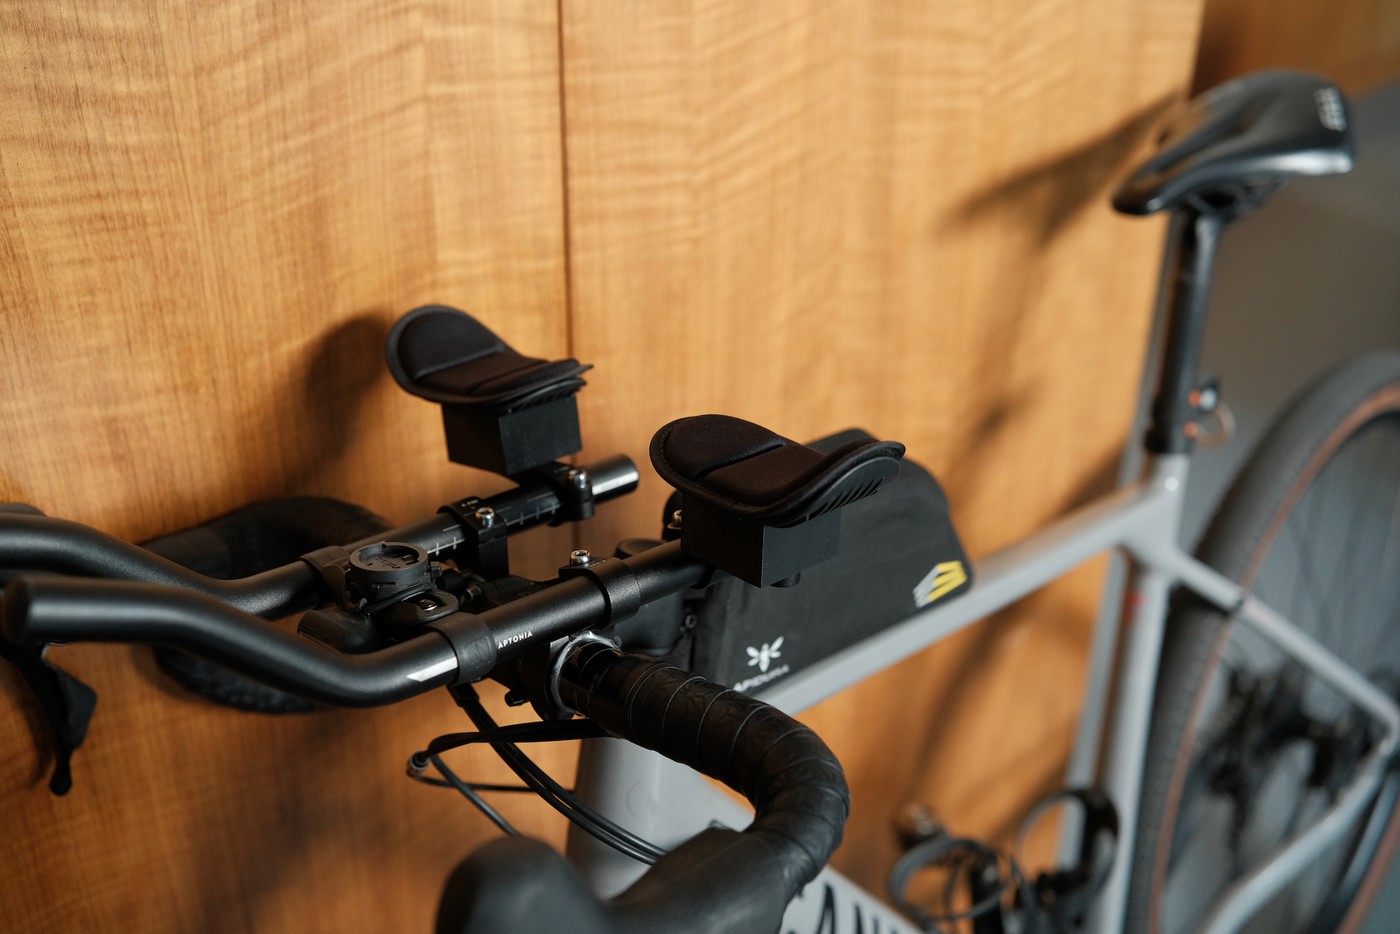
To raise the armrest by 30mm I used M6x40mm screws to attach the pads. All went smoothly here.
Testing
By far the best part! I went for a 100km+ ride to test the new setup. I followed the gravel roads from last year’s edition of the Warta Gravel race. The riser worked perfectly, and I felt much more comfortable in the aero position.

Sharing the model
Do you own the Aptionia Aerobars and want to try the riser yourself? I’m sharing the 3D model on Thingiverse, check it out.