Bikepacking in France - Provence and Hautes-Alpes
Blog
September 9, 2023 • ☕️☕️ 9 min read • 48
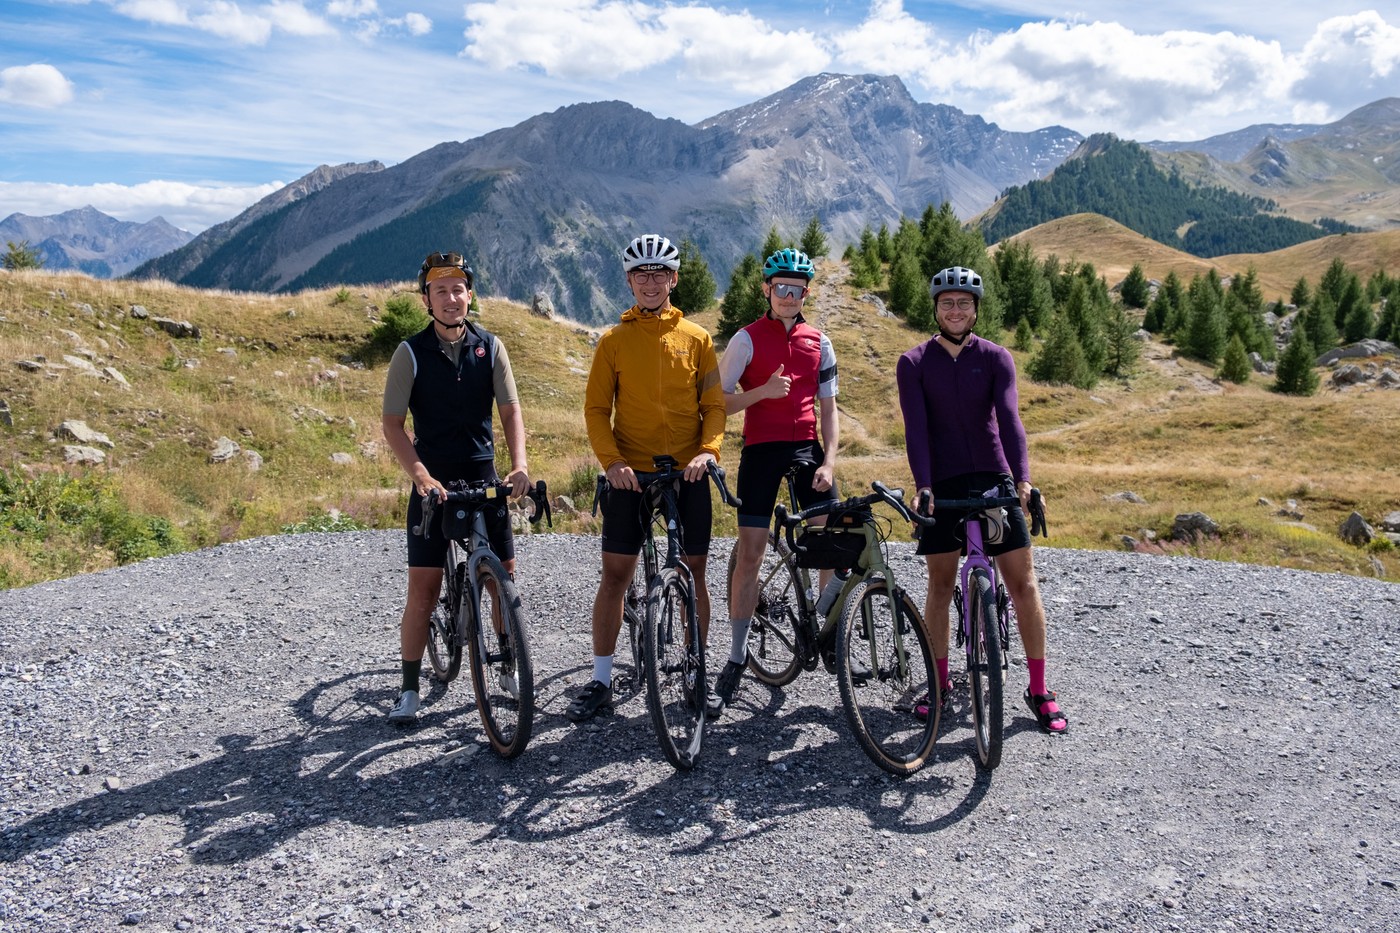
Bikepacking to discover new places became our annual summer tradition. Following our recent adventures in Scandinavia (Swedish Coastline, Kattegat Loop, Norway Expedition), we decided to explore sunny Provence in France. Lavender fields, delicious French pastries, and mighty High Alps on the horizon accompanied us throughout the week-long adventure. Welcome to the photo report from our bikepacking trip to Provence and the Hautes-Alpes.
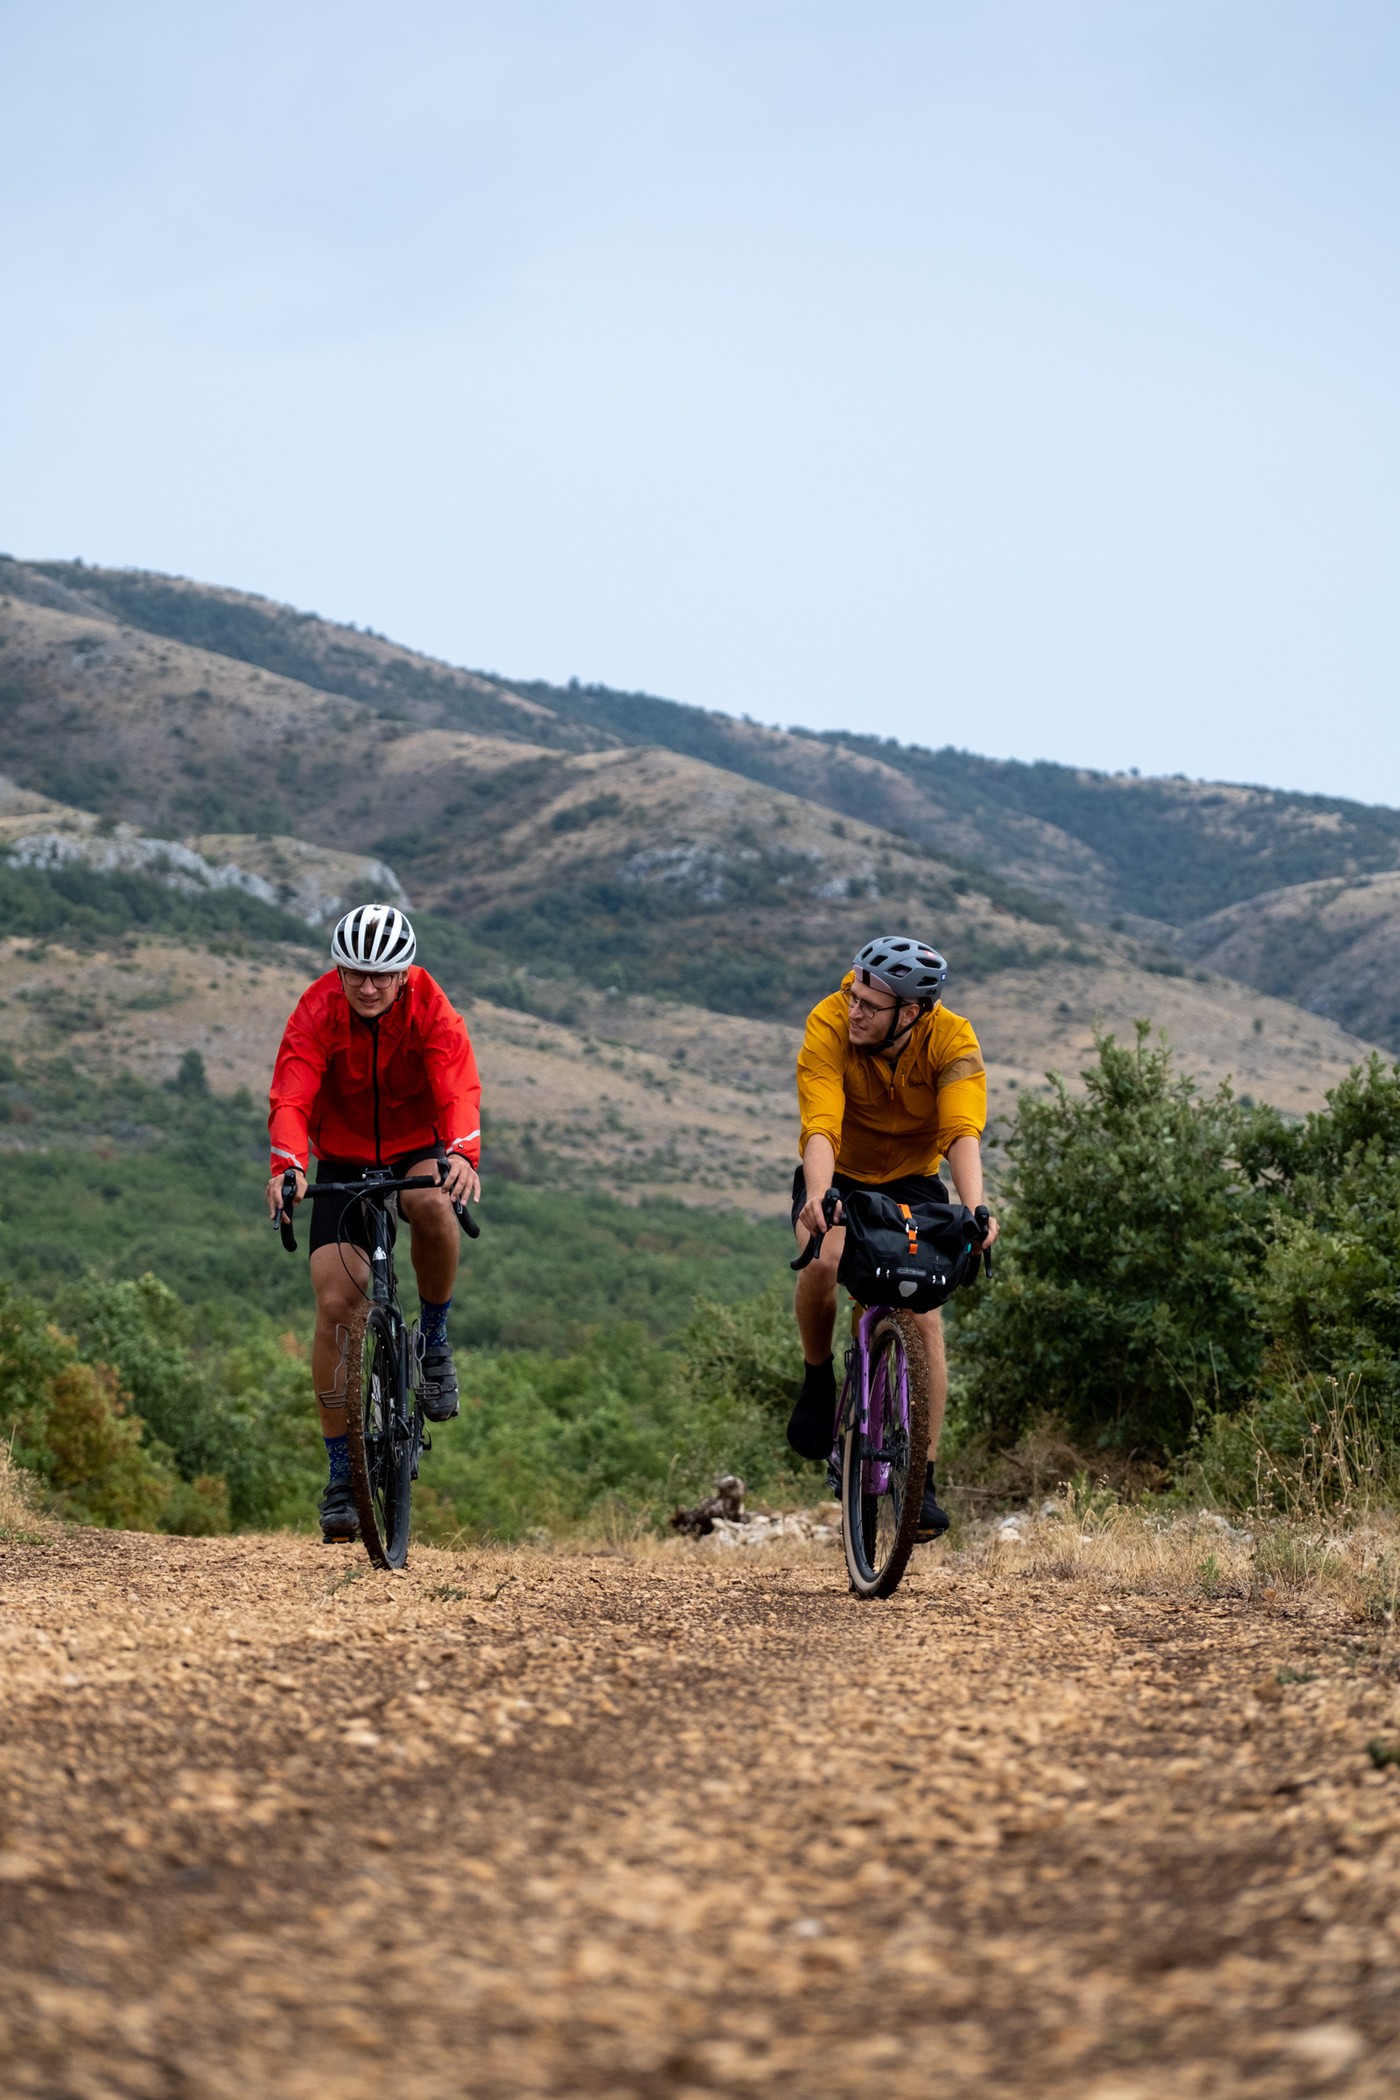
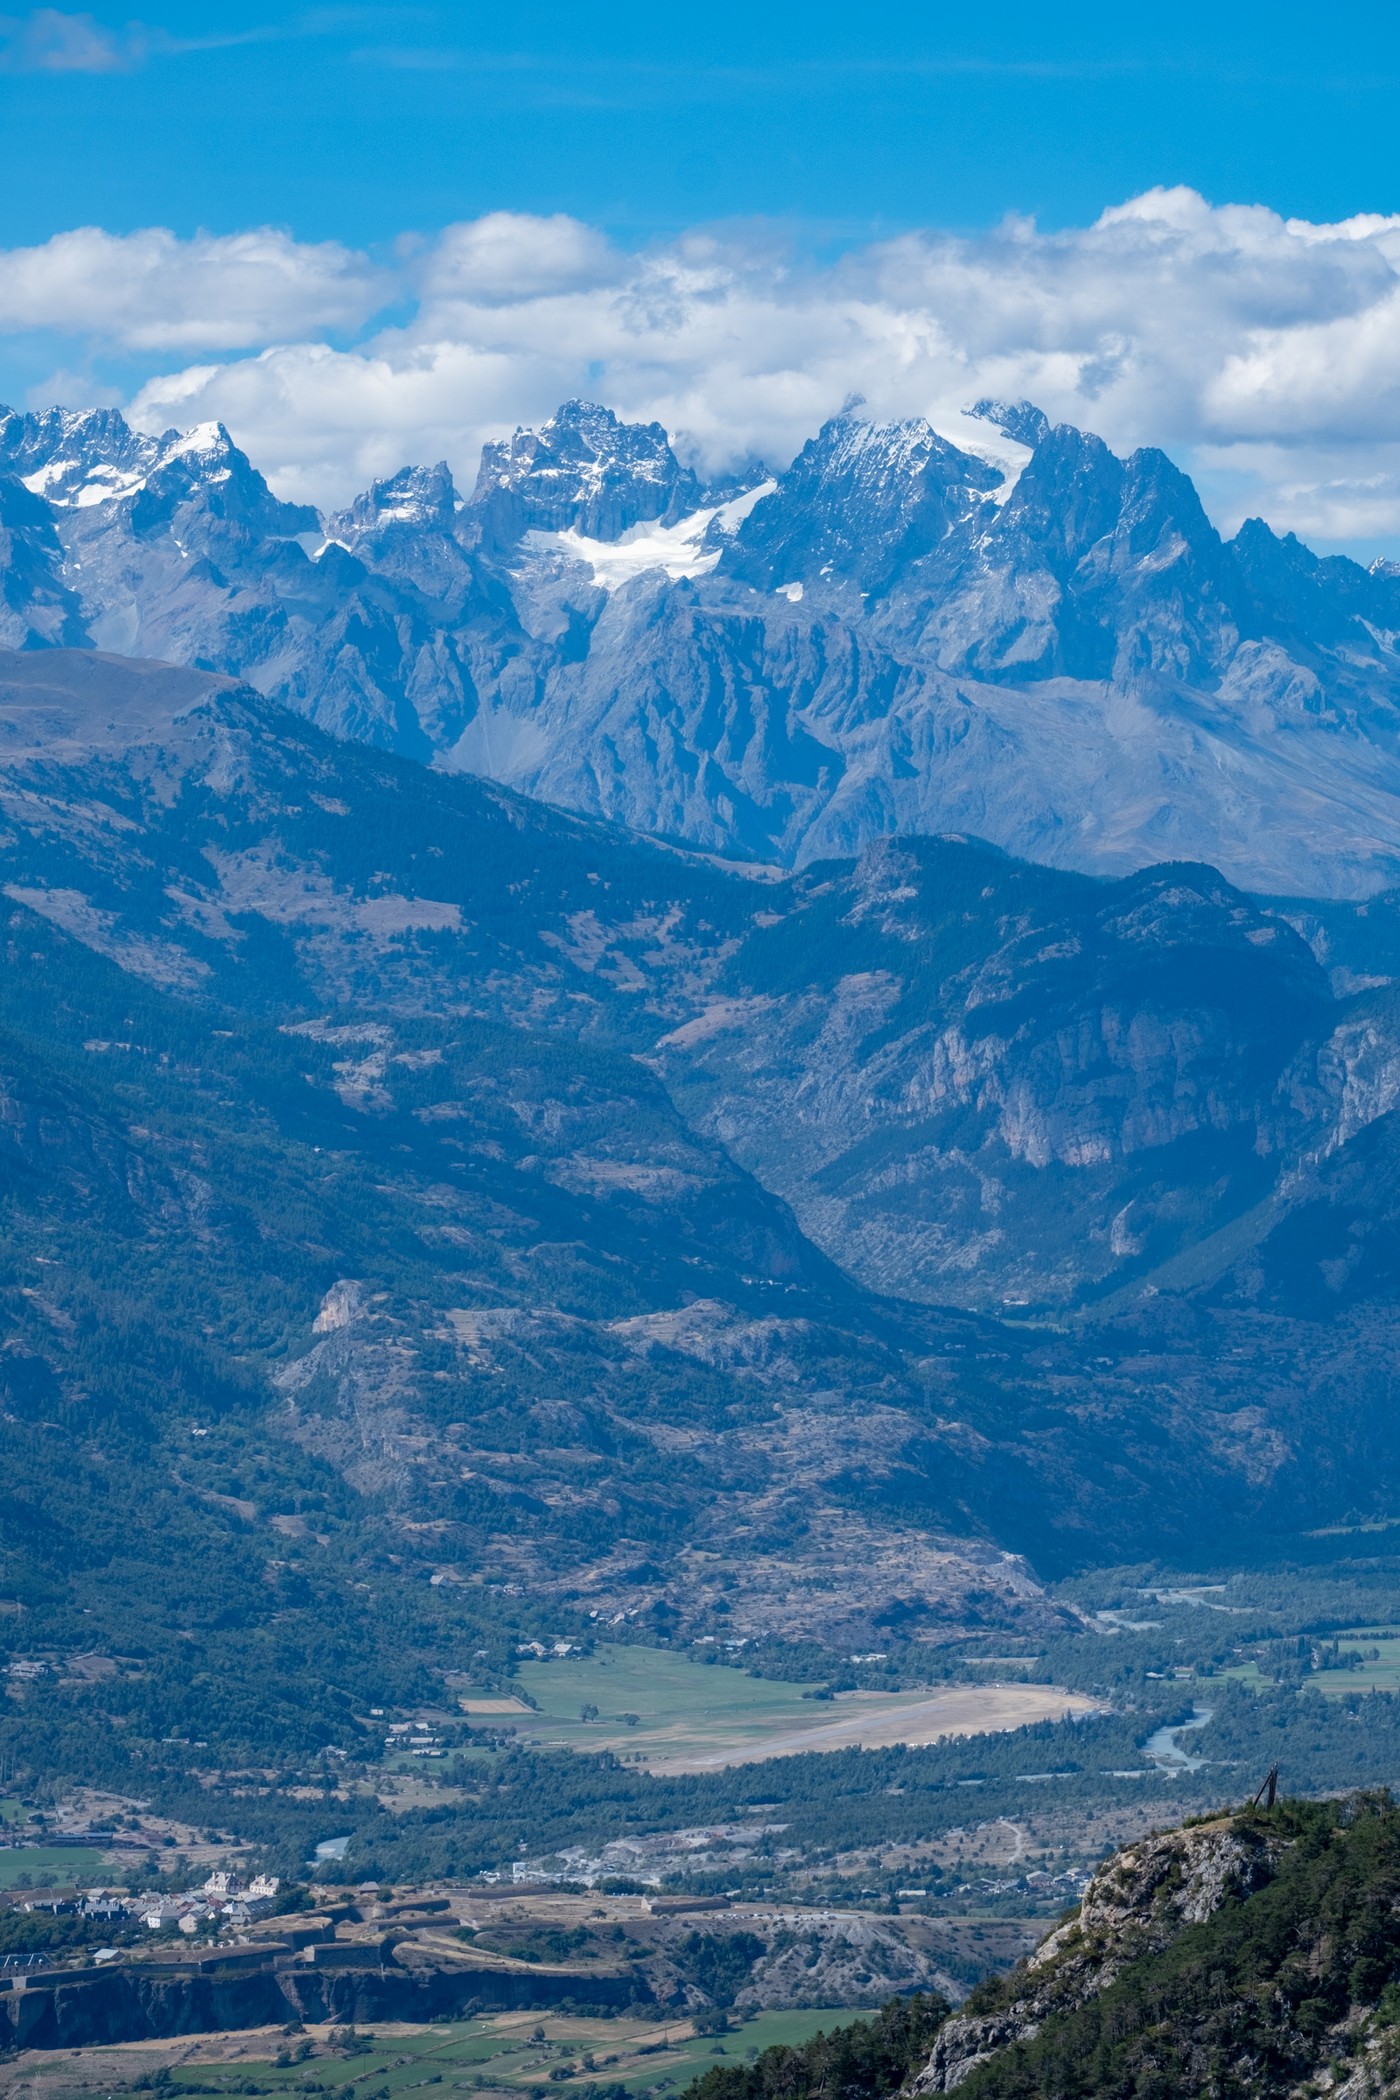
Our adventure had two parts. First, we spent five days bikepacking on fully loaded bikes around Verdon Natural Regional Park. Then we drove to Hautes-Alpes, near Briançon, the highest city in France, to tackle two famous Tour de France climbs: Col de Vars and Col d’Izoard.

Provence: Tour du Verdon


Provence and Hautes-Alpes
- Distance: 580km
- Elevation: 11100m
- Time: 7 days
- Date: Sep 2023
Route
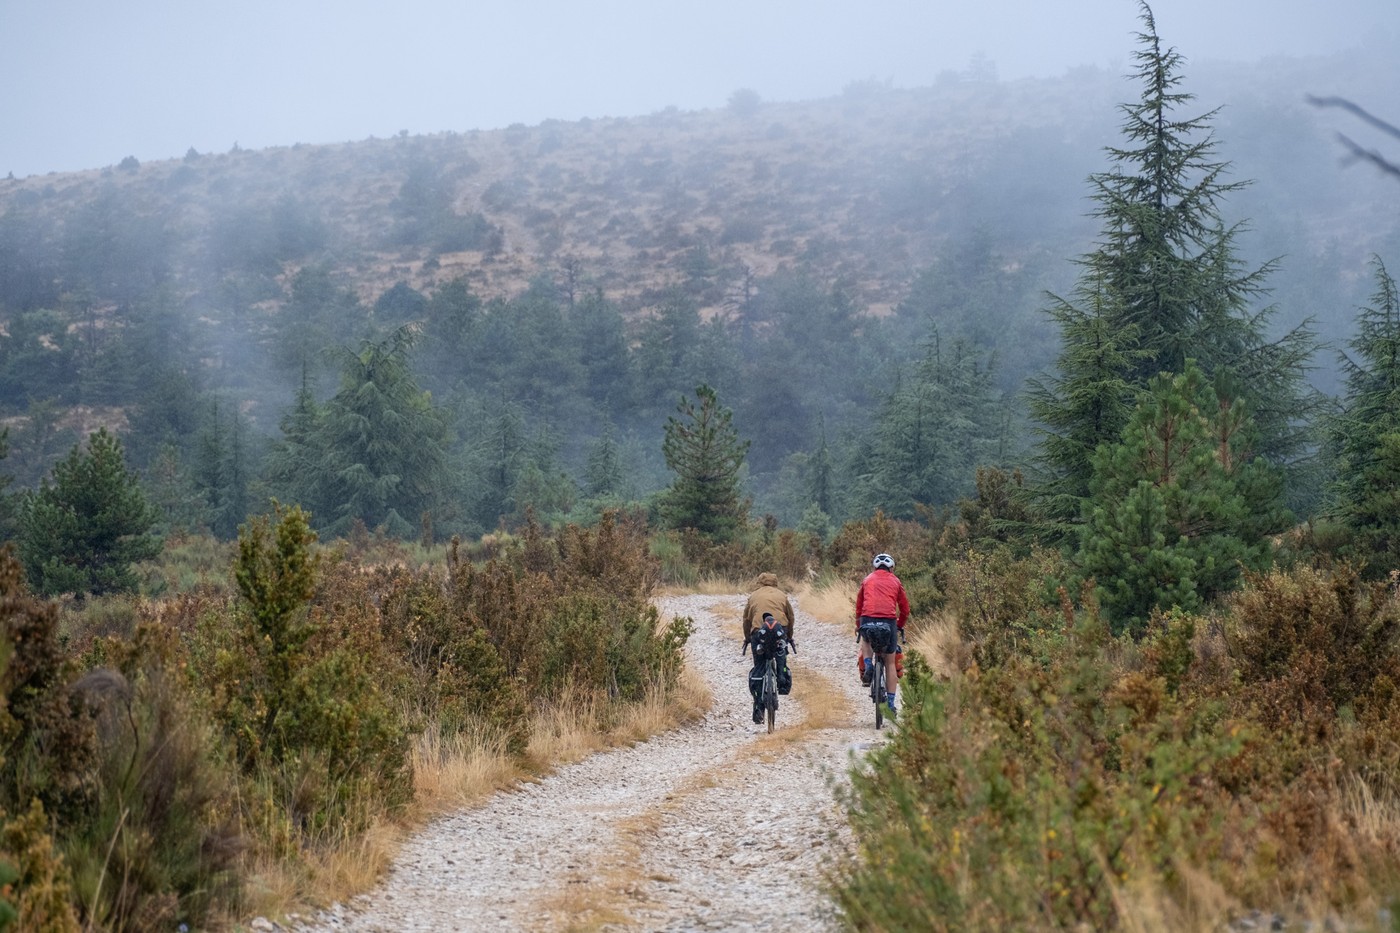
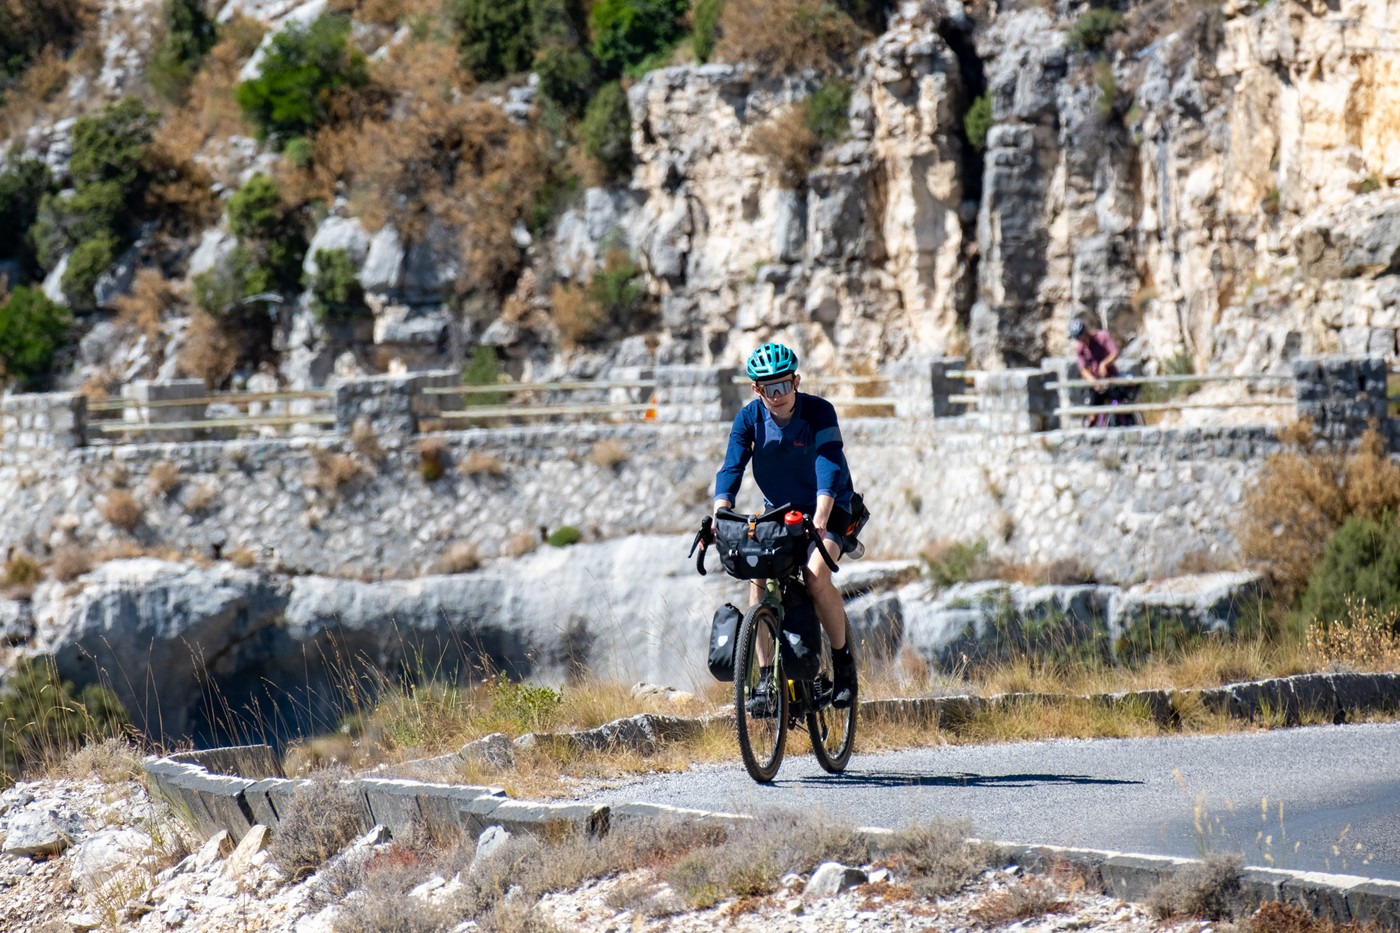
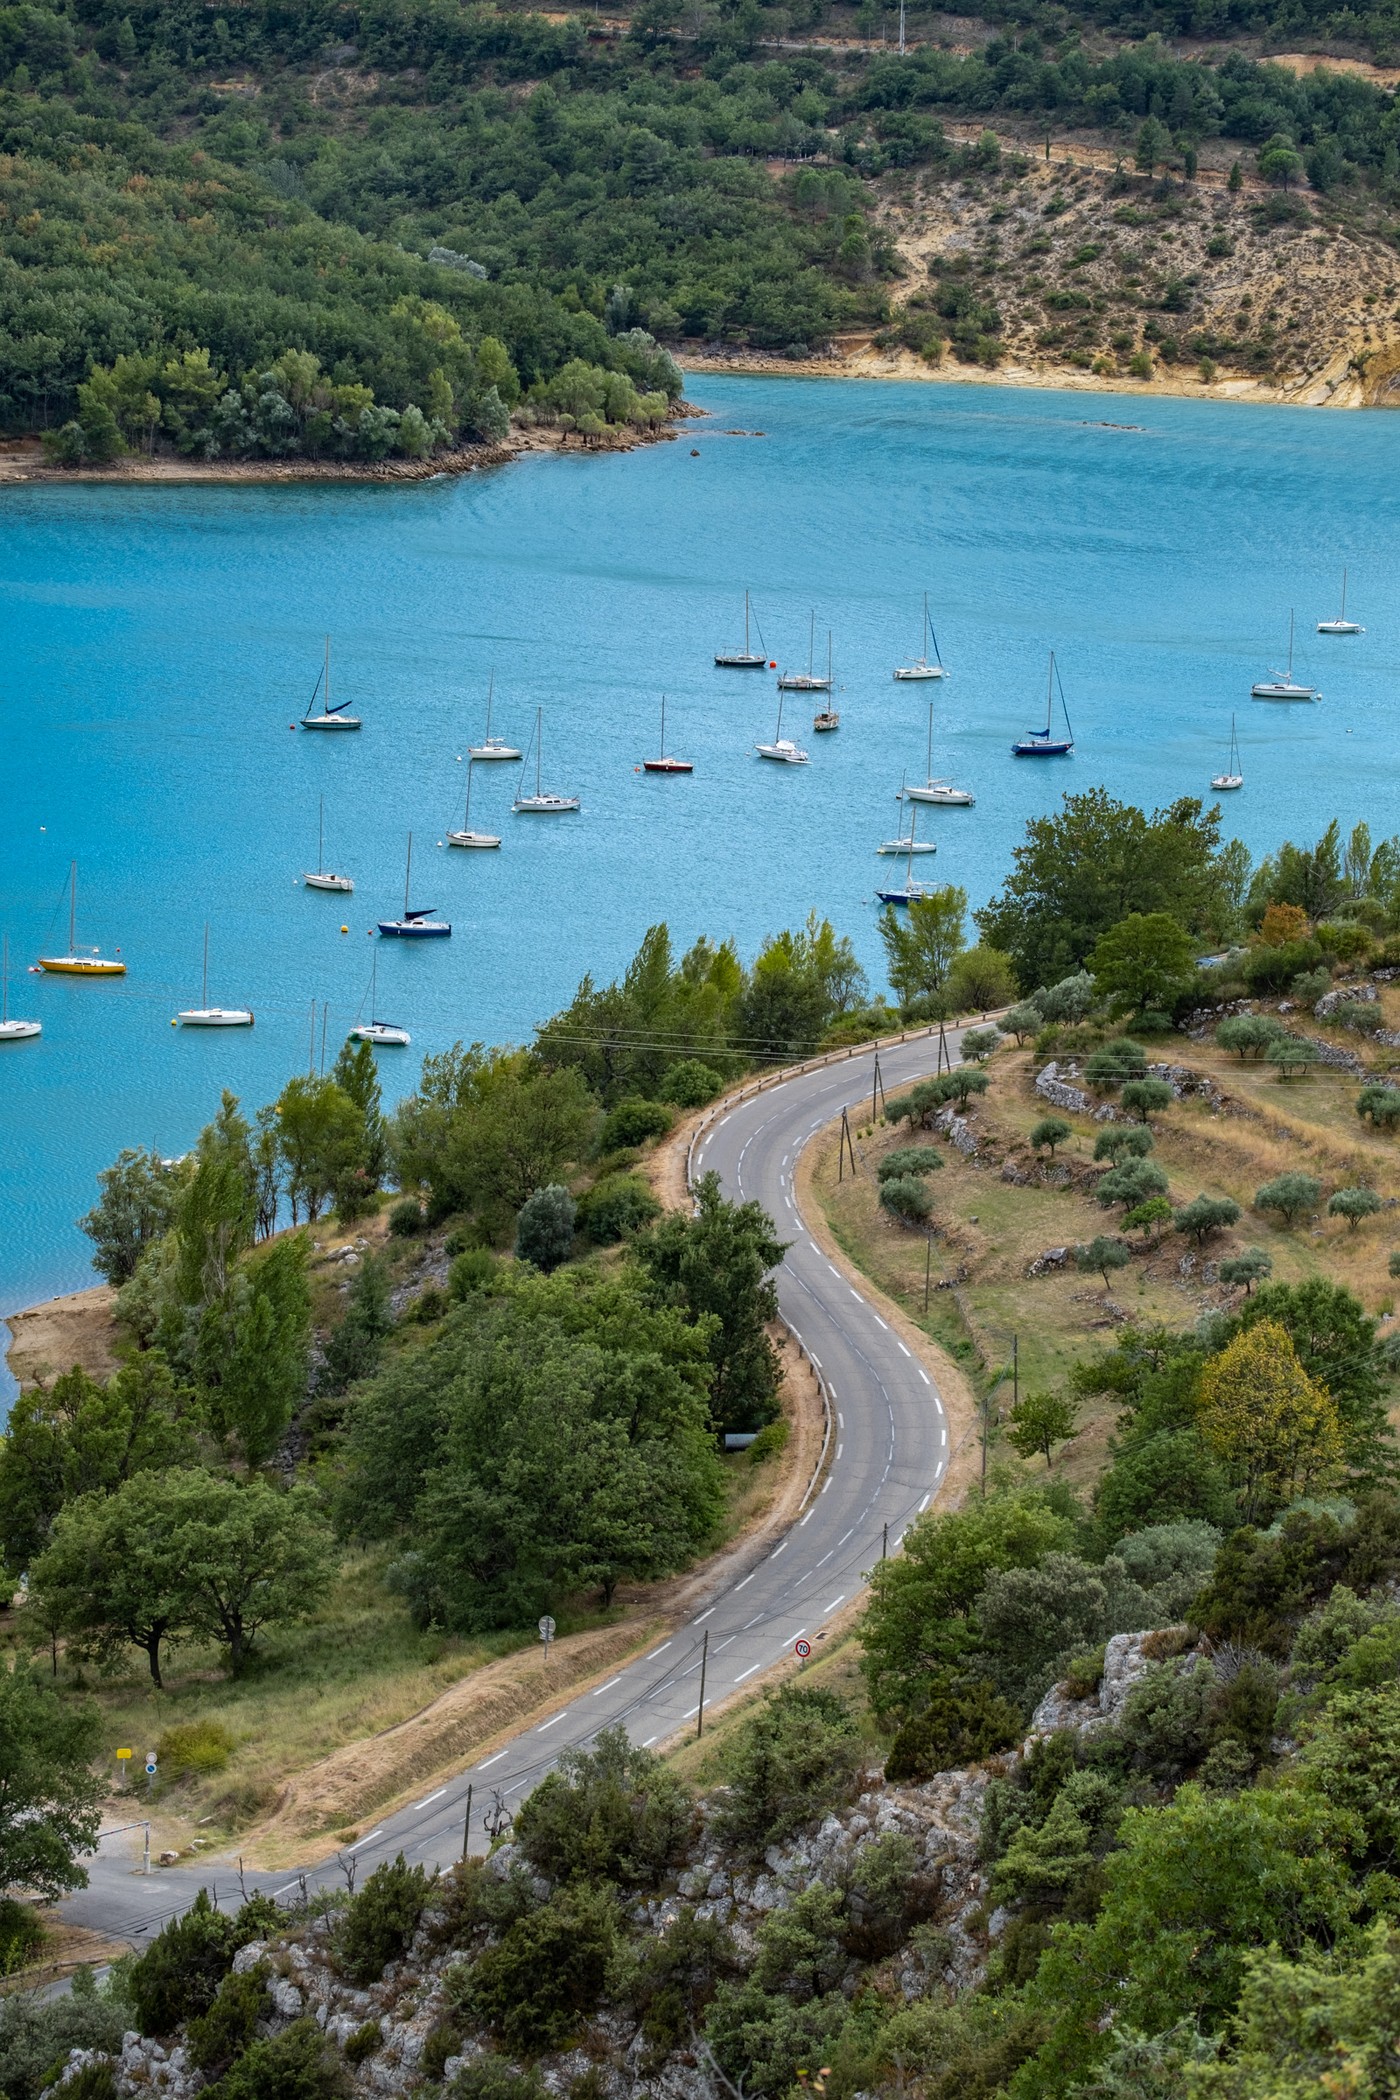
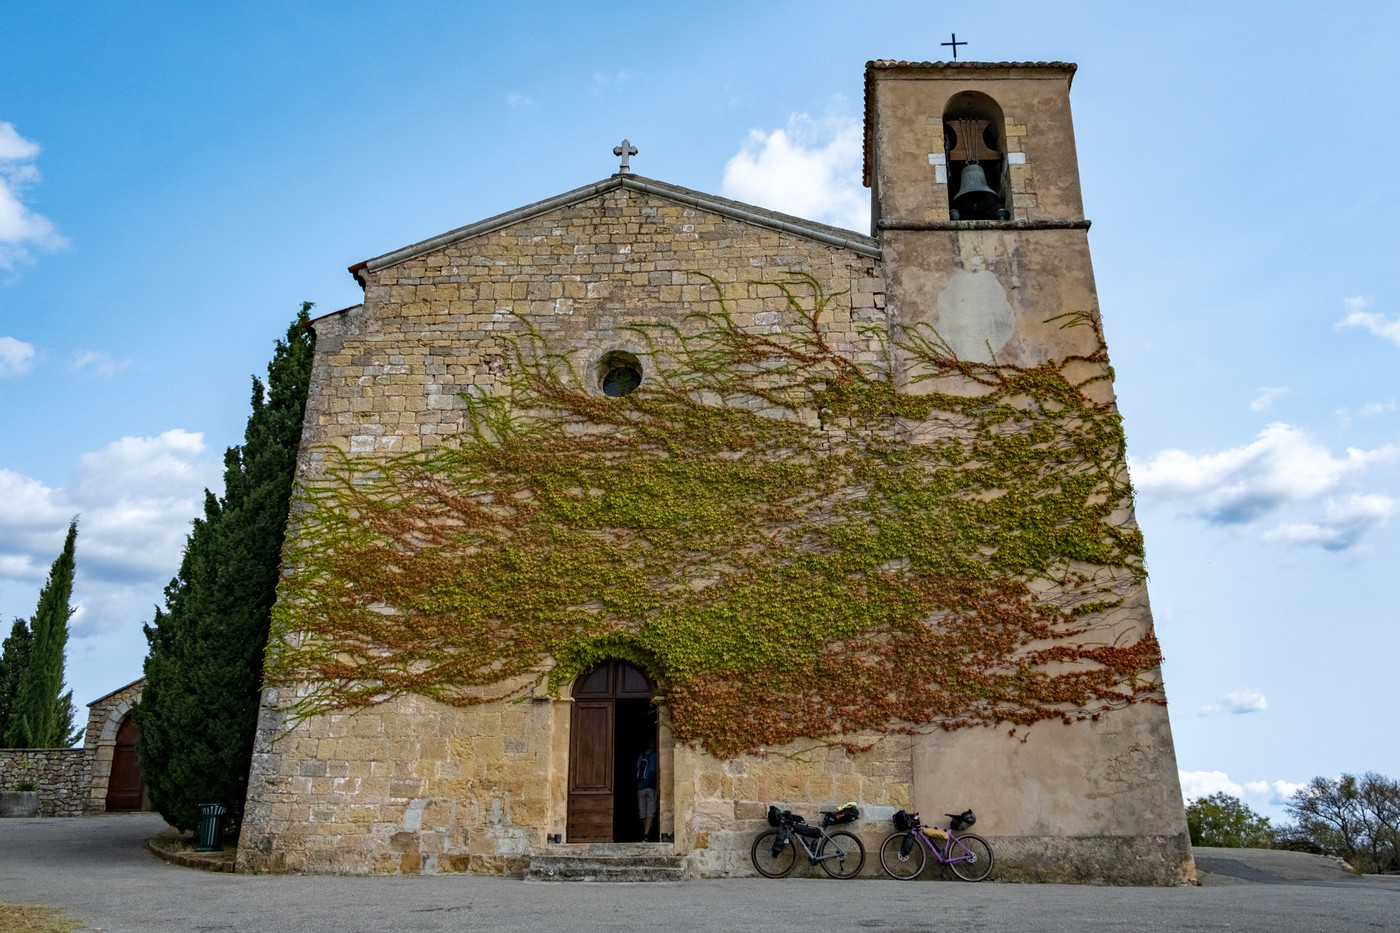
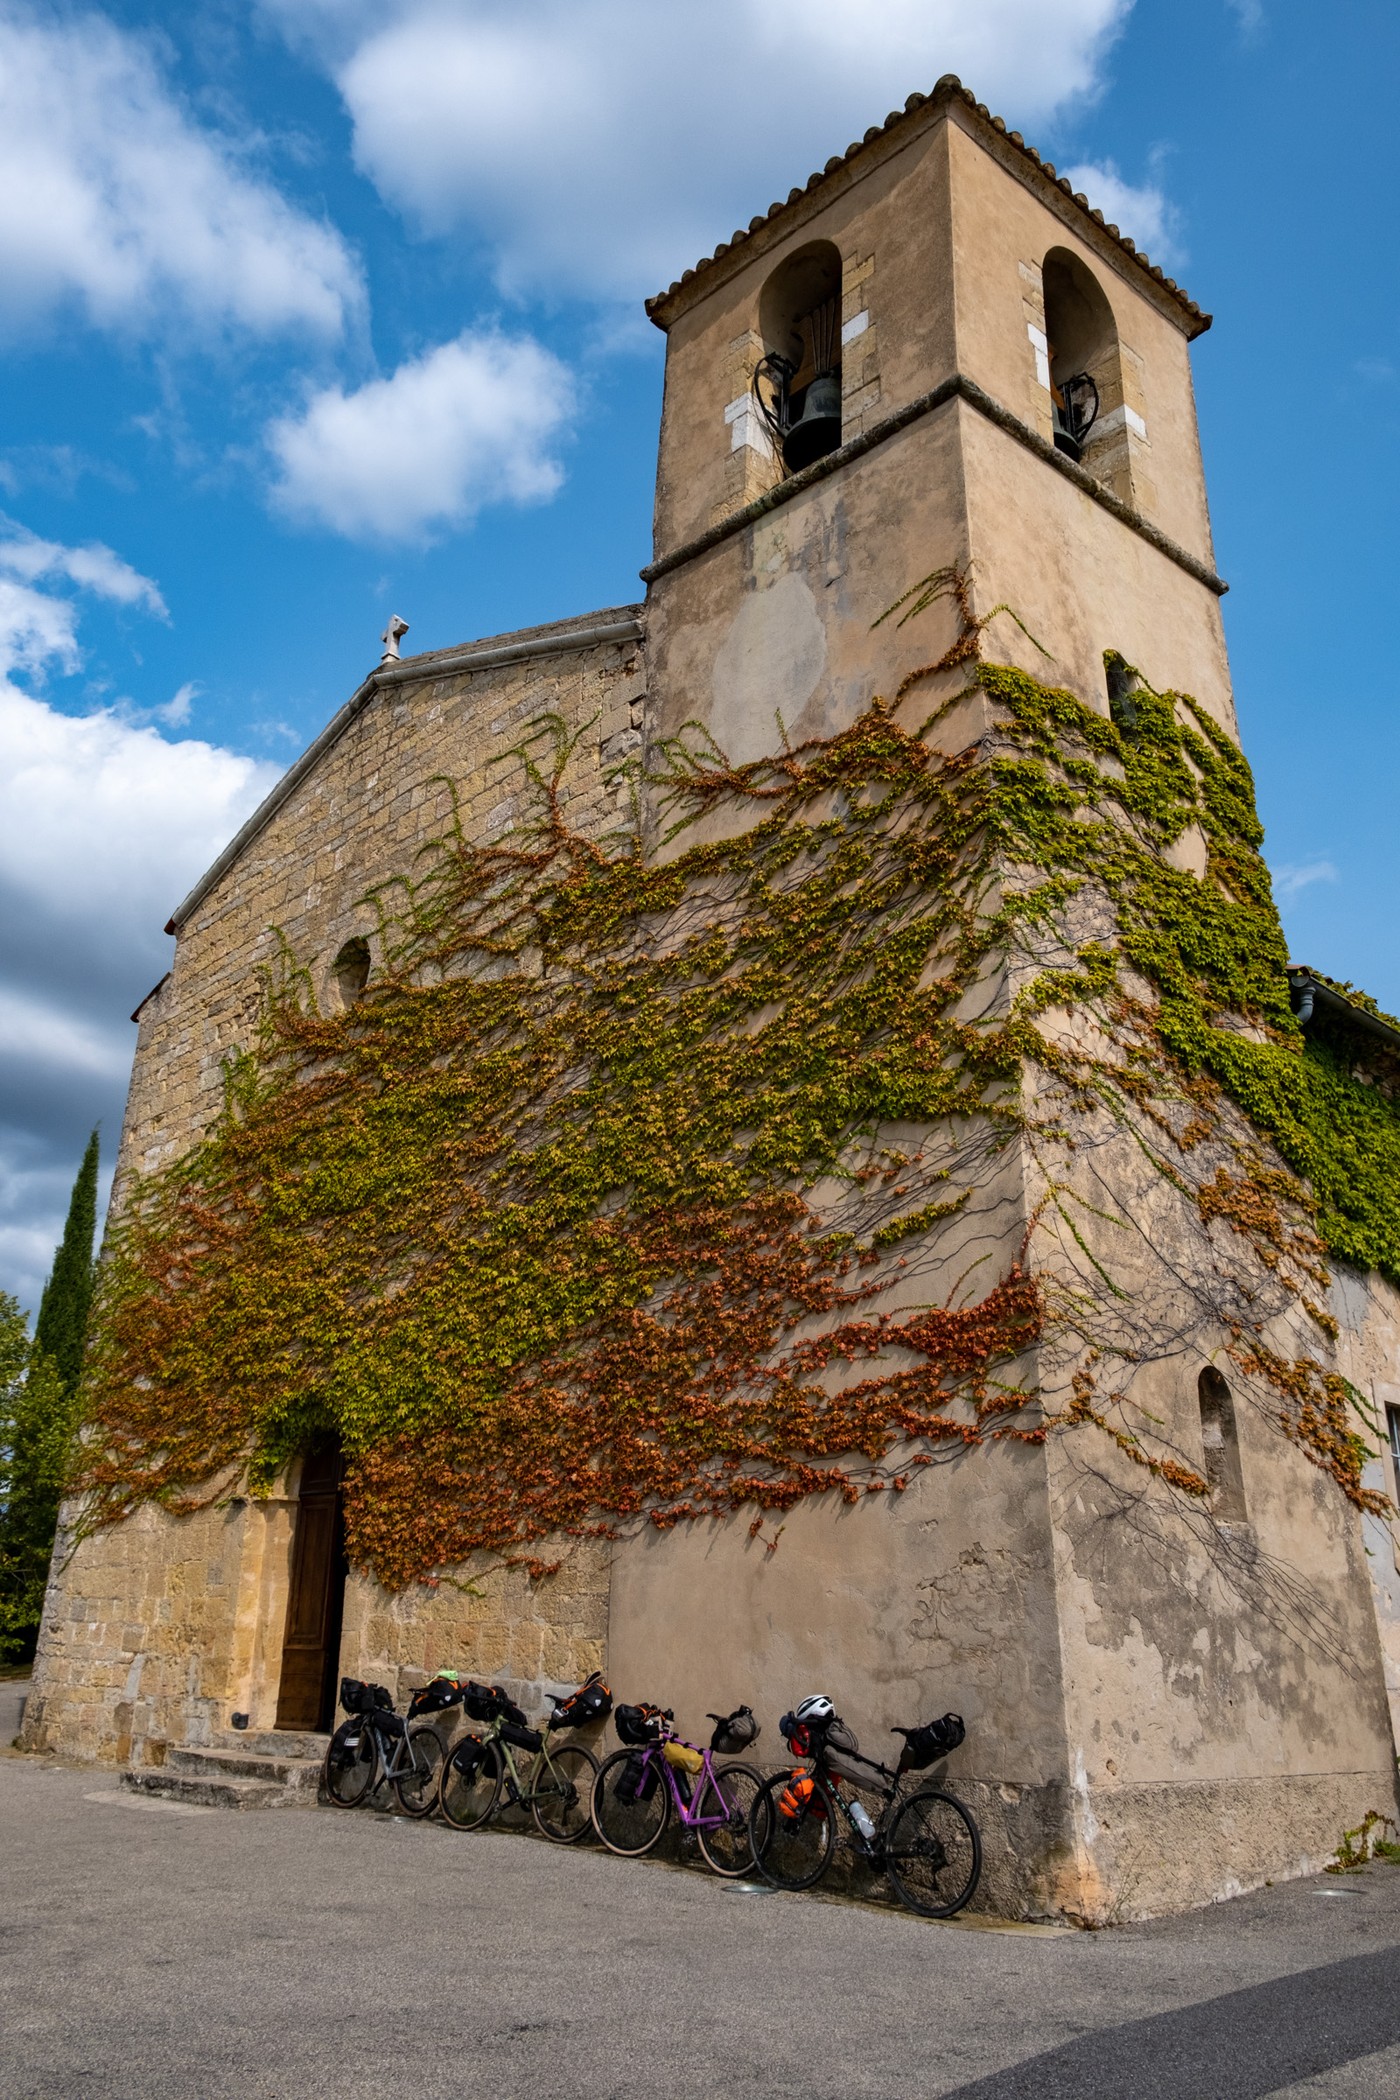
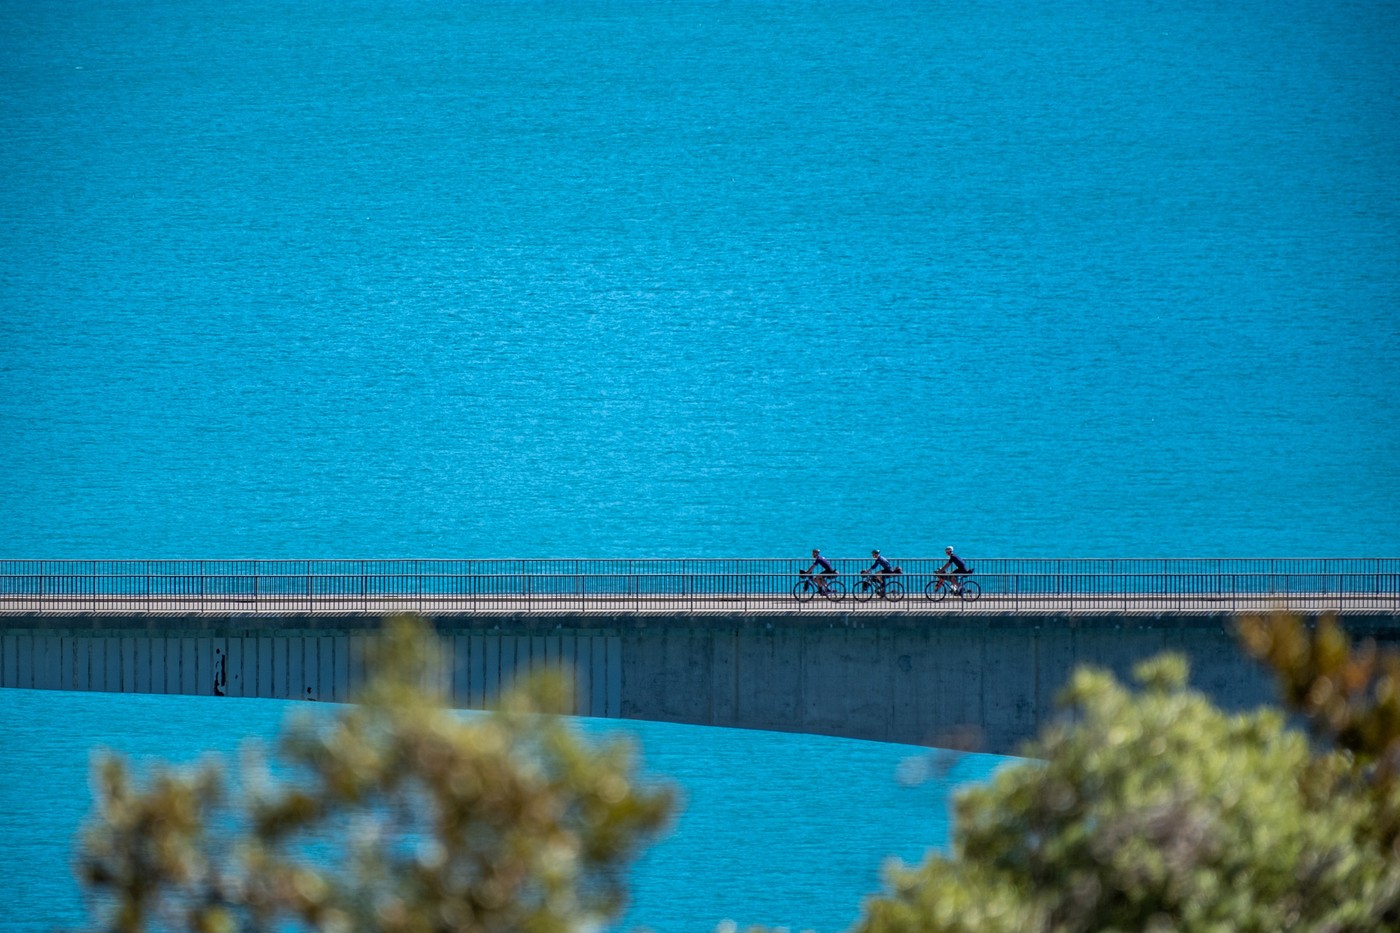
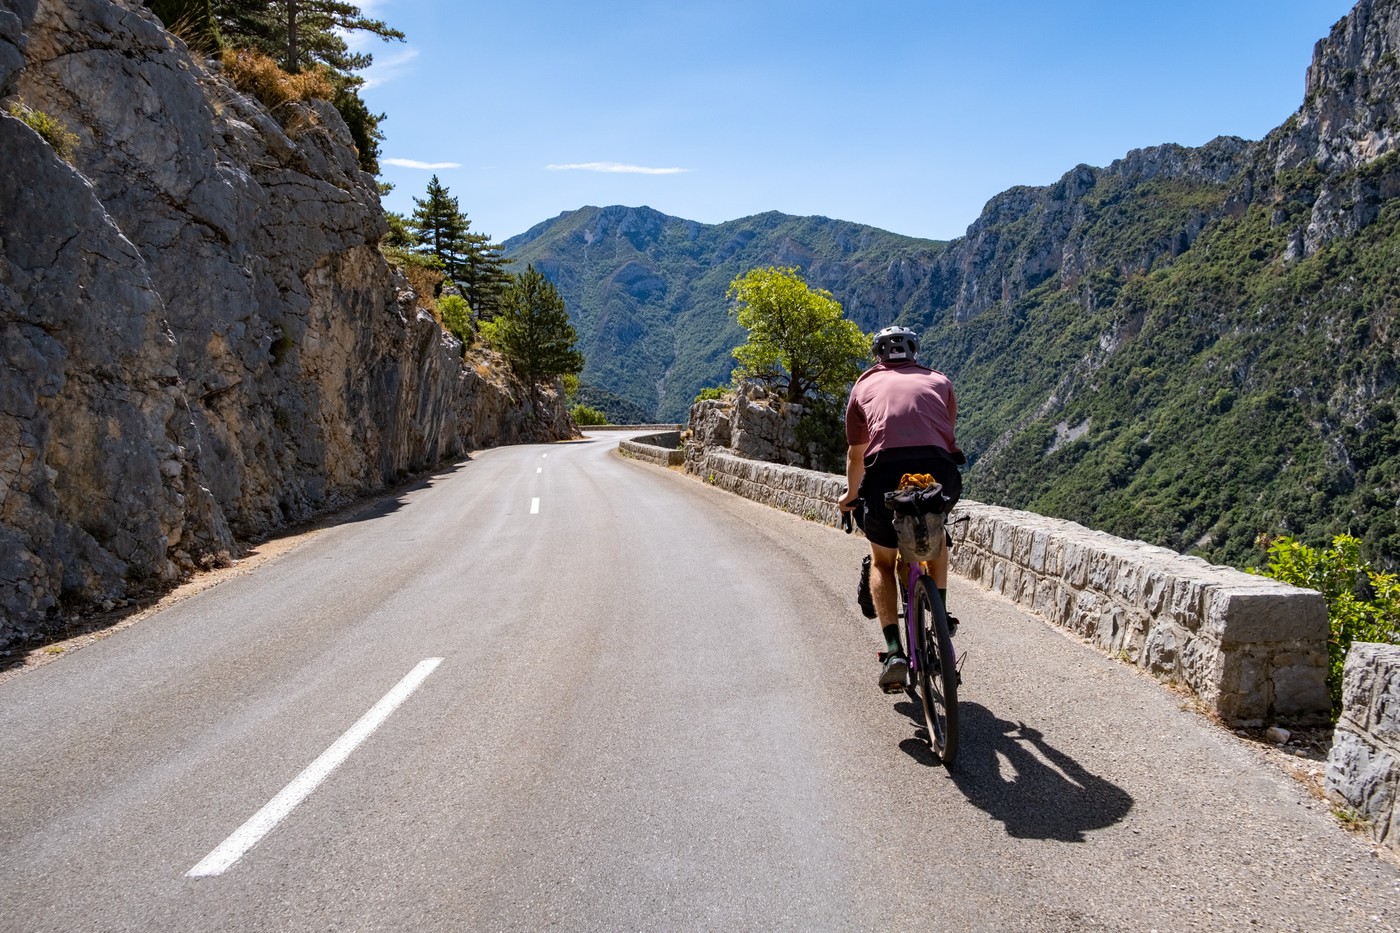
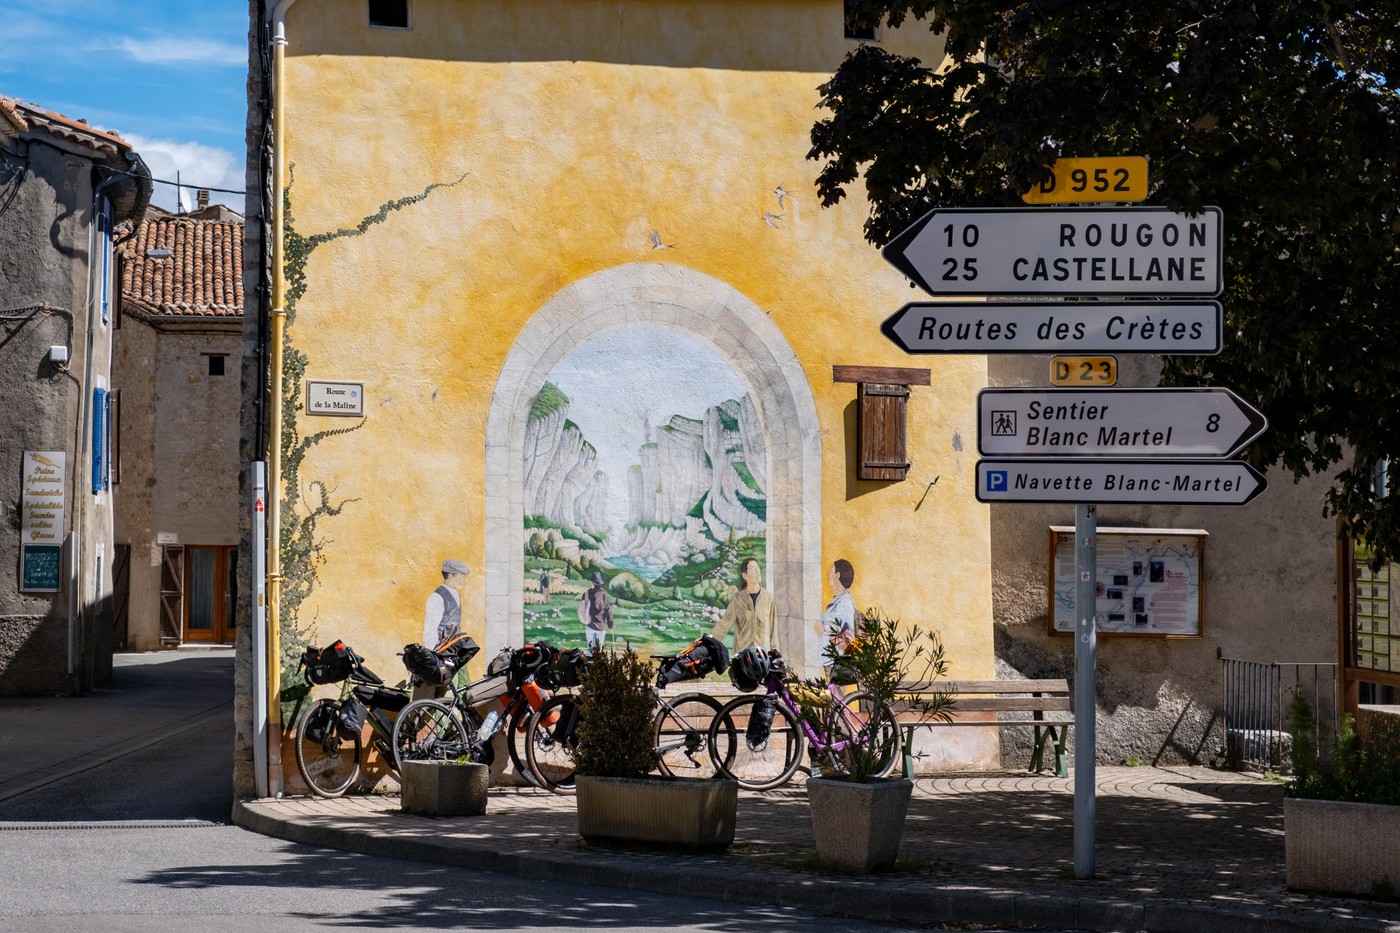
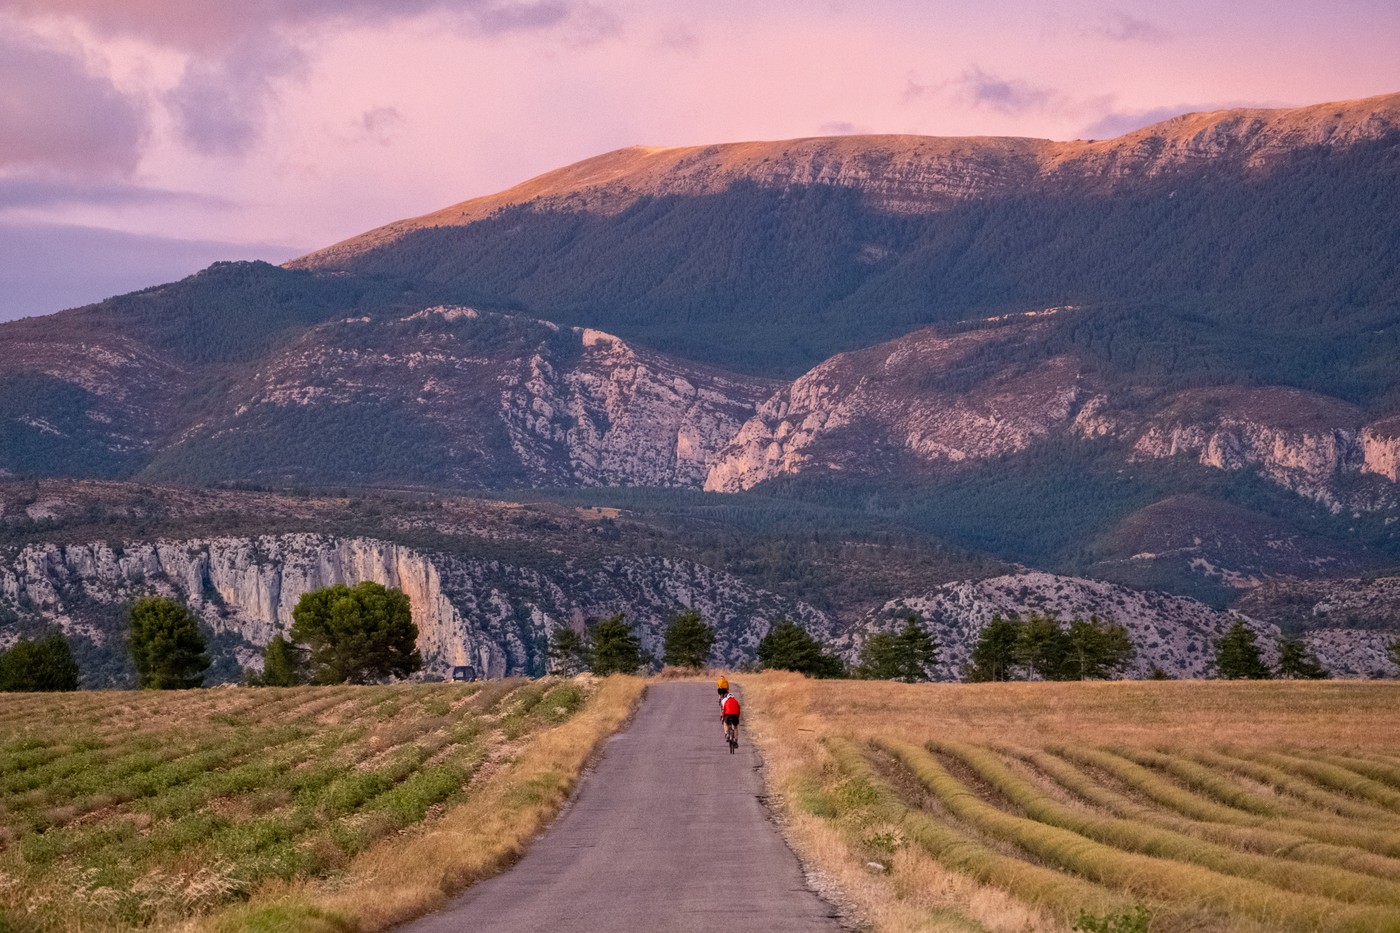
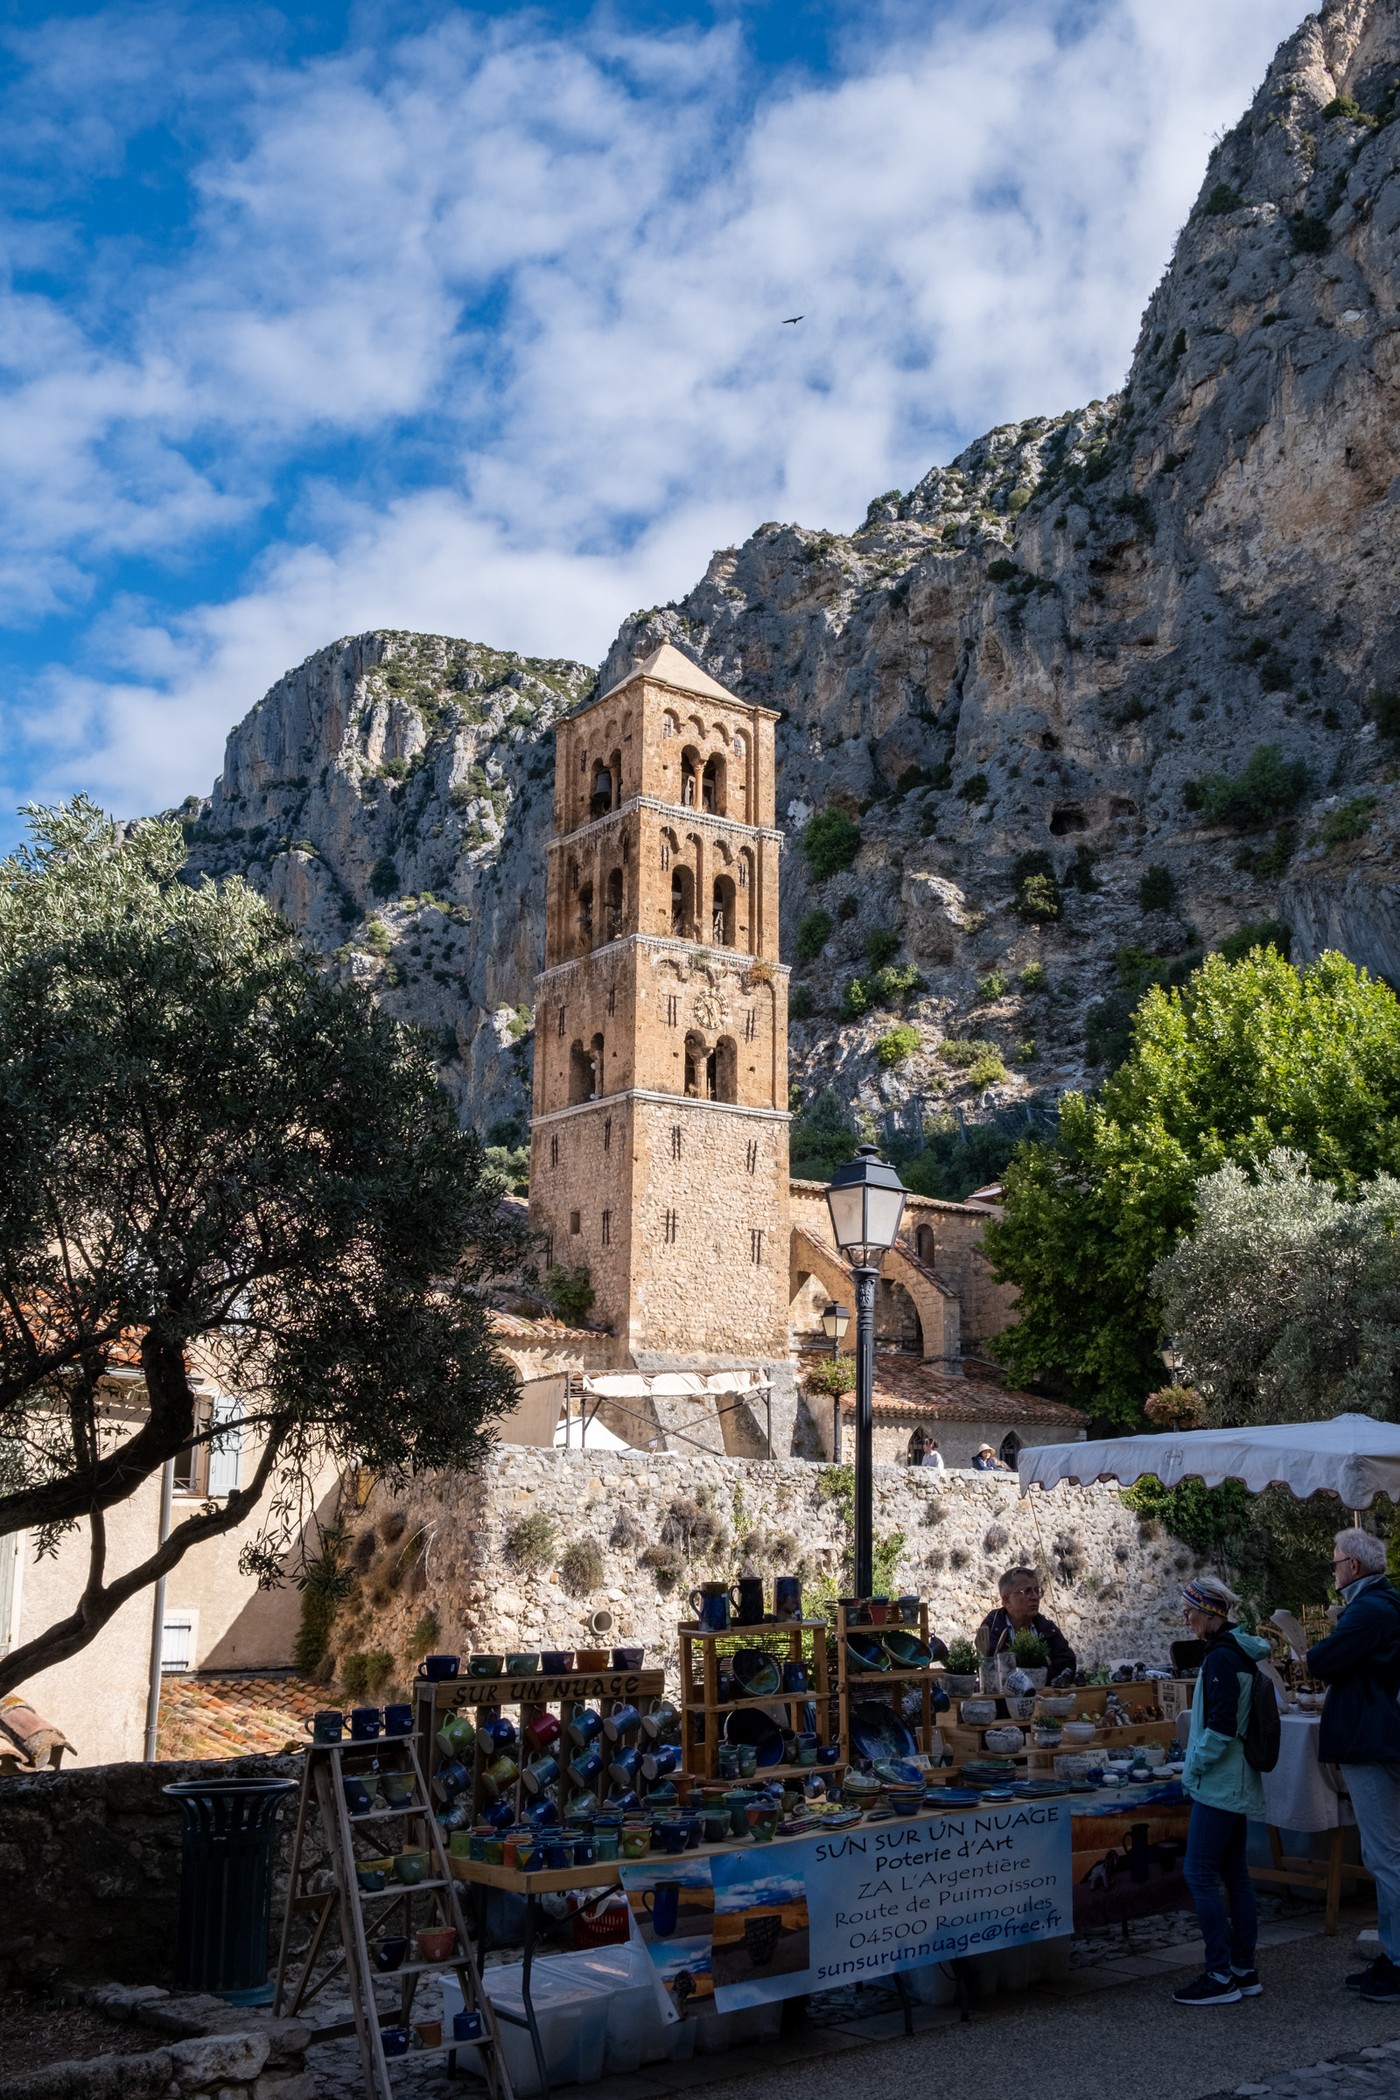
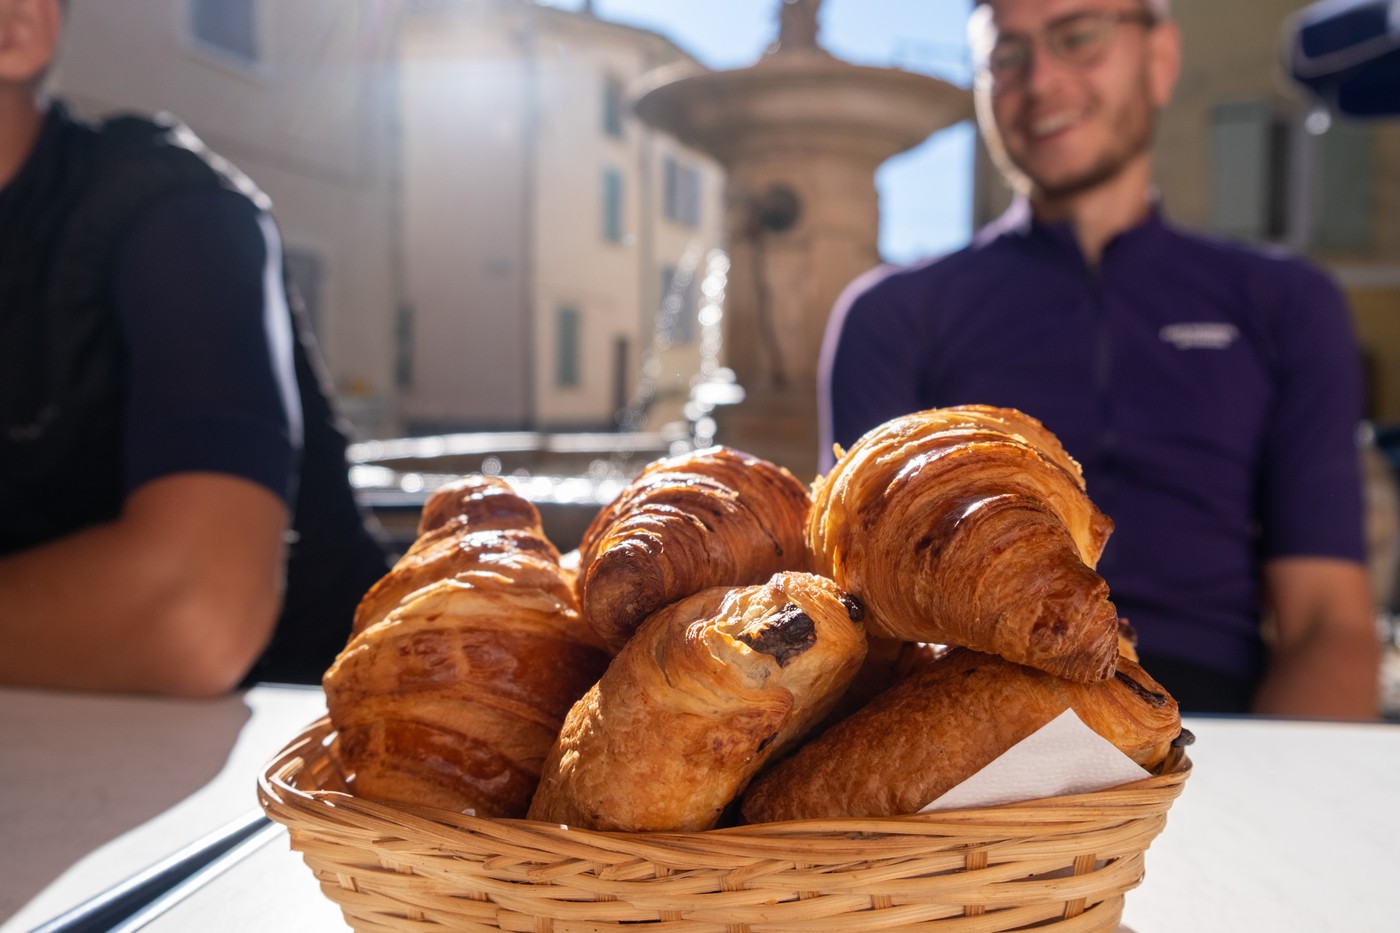
We began our trip in Digne, leaving our car there. On the first day, we biked to the beautiful mountain town of Moustiers-Sainte-Marie. The second day was dedicated to cycling around Lac de Sainte-Croix, where we stopped at charming villages for coffee and delicious French pastries. I particularly enjoyed the northwestern part of the lake, where we rode through lavender fields that must look stunning when in bloom during spring. Our last three days were spent cycling along Canyon Verdon and exploring the southern area of Parc naturel régional du Verdon.
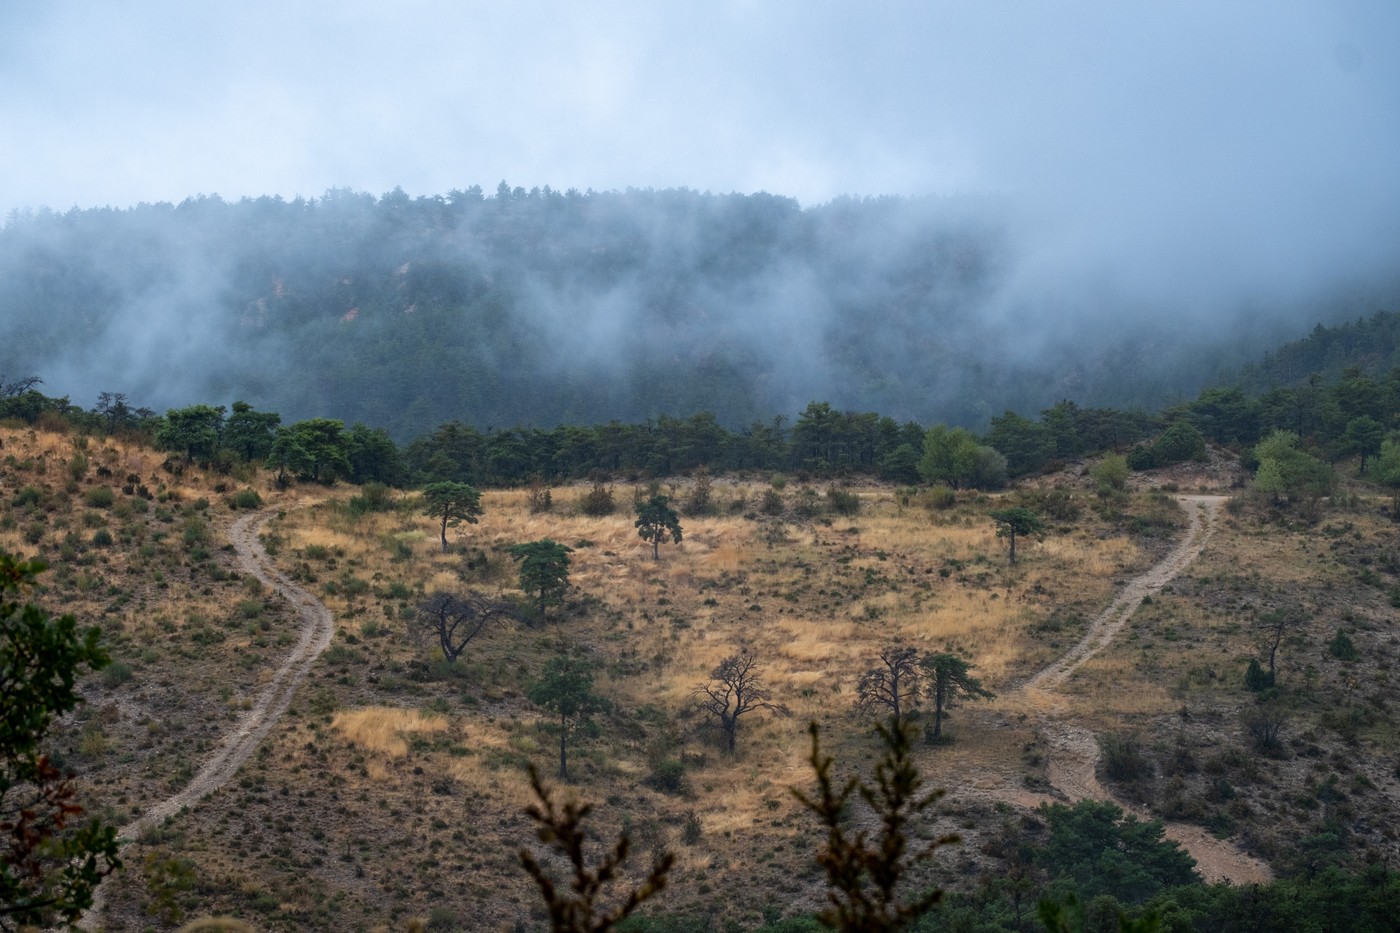
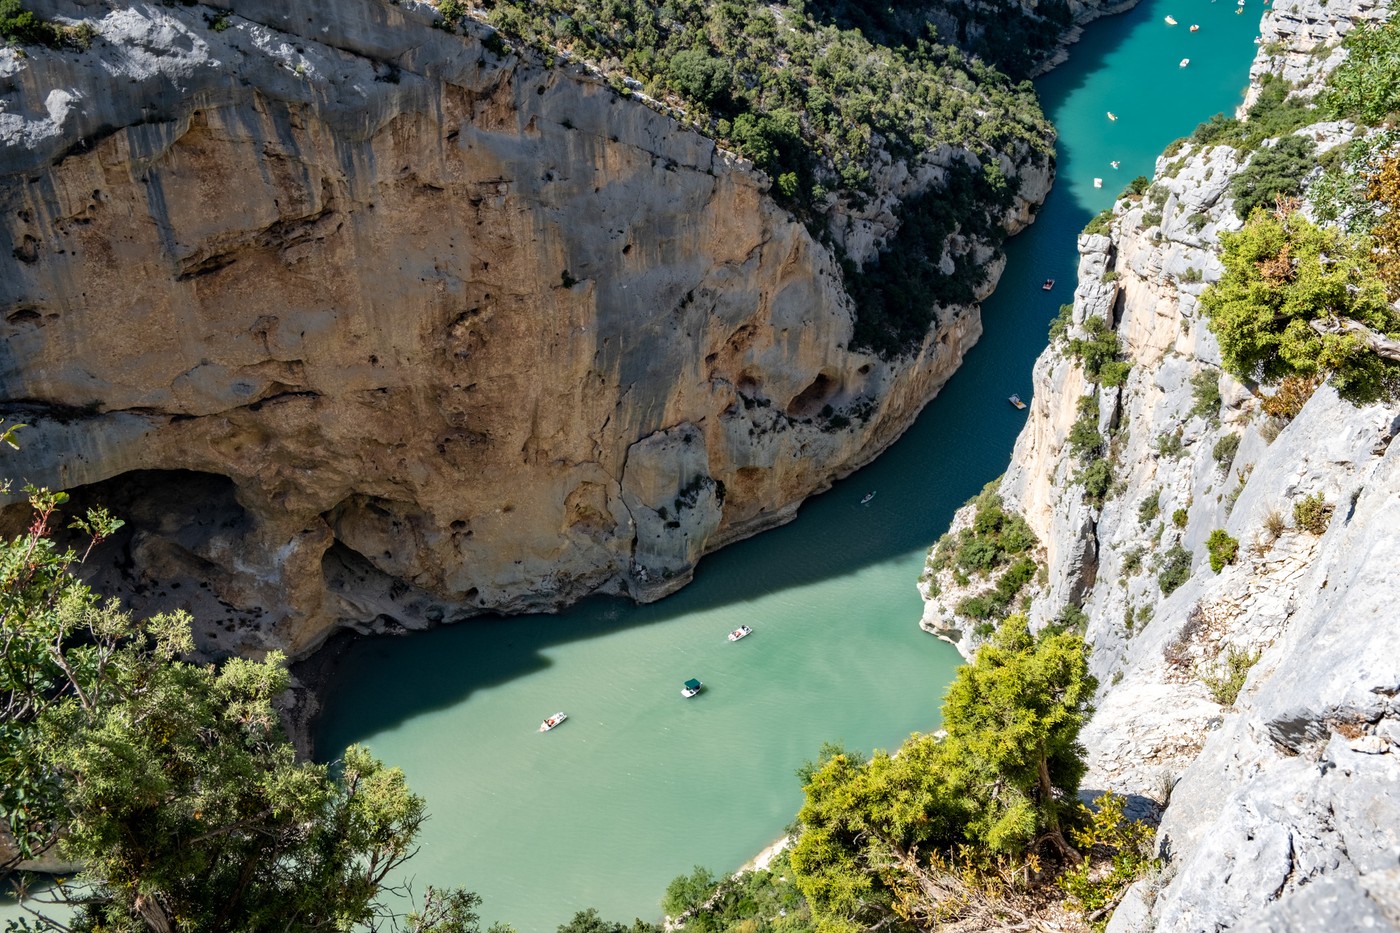
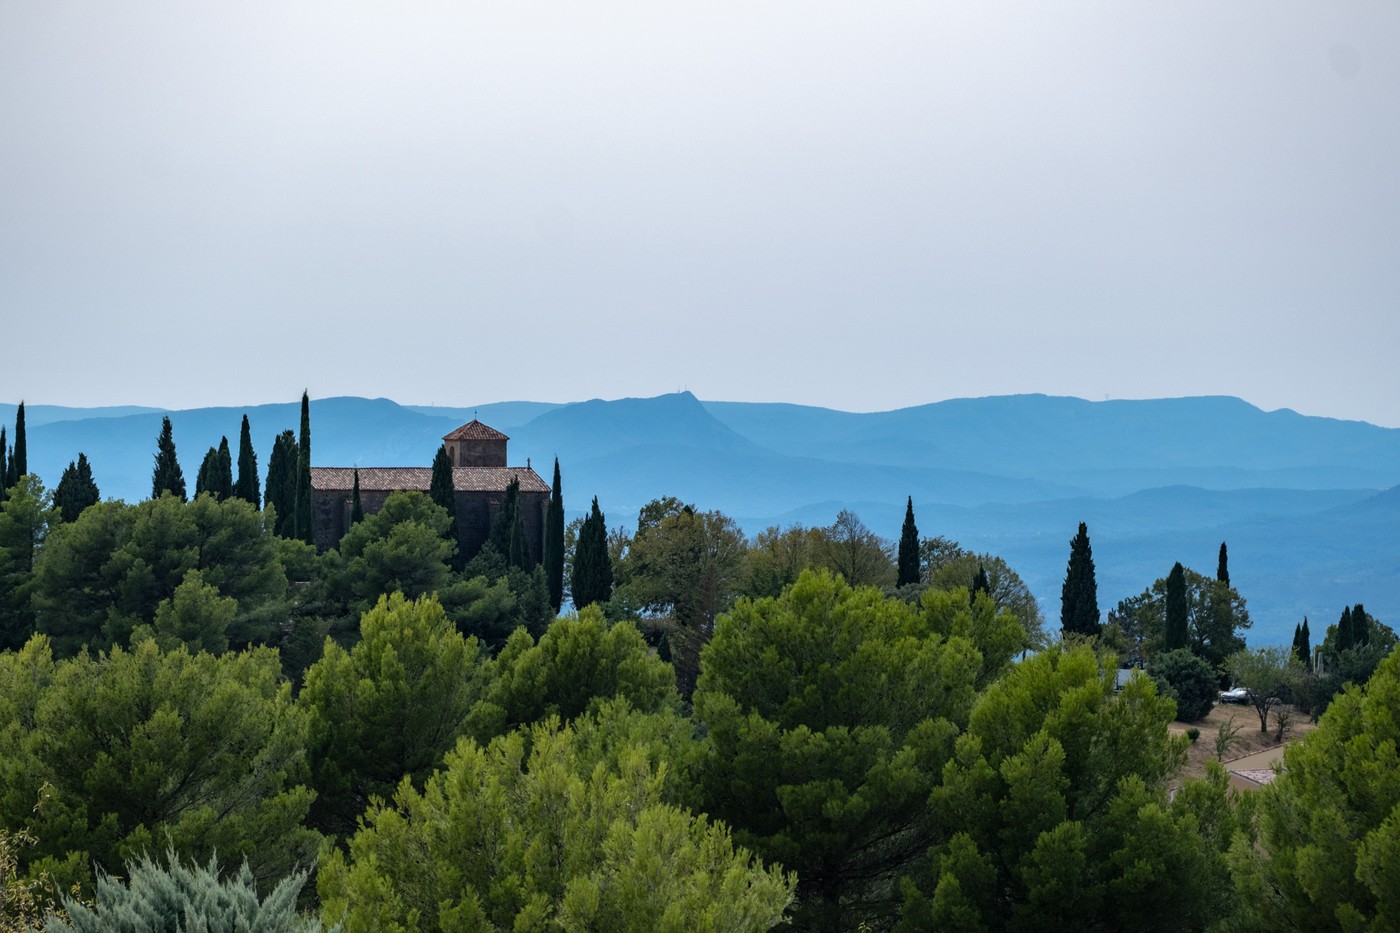
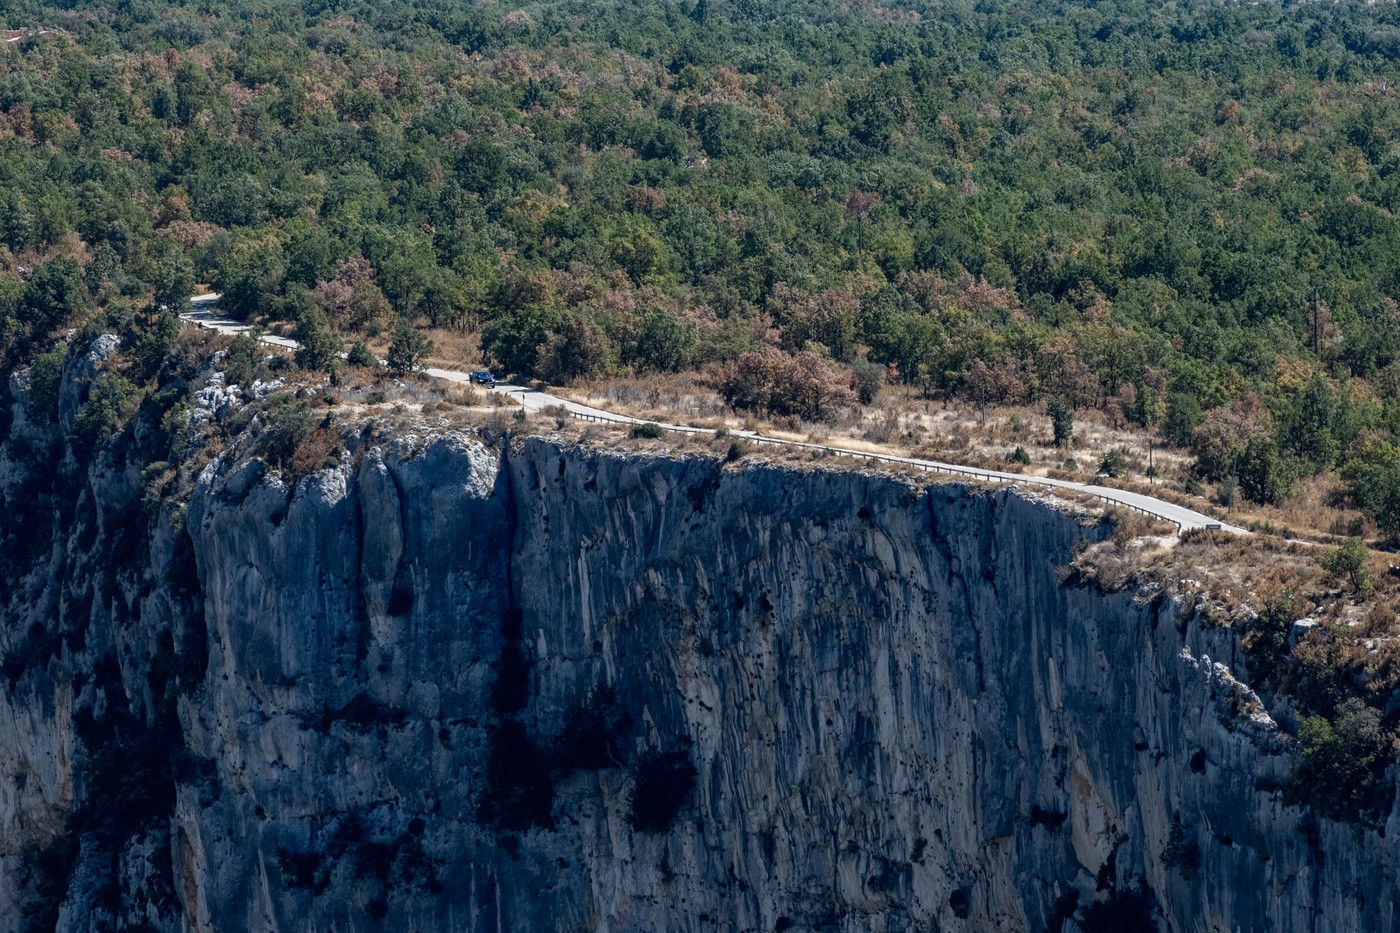
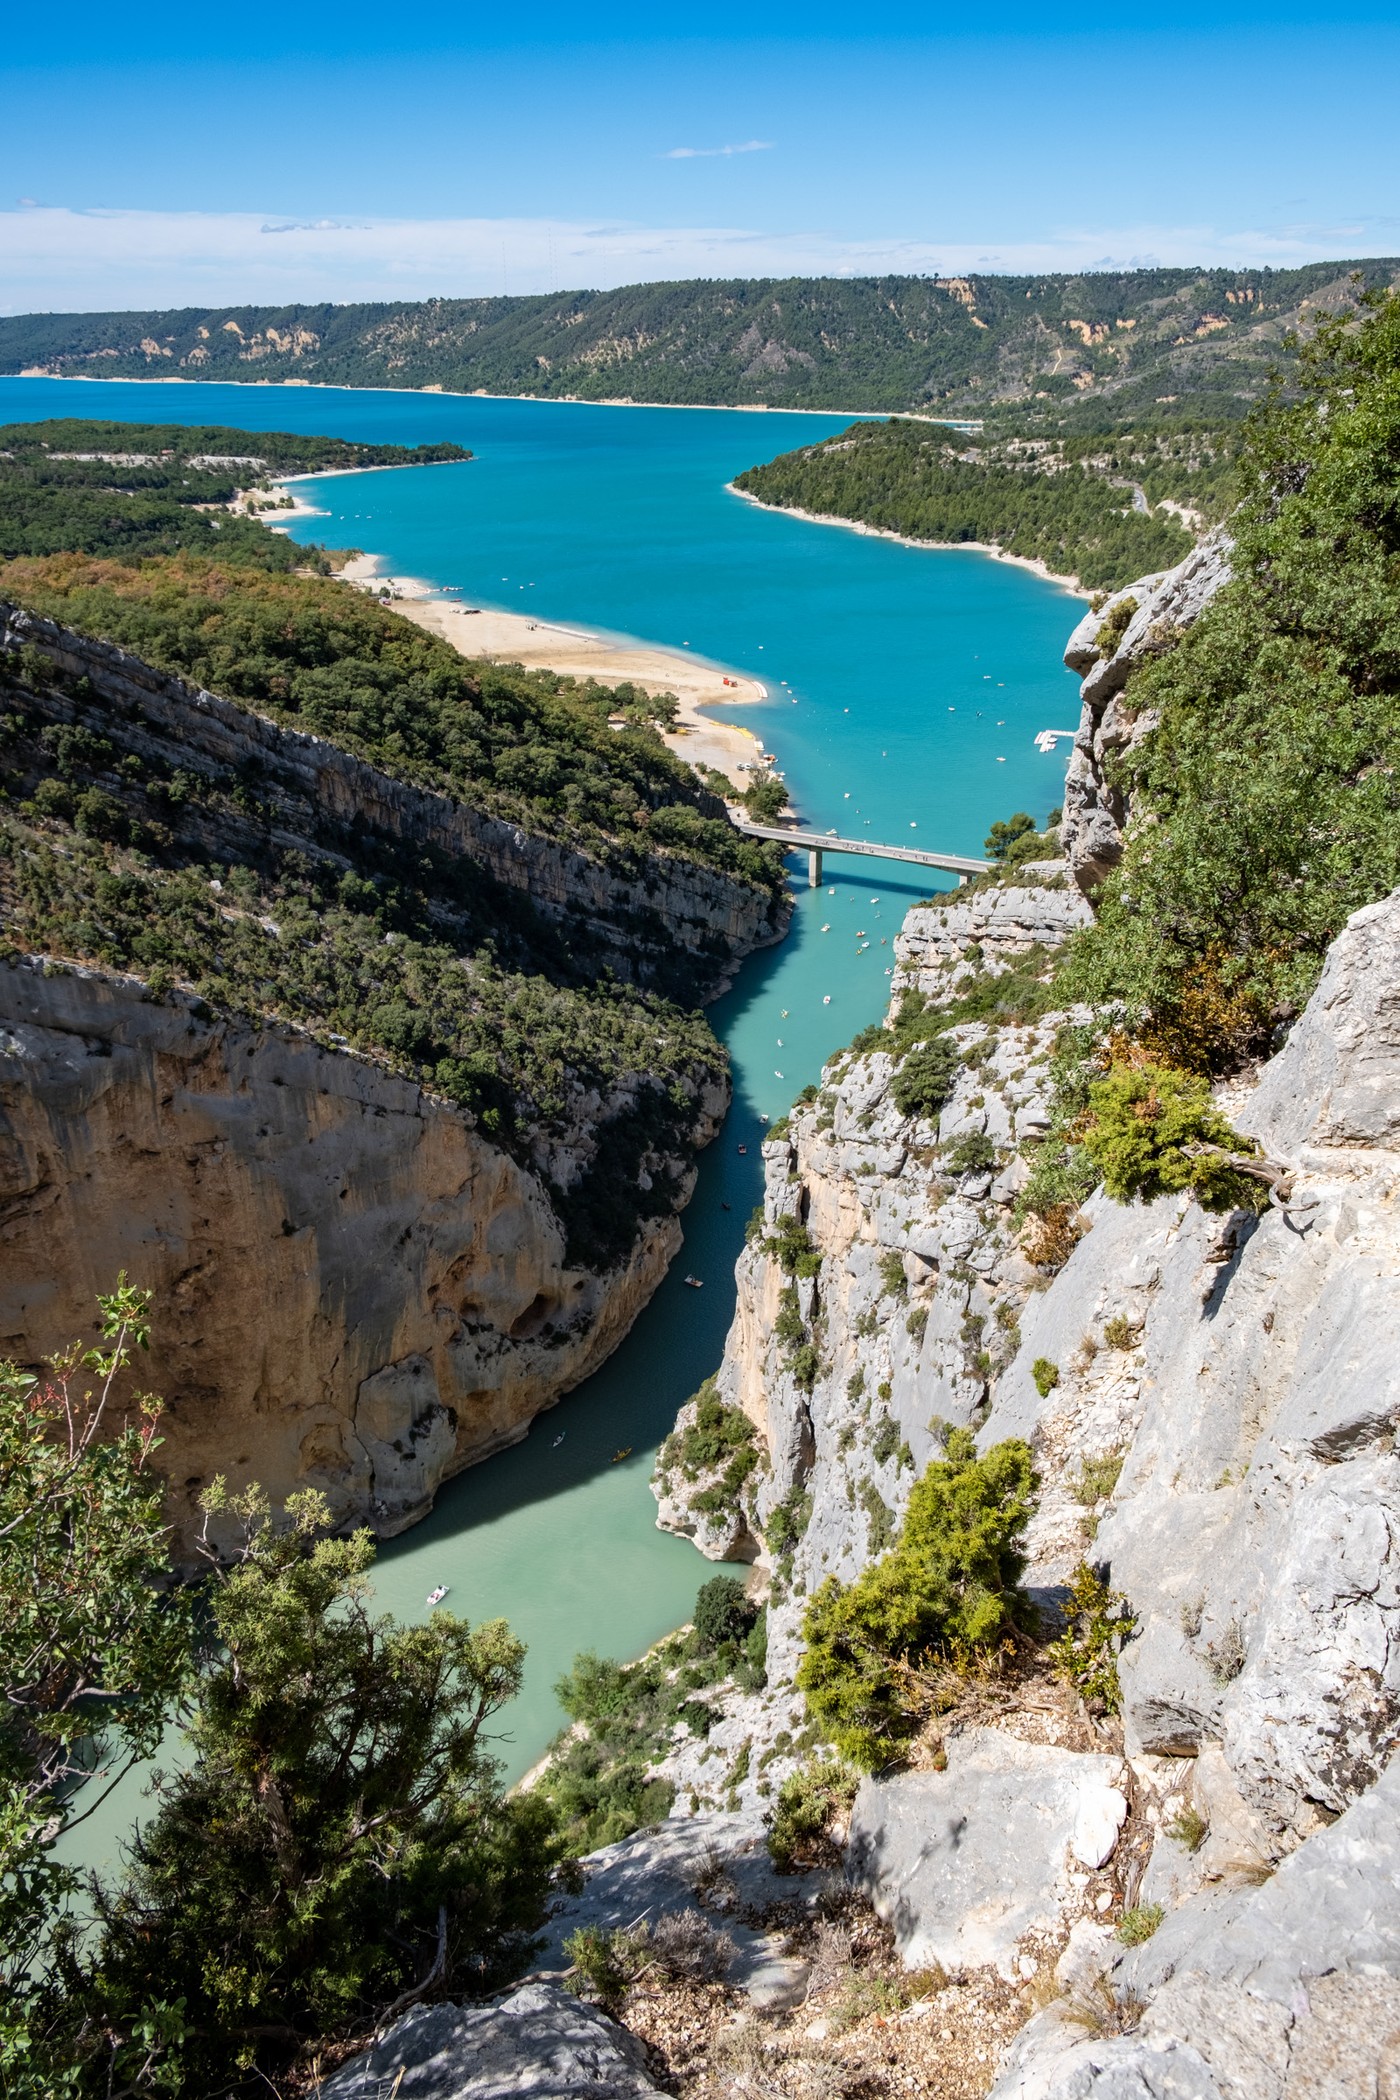
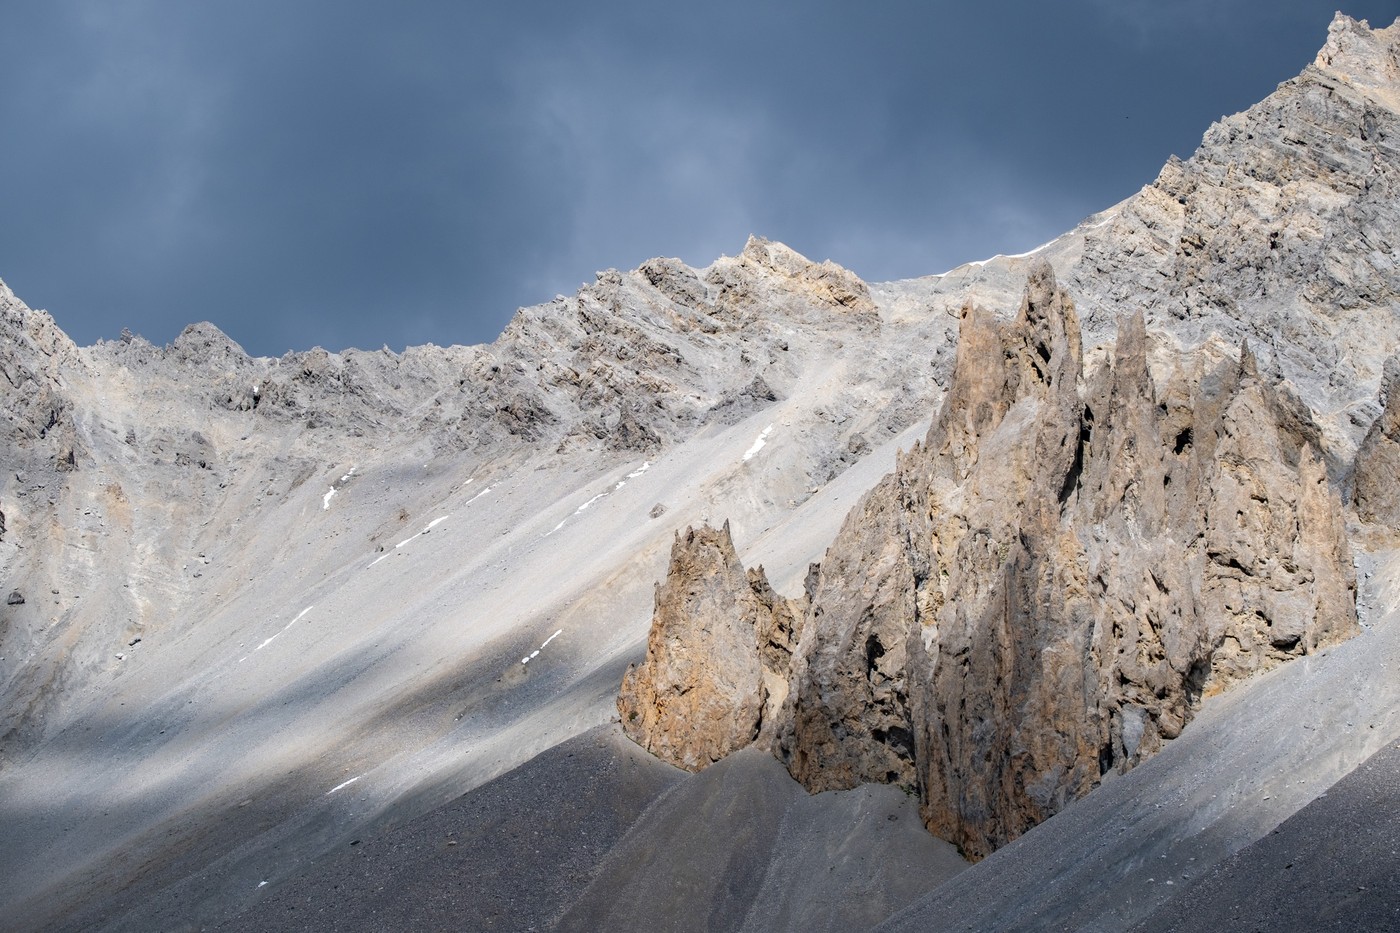
Parc naturel régional du Verdon
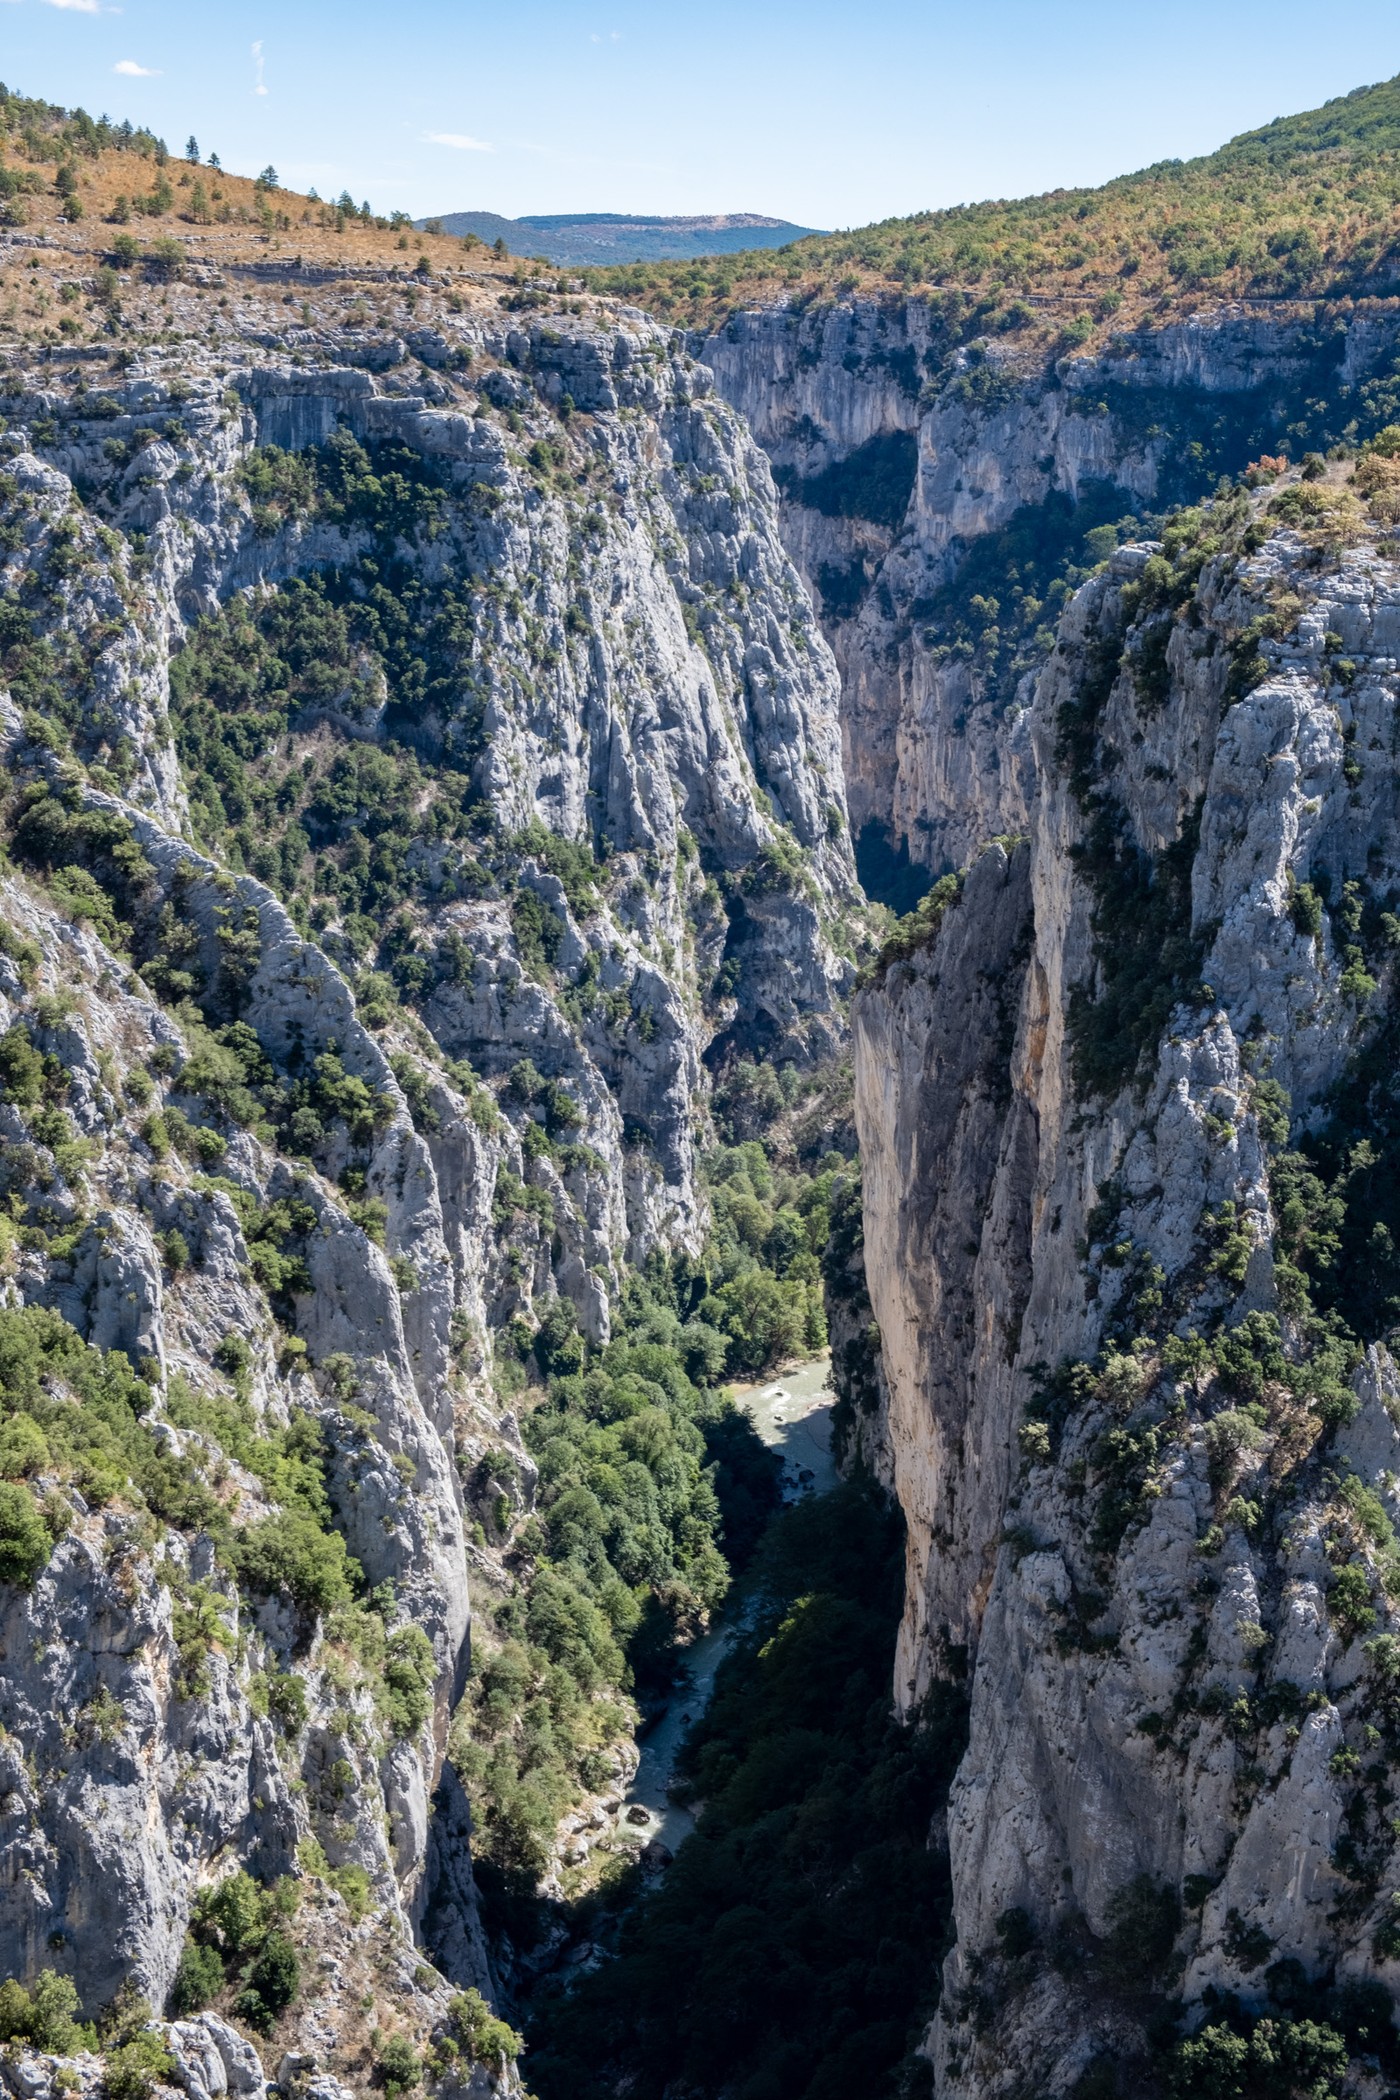
The Verdon National Park in France is a stunning natural area known for its deep canyon, turquoise river, and dramatic limestone cliffs. It’s a fantastic destination for bikepacking, offering scenic routes, beautiful mountain towns, and opportunities to explore the picturesque landscapes of Provence. The iconic Canyon Verdon is a highlight of the park’s rugged beauty.
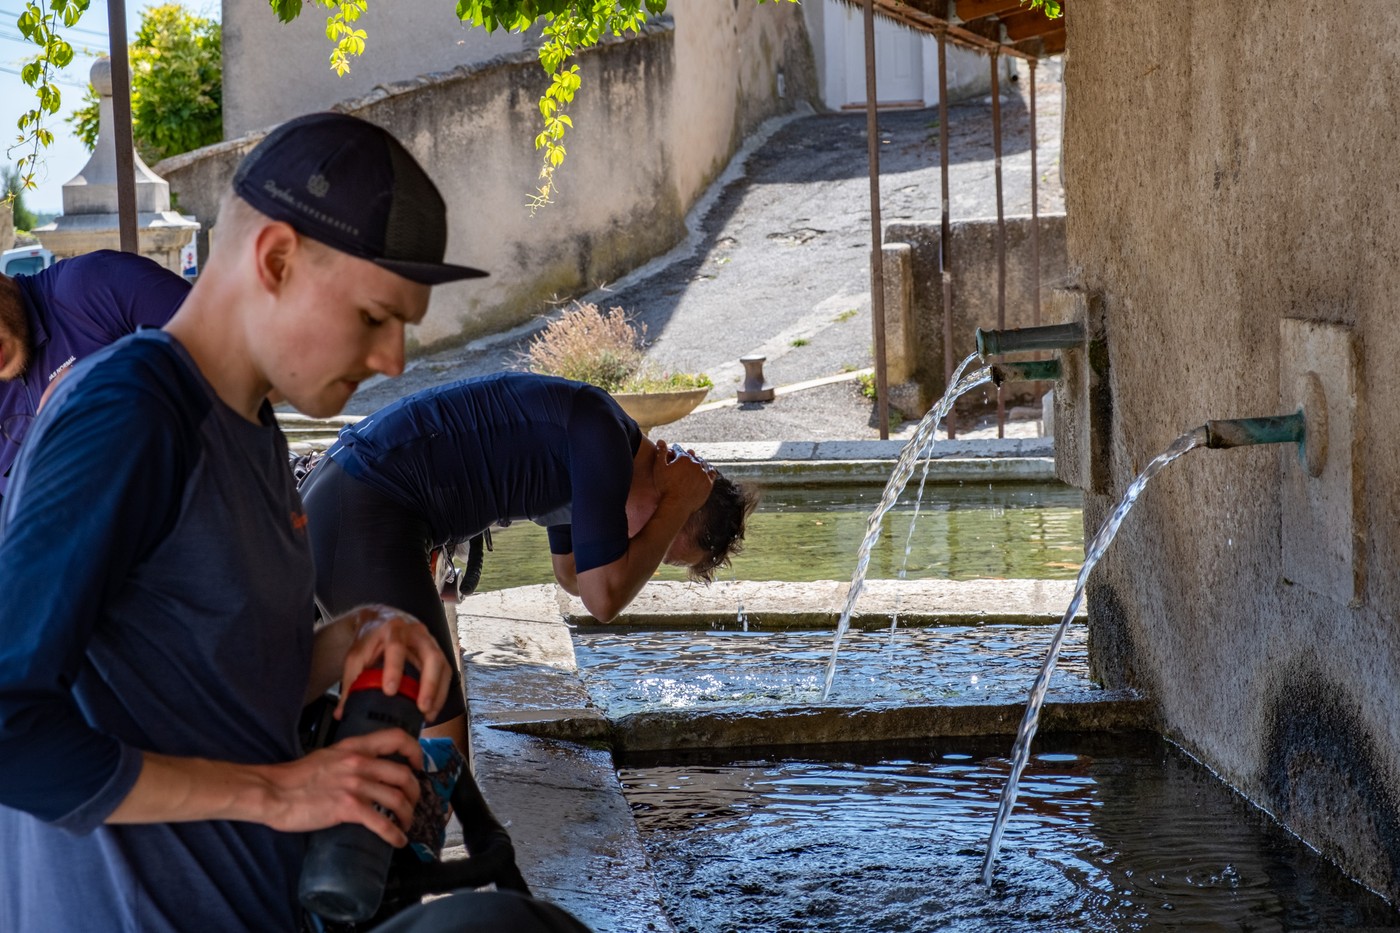
Moreover, in every village we passed through, we found patisseries serving fresh croissants, pain au chocolat, and espresso, making for a great start to each day of our bikepacking trip.
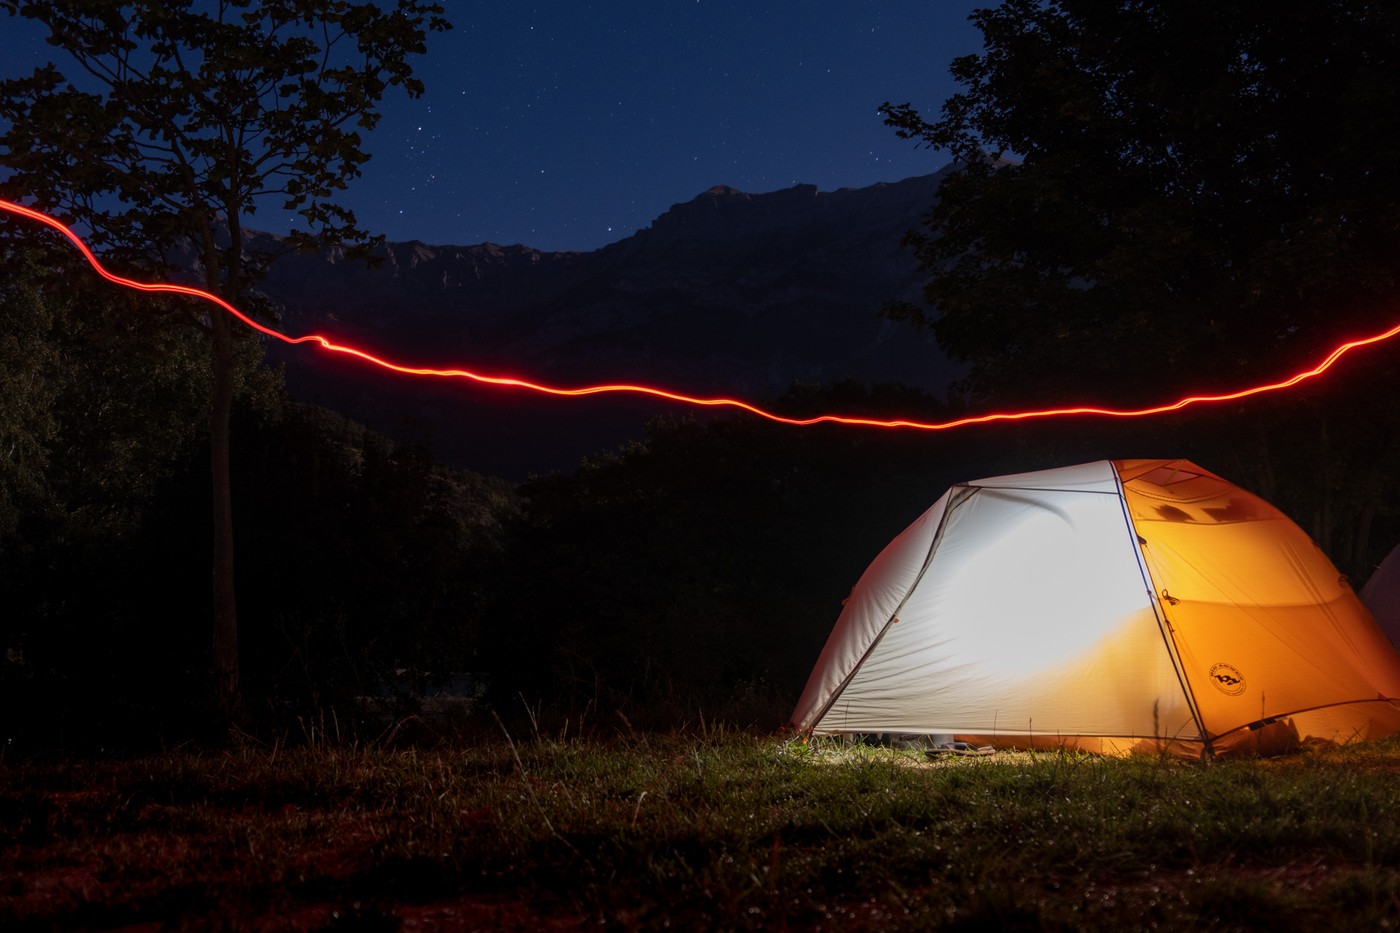
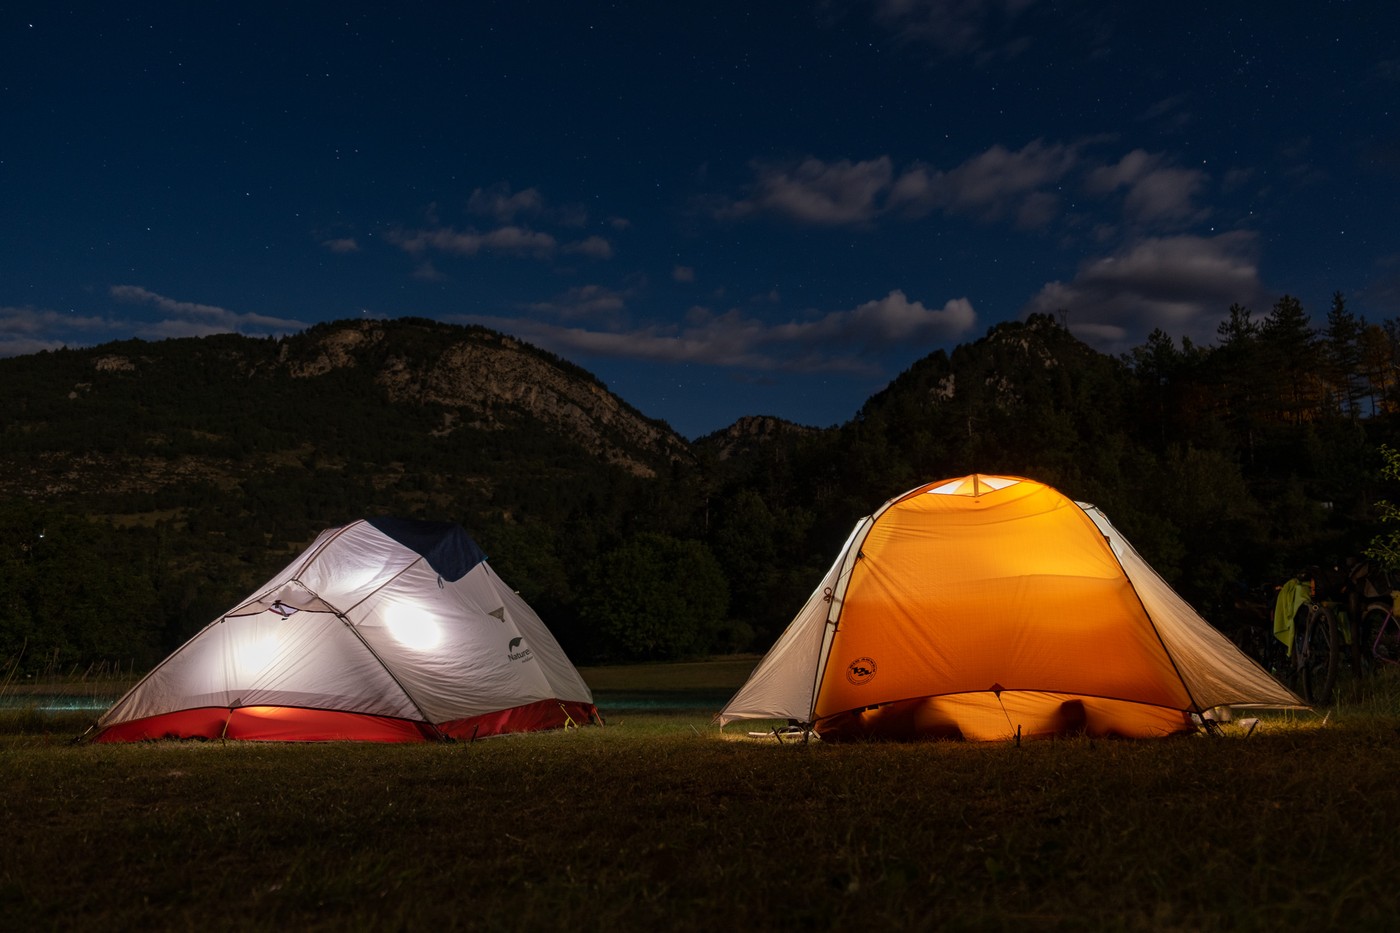
Camping
I was pleasantly surprised by the many well-kept campsites in Provence. We easily found great spots to set up our tents and sometimes even had the option to order fresh bread and pastries for the morning. Two of my favourite campsites for their location are:
Alpes-de-Haute-Provence
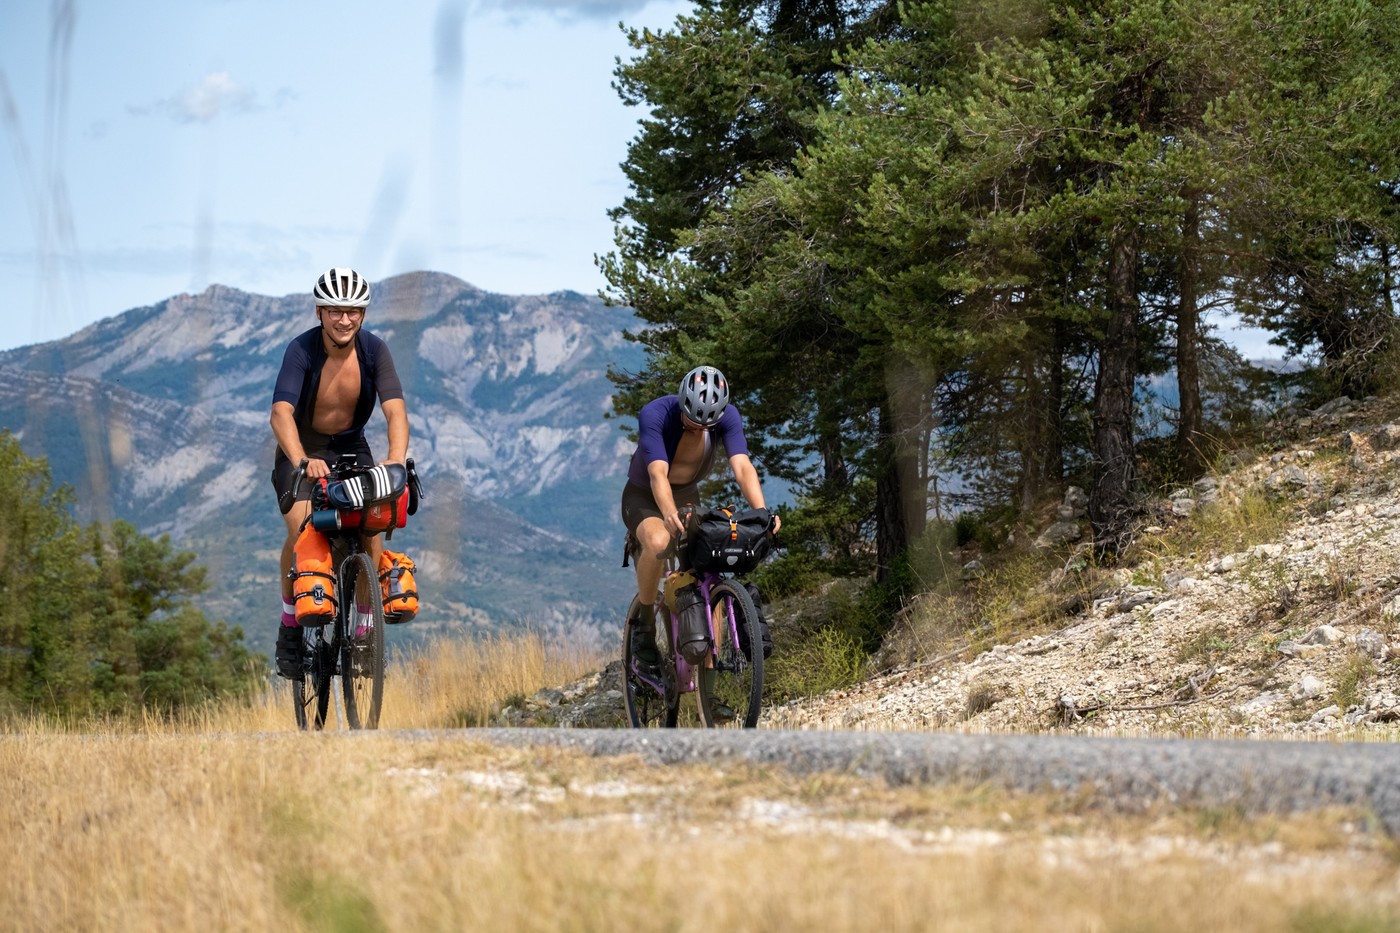
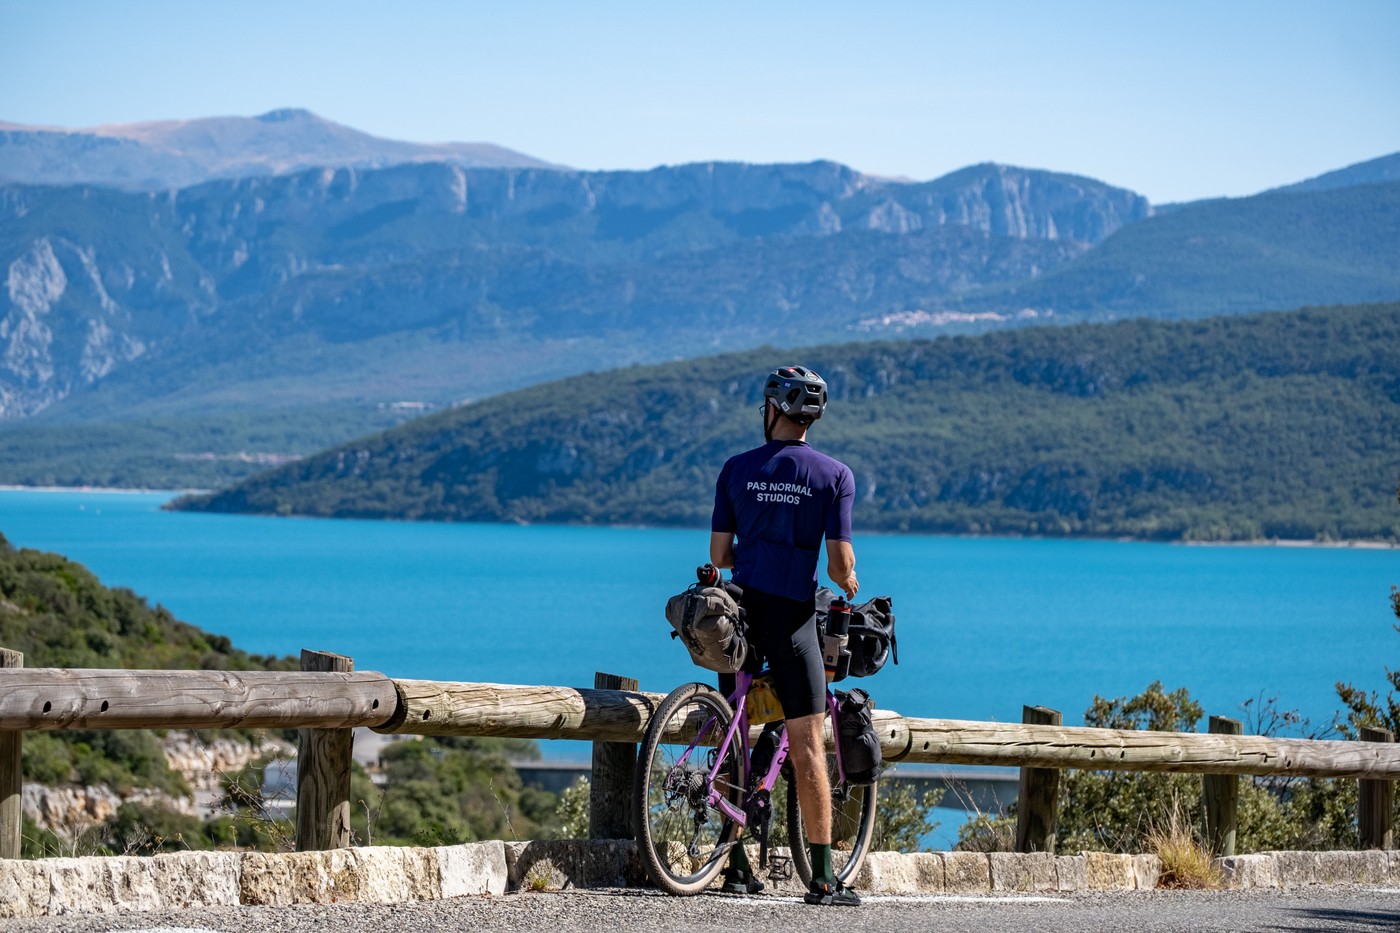
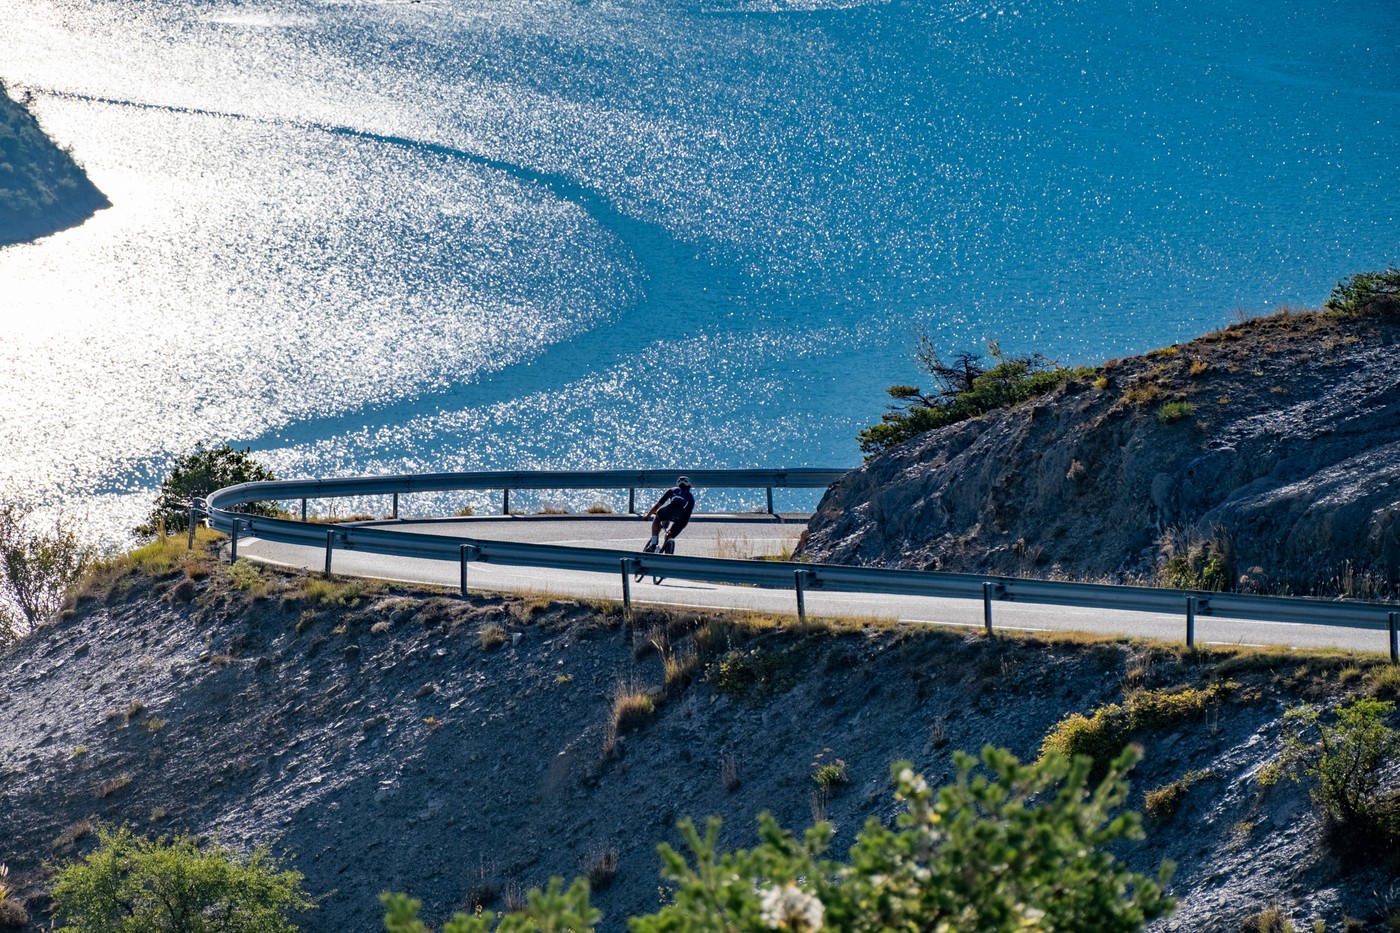
For the last two days of our bikepacking trip, we moved from Parc naturel régional du Verdon to Hautes-Alpes. During this leg of our journey, we enjoyed a two-day stay at the stunning campsite on Lac de Serre-Ponçon.
We left our tents and heavy bags at the campsite while we embarked on challenging rides up the famous Tour de France climbs, Col de Vars and Col d’Izoard.
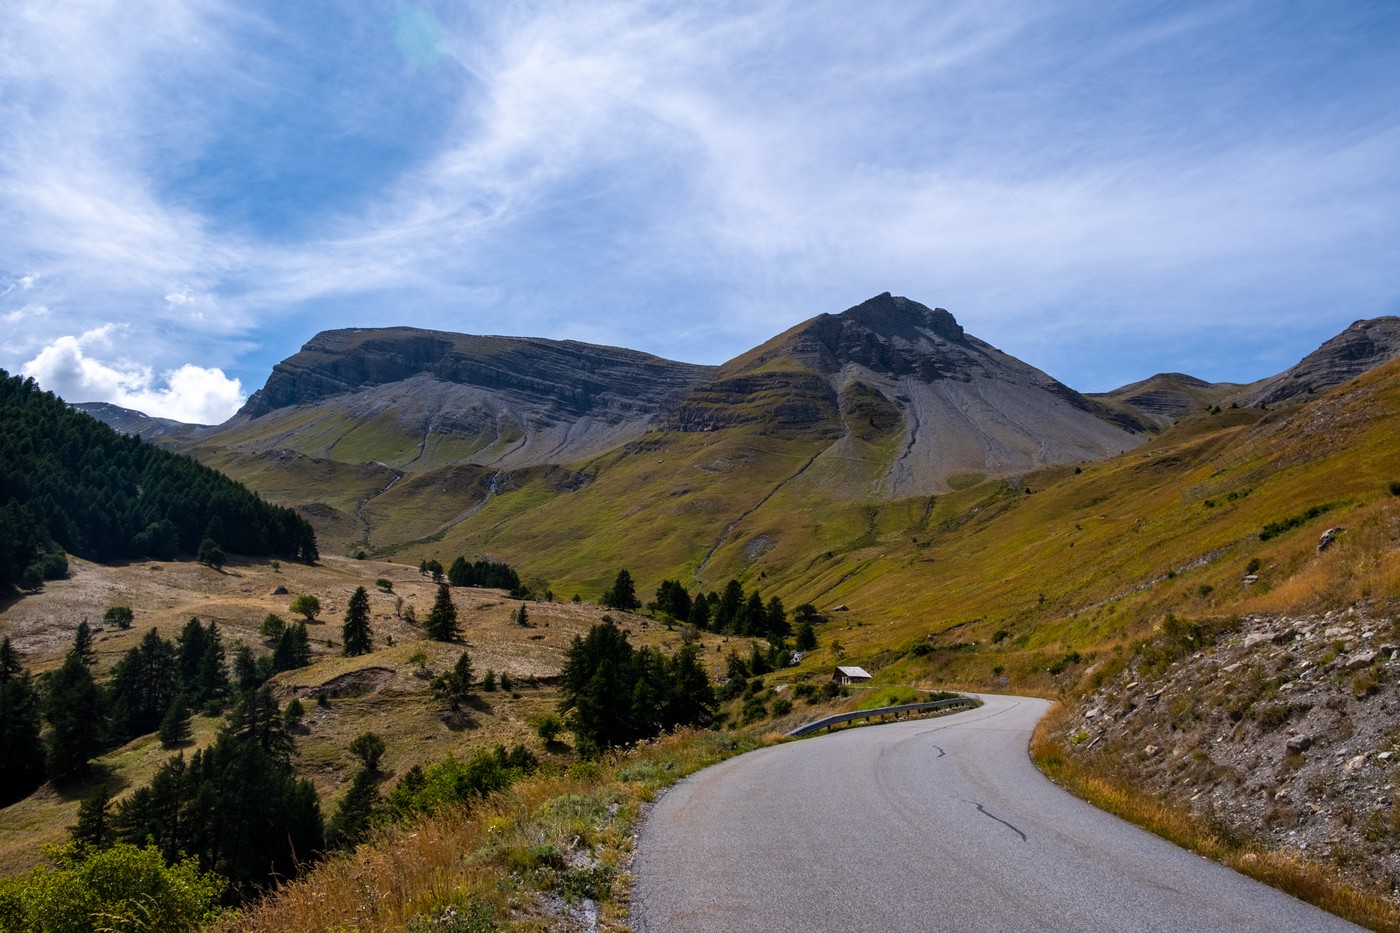
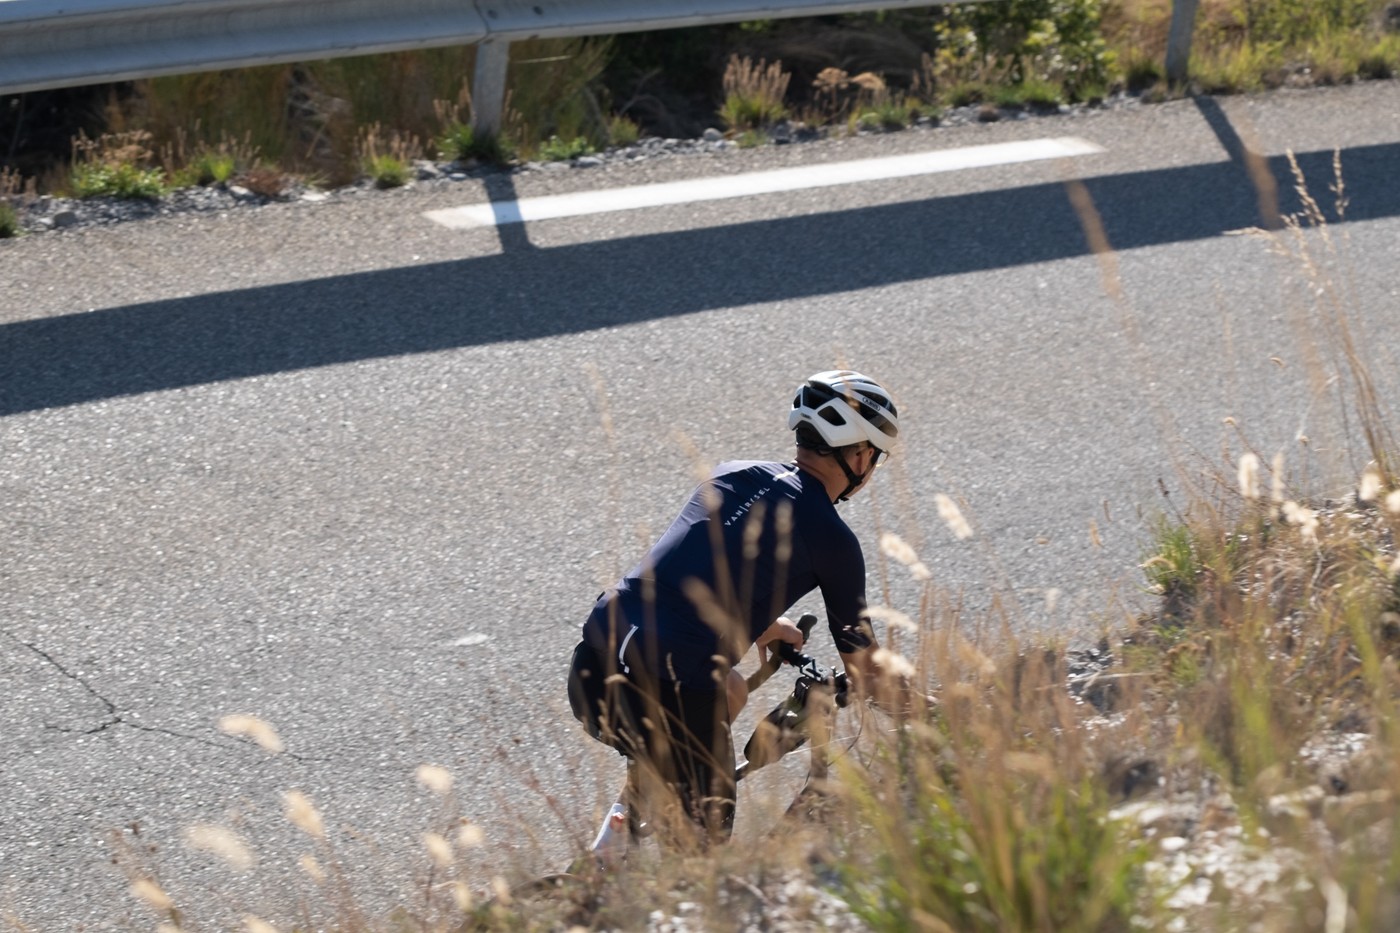
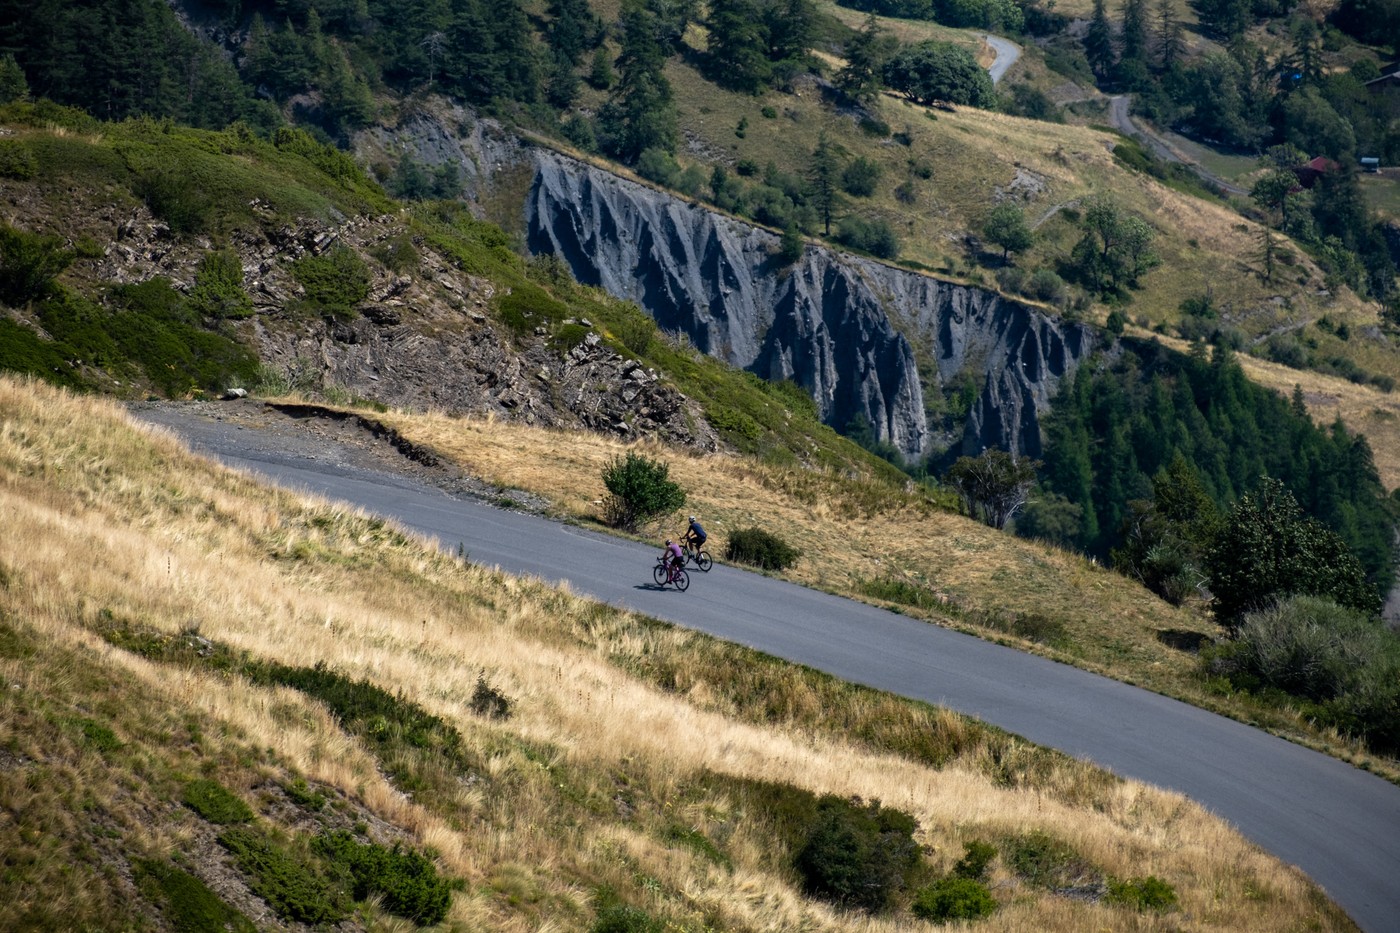
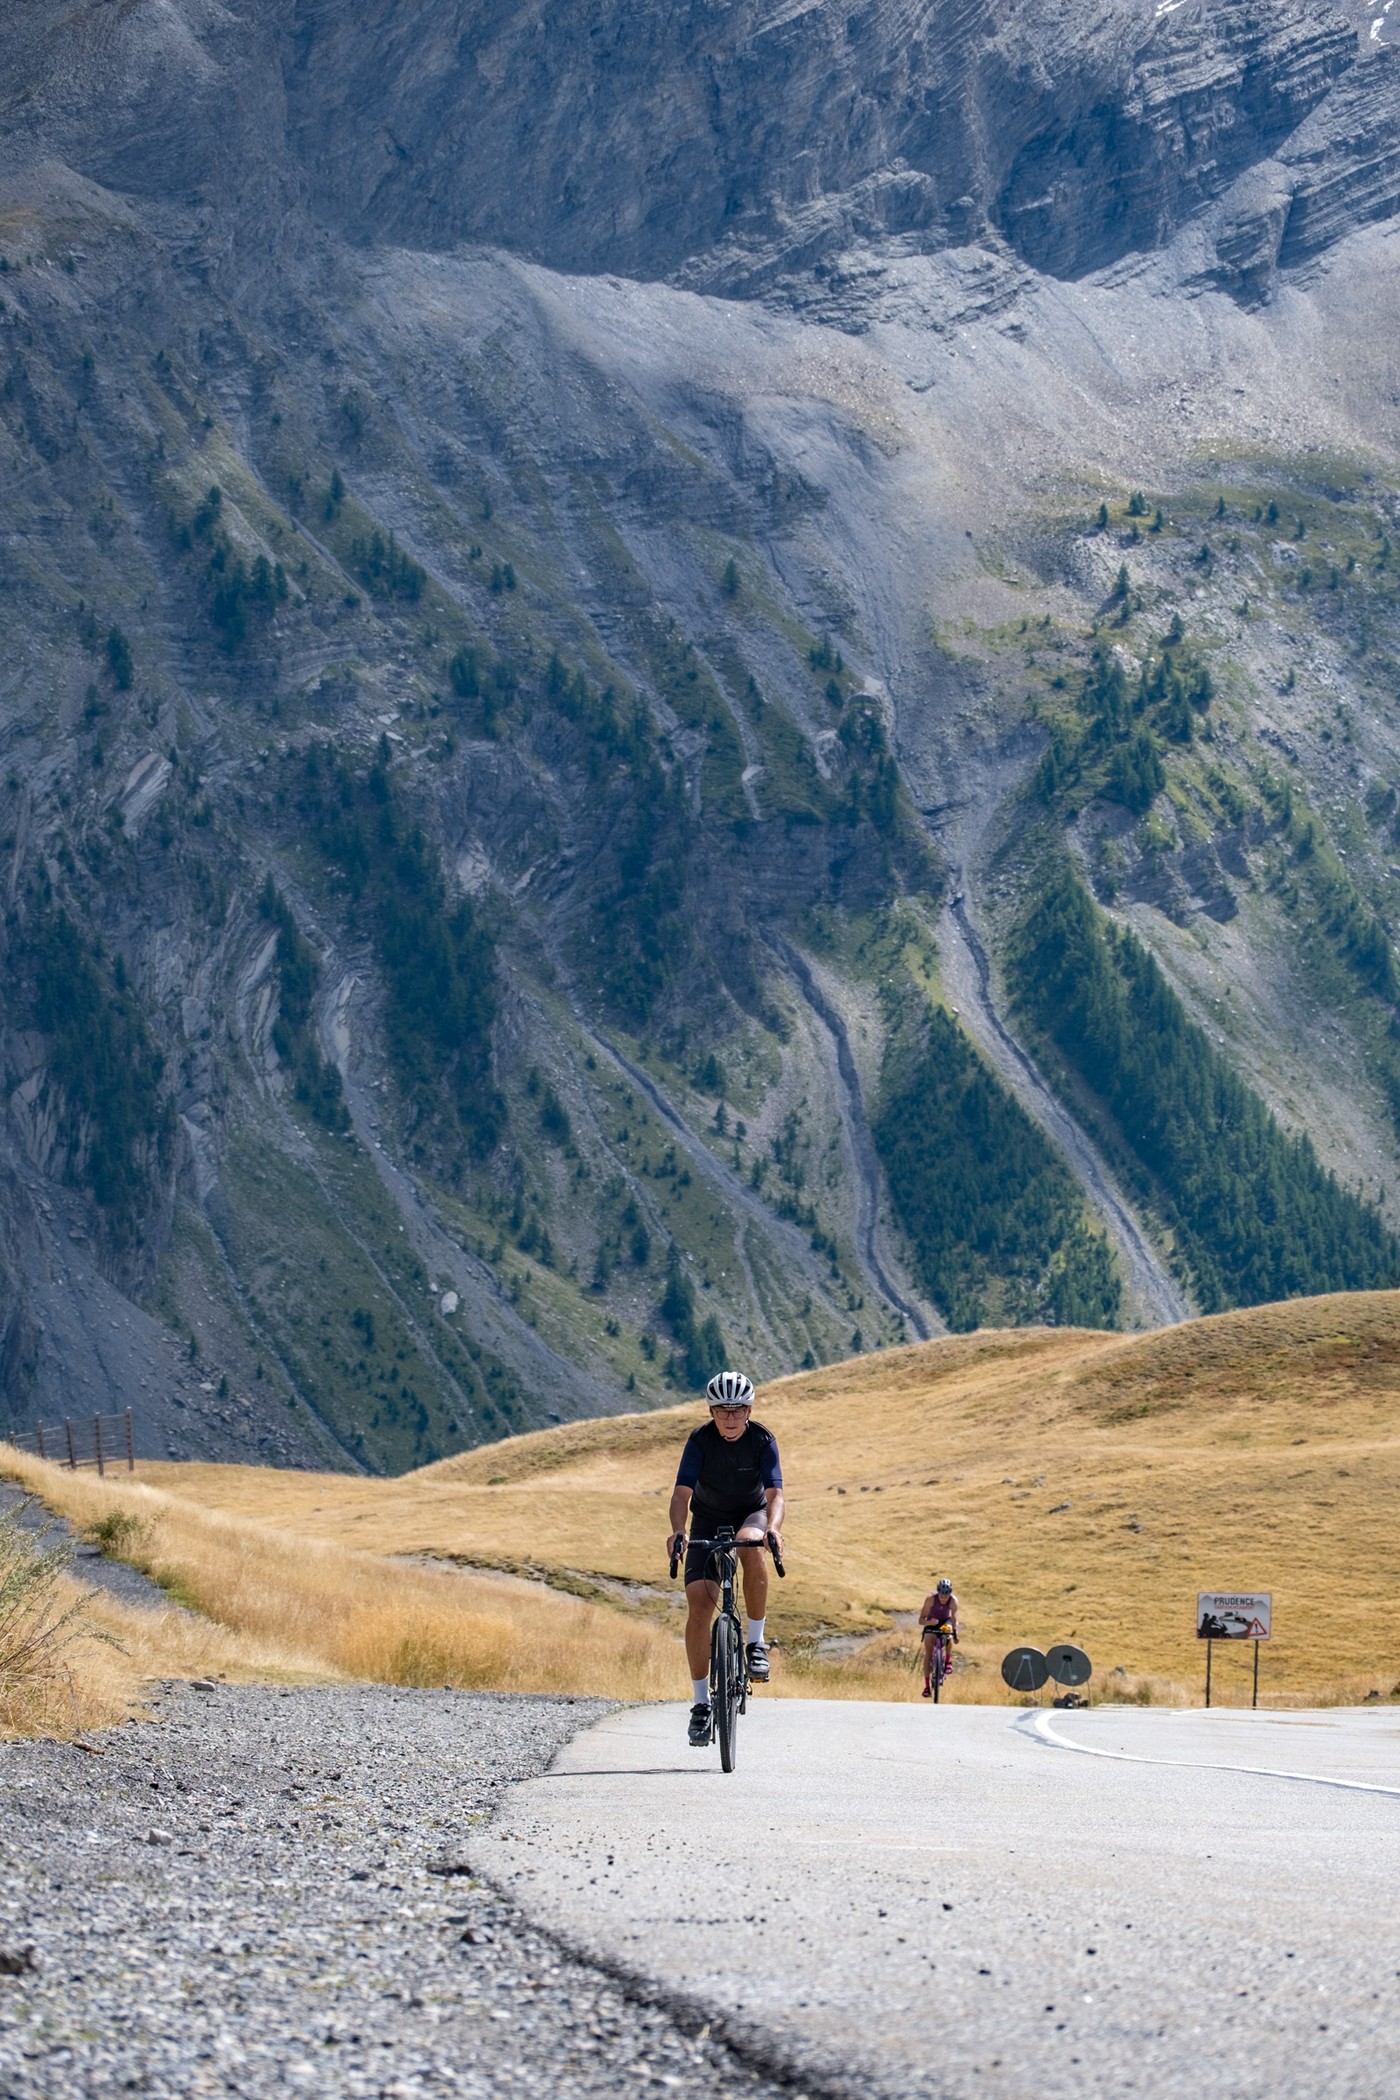
Col de Vars
Located on the famous Route des Grandes Alpes, the Col de Vars was a perfect end to our bikepacking trip in France. With a length of 20 kilometres from Guillestre, it gets you to an altitude of 2108m.
The Col de Vars is part of the history of the Tour de France. It has been crossed 35 times by the Grande Boucle since the first passage in 1922.
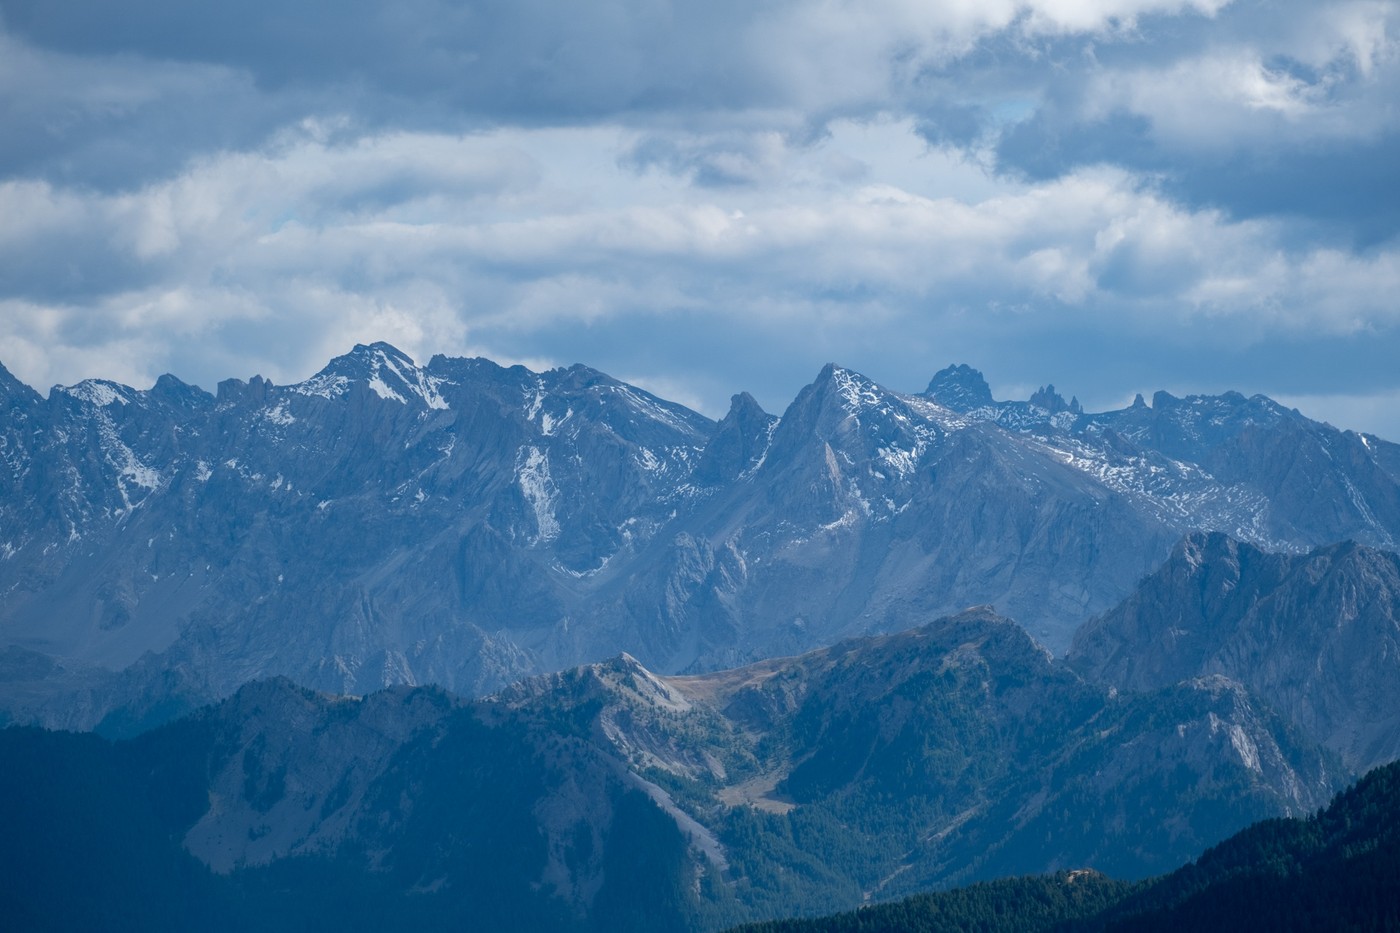
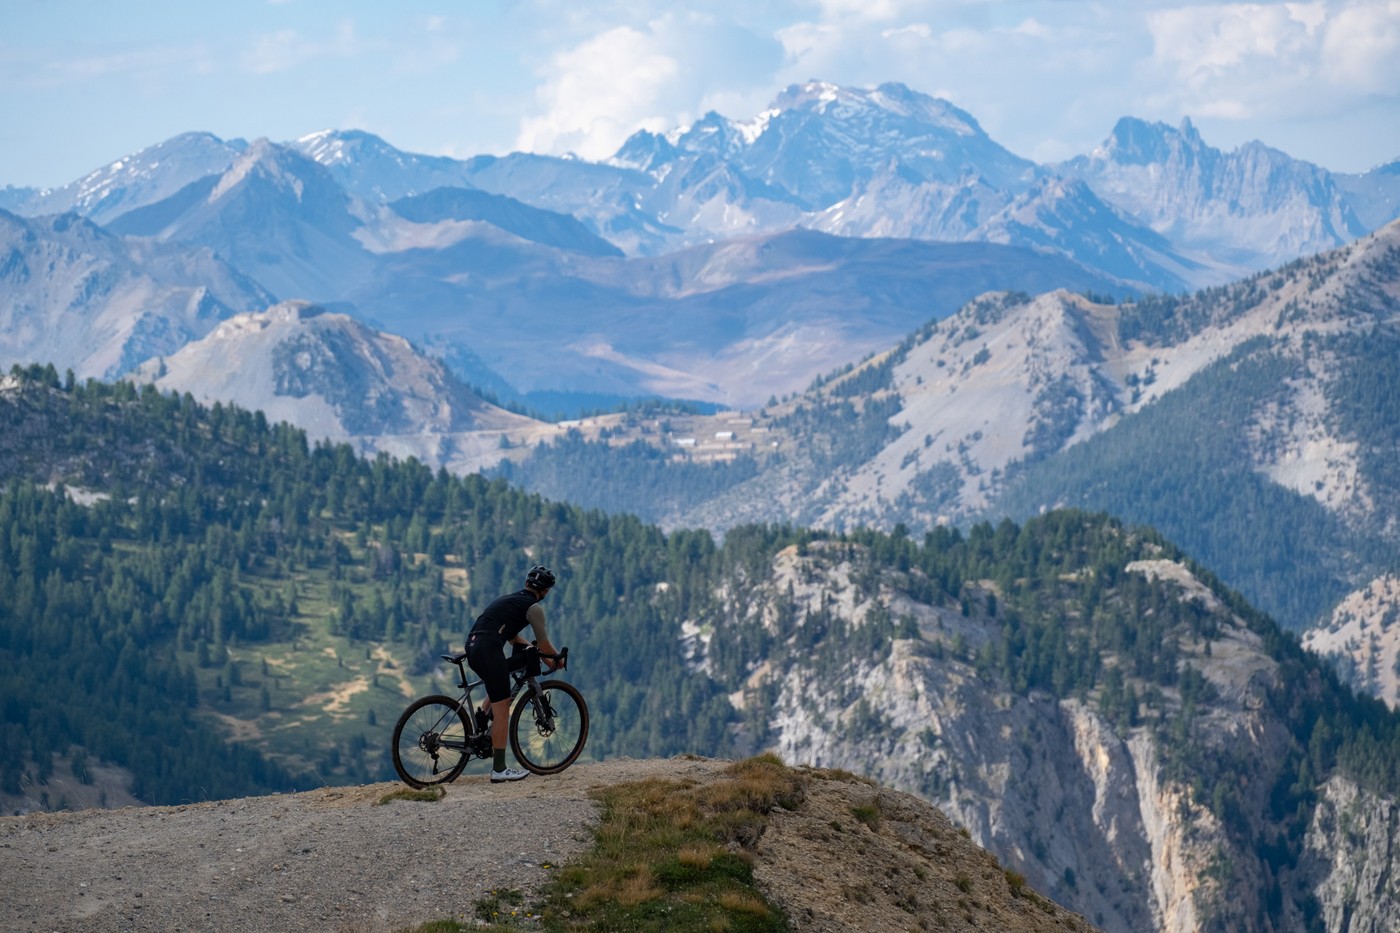
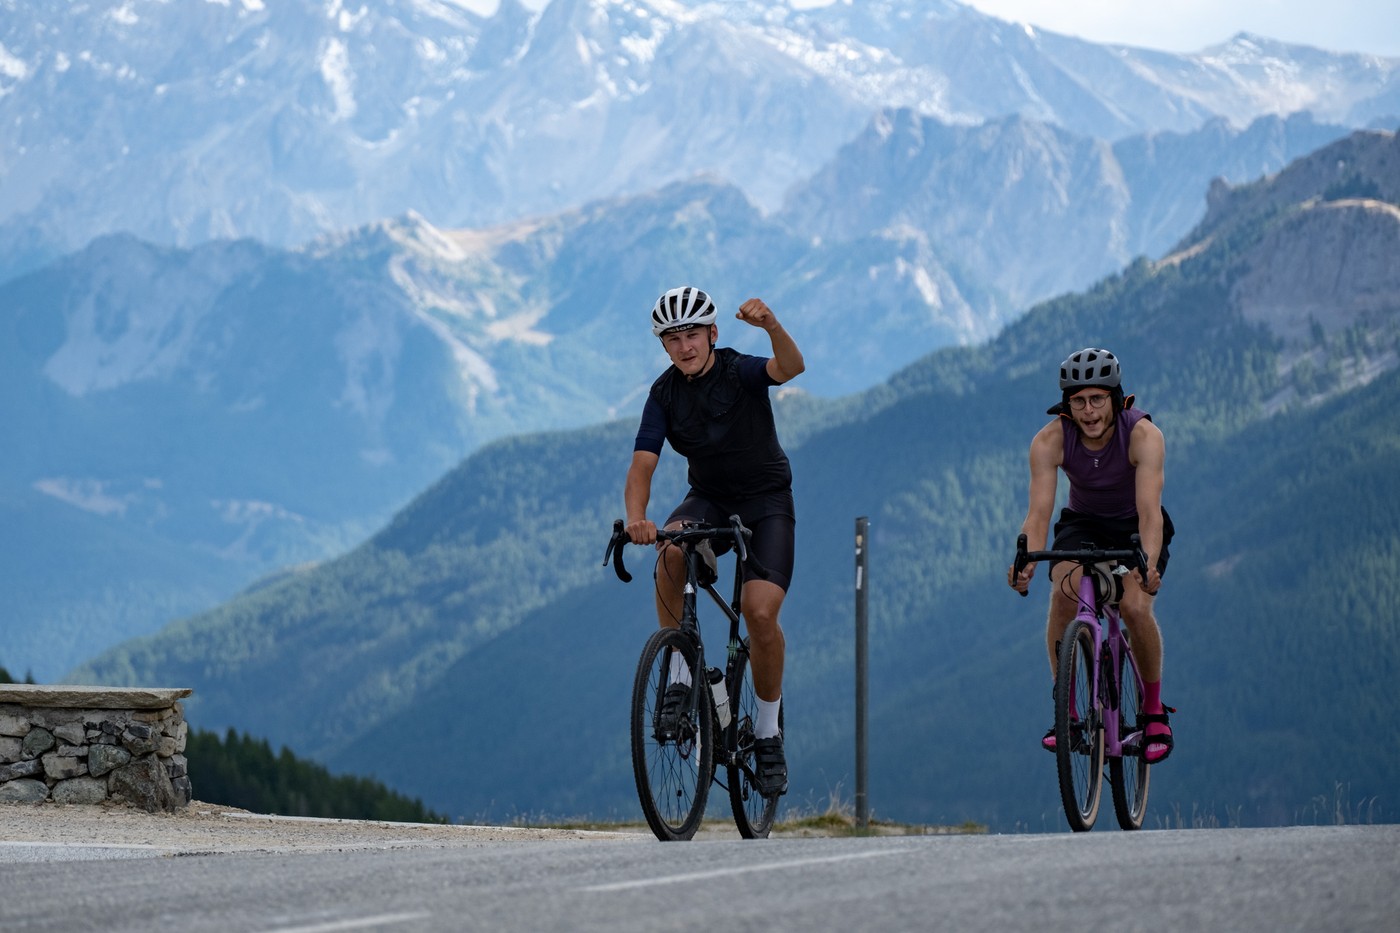
Col d’Izoard
The climb reaches an altitude of 2360m, which is one of the highest points in the French Alps. It’s a 31.5km ascent from Guillestre with an average gradient of 4.8%. The Col d’Izoard is famous in the Tour de France, often categorized as an HC climb. The stunning La Casse Déserte landscape on this climb is iconic, making you feel like you’ve cycled to another planet when you reach this part of the ascent.
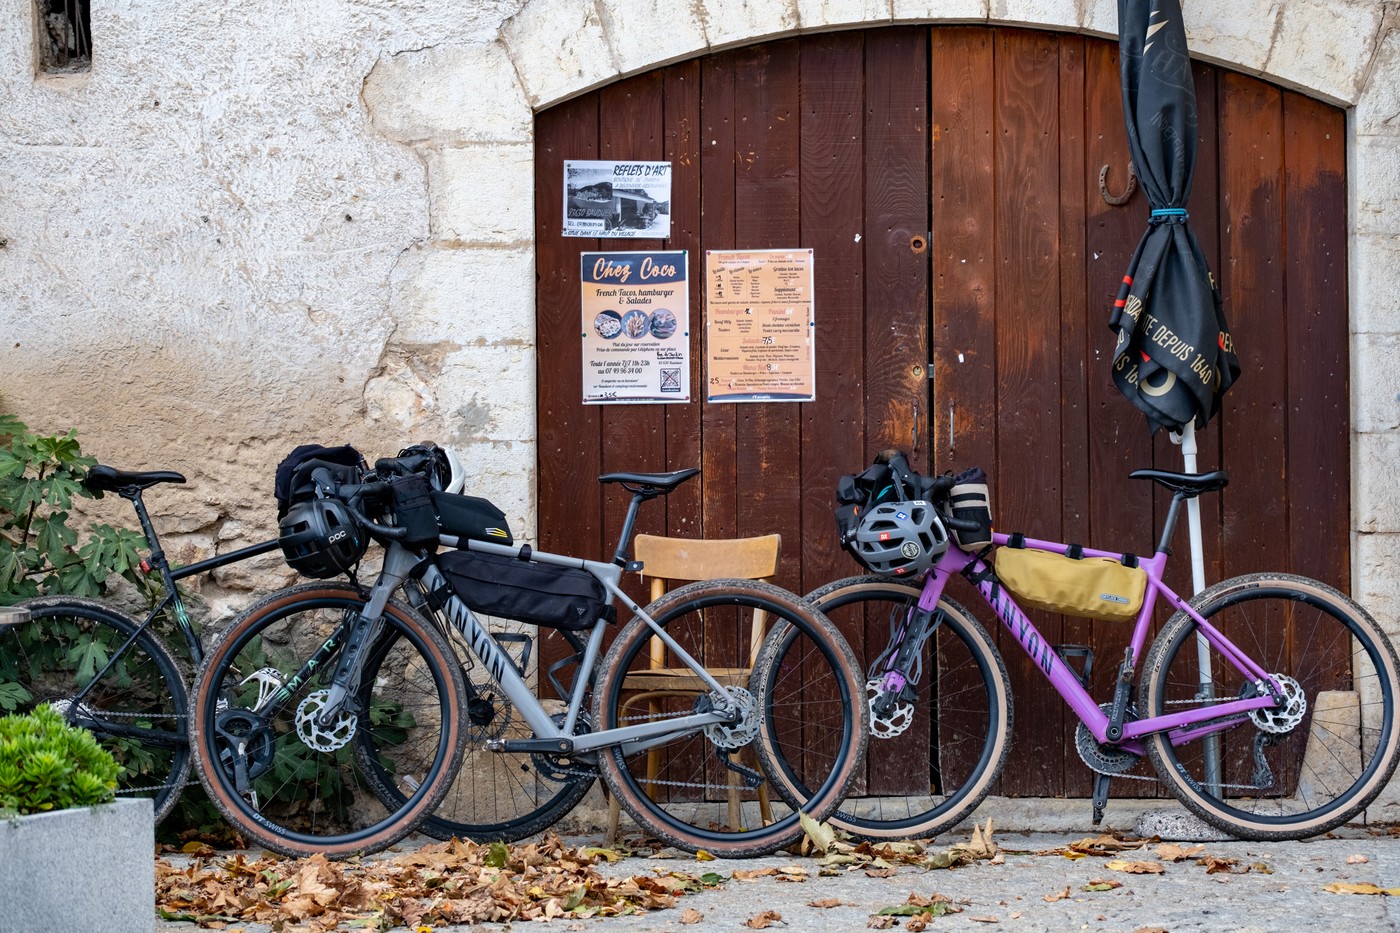
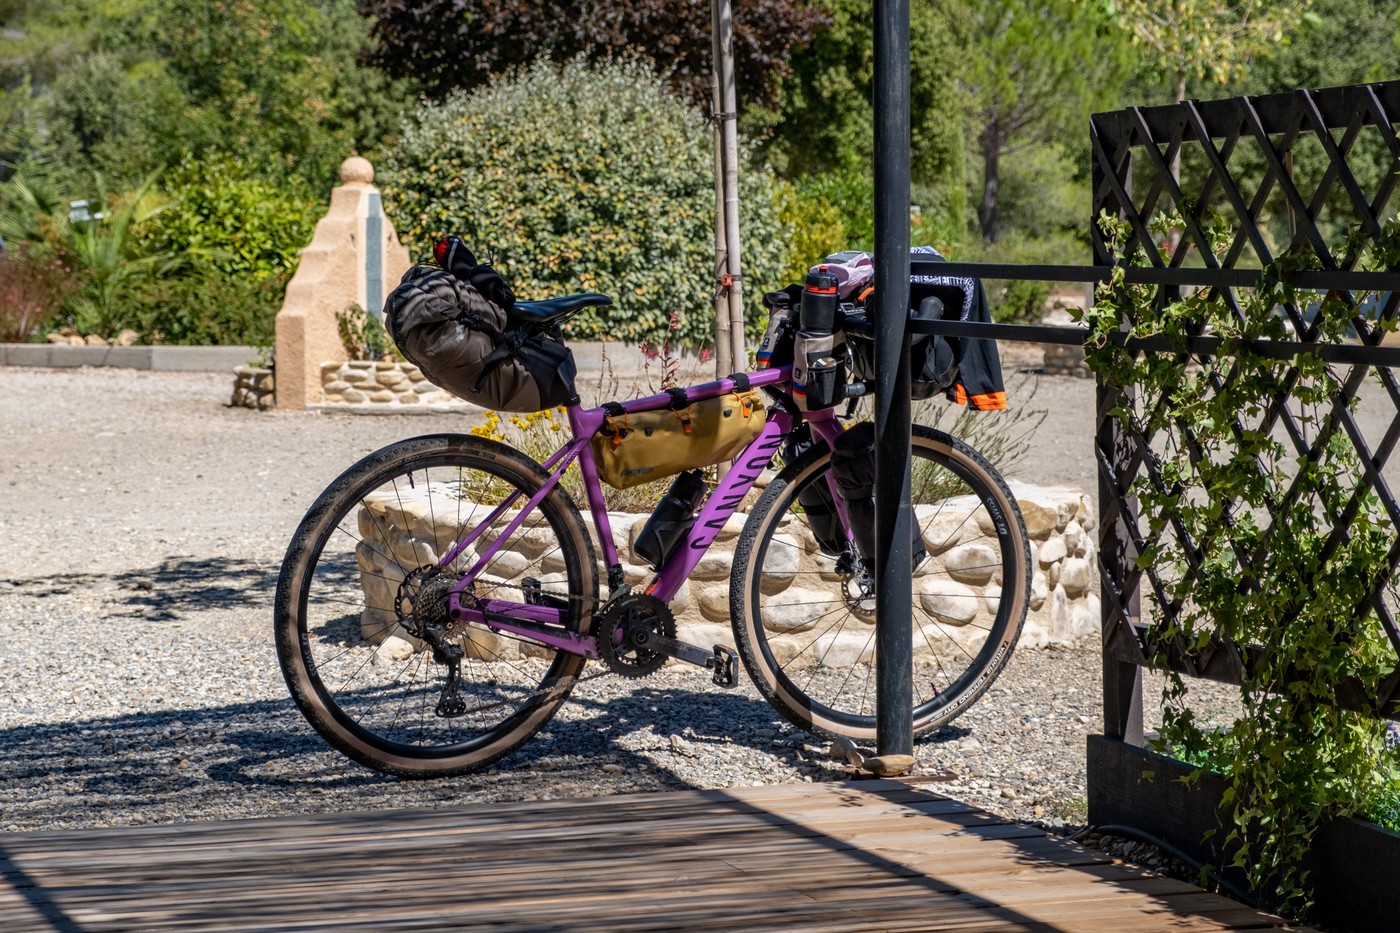
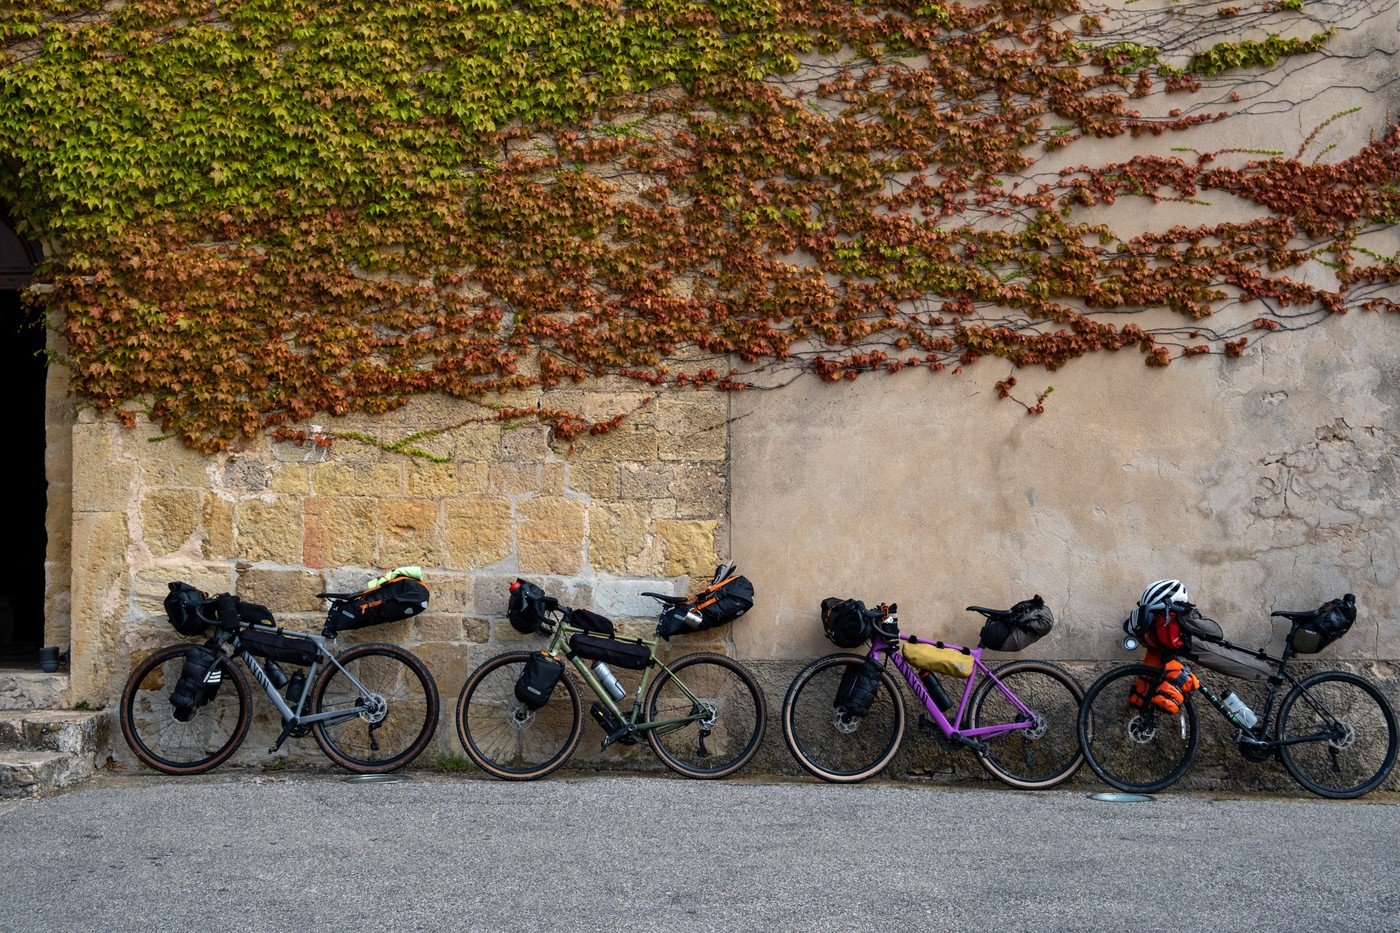
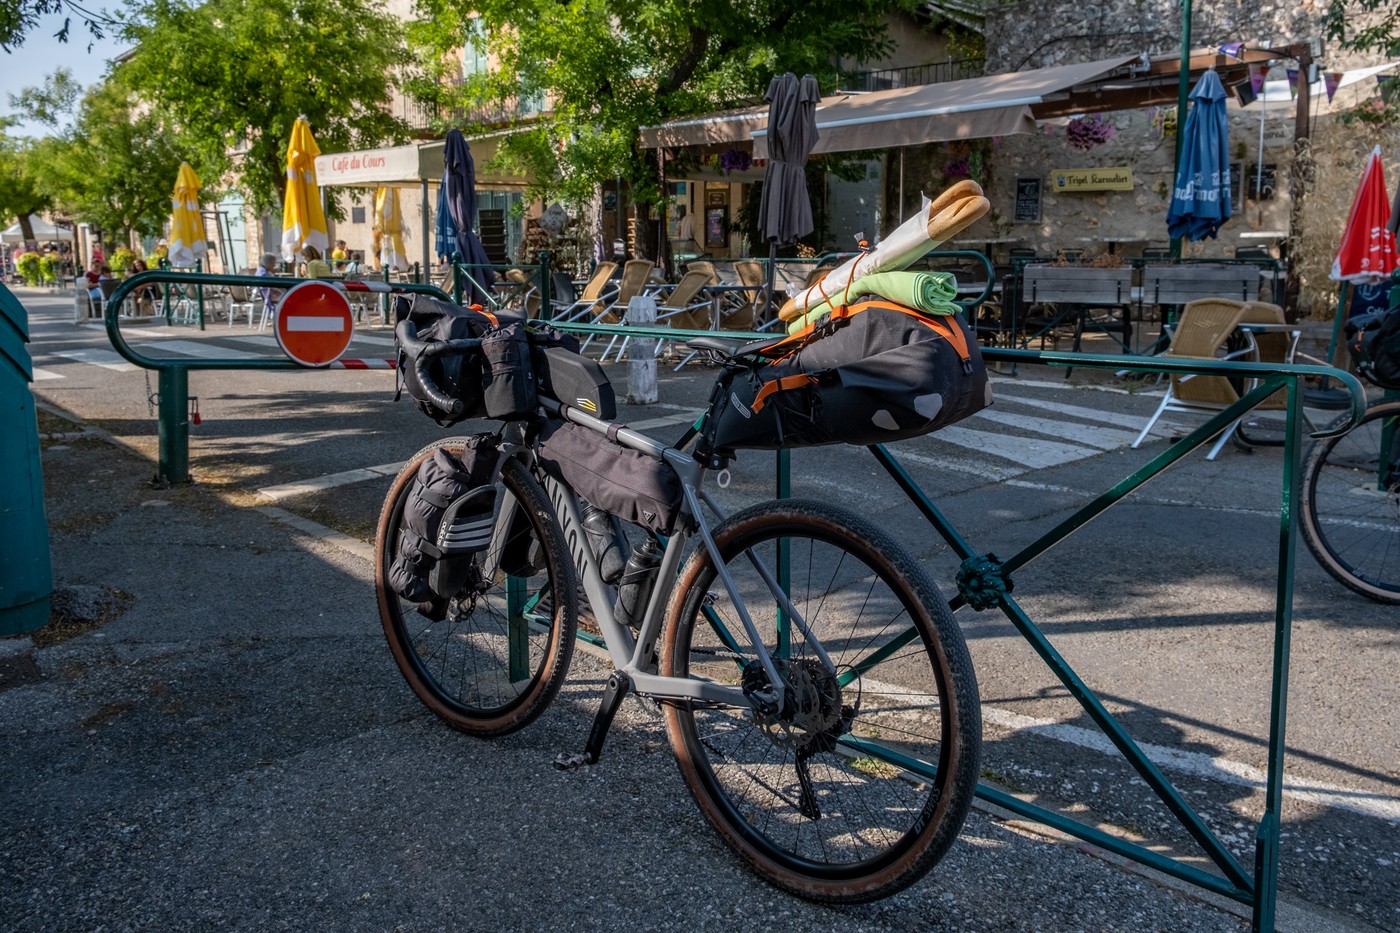
Bikepacking Setup
Bike
The bike model is a Canyon Grizl AL 6 with 45mm wide tyres. Bags:
- 16.5L Ortlieb seatpack - I had all my camping gear and off-bike clothes there. You can fit some baguettes on top of it!
- 11L Ortlieb QR handlebar bag - I stored there my cycling clothes, warm and waterproof layers, and a camera in case of rain.
- 4.5L frame bag - I stored the bike repair kit and toothbrush, soap, etc.
- 2 x 5L fork bags - I was able to fit my tent and some random stuff there. The tent poles were strapped to a fork as well.
- 1L Apidura top tube bag - I love it for its magnetic rivets to quickly access important stuff. I kept my phone and documents there.
- 2 x 1L snack packs - One to hold the telephoto lens, the other to carry a bottle of wine when needed.
Gear
Camping
- Tent: Big Agnes Copper Spur HV UL2. At ~1400g with its packable size, this tent has been accompanying me on bikepacking trips for the past few years.
- Sleeping Bag: Cumulus 0°C comfort. It weighs 850g. It’s a bit bulky, but I prefer to be a bit too warm rather than too cold at night. It fits well into the seat pack.
- Other camping gear: Stuff from Decathlon with a good price-to-weight ratio.
Photo
- Fujifilm X-S10 (465g)
- Fujinon 18-55mm F/2.8-4 is not the sharpest lens, but at 310 g, it has a good performance-to-weight ratio.
- Fujinon 70-300mm F/4-5.6, my all-time favourite lens, has great sharpness and a decent focal length range at a weight of 580g. Actually, I like the fact that the lens is made out of quality plastic rather than metal because it makes it lighter.
- Mini-tripod for night shots: the ballhead taken from a regular tripod was the heaviest part.
- DIY 3-point camera strap compatible with peak design quick-release anchor links, tailored for cycling with a camera on my back.
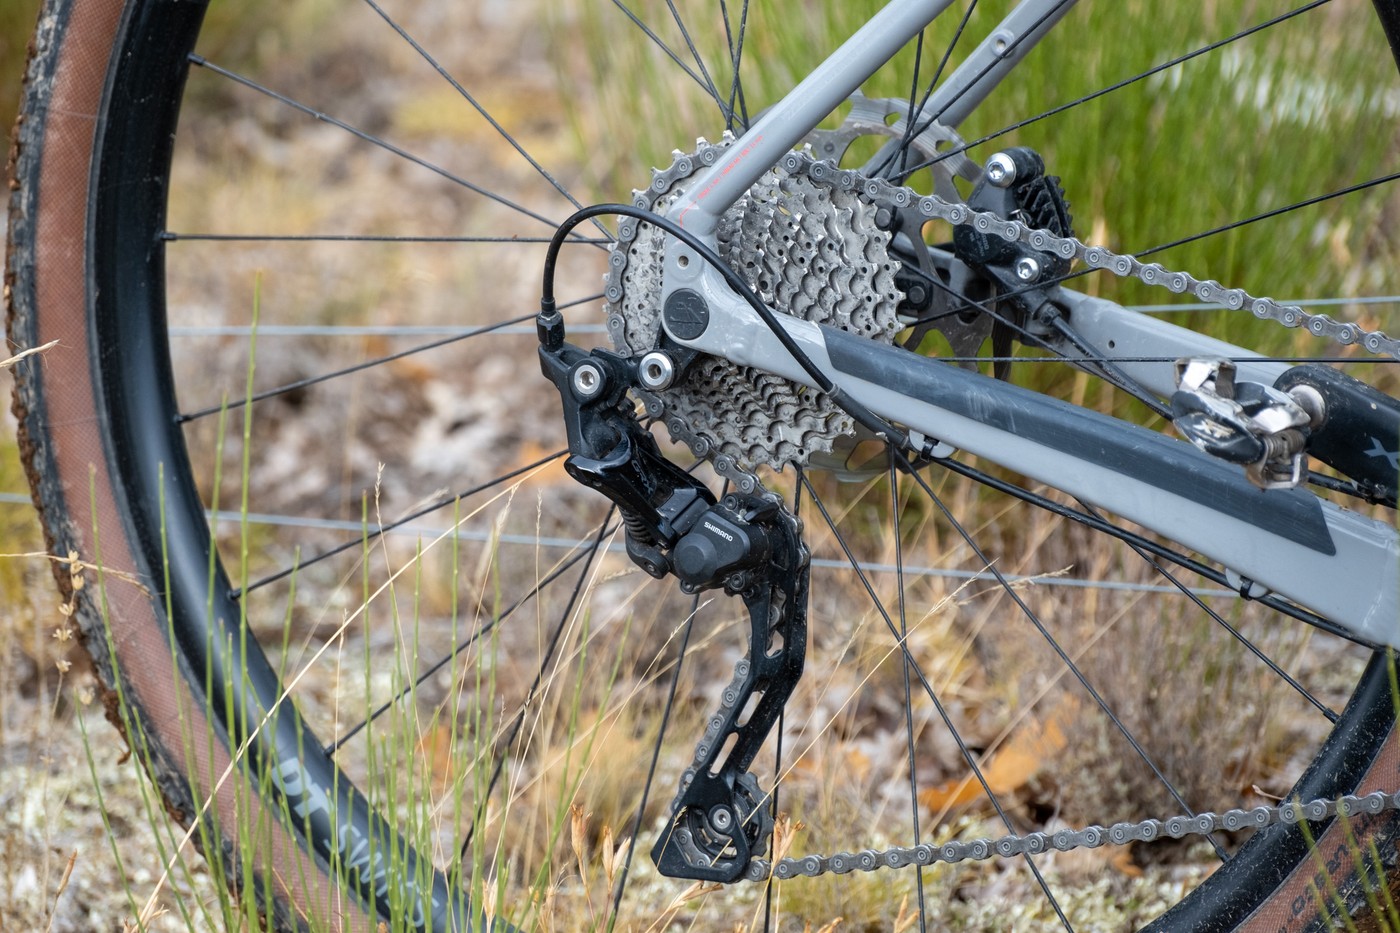
Chain Waxing and Bikepacking
I’ve been waxing the chain on my road bike for almost a year, and I’m convinced that this is the ultimate method to keep your chain clean and efficient. Also, according to Zero Friction Cycling, the world’s most referenced independent test facility for lubricant and chain performance, wax is not only the most efficient lube but also the cheapest lubricant per km. In the long run, when taking into consideration the cost of replacing worn chains, cassettes, and chainrings, wax is cheaper as it extends the lifetime of the drivetrain. Cleaning a waxed chain is an easy and environmentally friendly process, as all you need is boiling water instead of heavy degreasers or mineral spirits. A big plus when you live in an apartment.
It can sound too good to be true up to this point, so I want to mention the downsides of waxed chains. One issue is its limited rust resistance in wet conditions. The chain has to be cleaned on a regular basis to prevent rust. It’s also recommended to re-wax it after every wet, muddy ride. Another issue is the mileage you get from each hot waxing. I was able to consistently get around 300km out of my 12-speed Ultegra on my road bike with a waxed chain before it started squeaking. 300km is not nearly enough for any bikepacking trip, and re-waxing during the trip or carrying extra waxed chains was not worth the hassle for me.
With all this in mind, I decided to use this trip as a testing ground.
- To keep my chain rust-free and dry, I packed a microfiber cloth to clean the chain after each wet ride.
- To overcome the mileage issue, I took Squirt, a wax-based lube that you can apply directly to the chain. I was planning to start using Squirt later in the trip, once the wax wears out from my chain.
Results
I was positively surprised by the rust resistance of pure wax. My chain was tested during two wet days of cycling and a full night of torrential rain. I didn’t notice any issues with rust; the chain looked pretty clean, even after cycling in muddy conditions.
Squirt Lube worked OK. It kept my drivetrain quiet and efficient but not very clean. I followed the instructions when it came to making sure that the wax-based lube dried on the chain before starting the ride. Unfortunately, it still collected quite a lot of dirt. It surprised me given that on those days we rode 100% on the tarmac. When it came to cleaning the chain after the trip, hot water wasn’t enough, and I had to use mineral spirits before hot waxing it again. The attraction to dirt and the cleaning process make me believe that there is some oily ingredient in Squirt (perhaps paraffin oil).
Verdict
The setup of waxed chain, microfiber cloth, and wax-based lubricant works well for bikepacking, and I will be using this in the future. Next time, I’m tempted to try other wax-based lubricants that can potentially keep my chain cleaner.
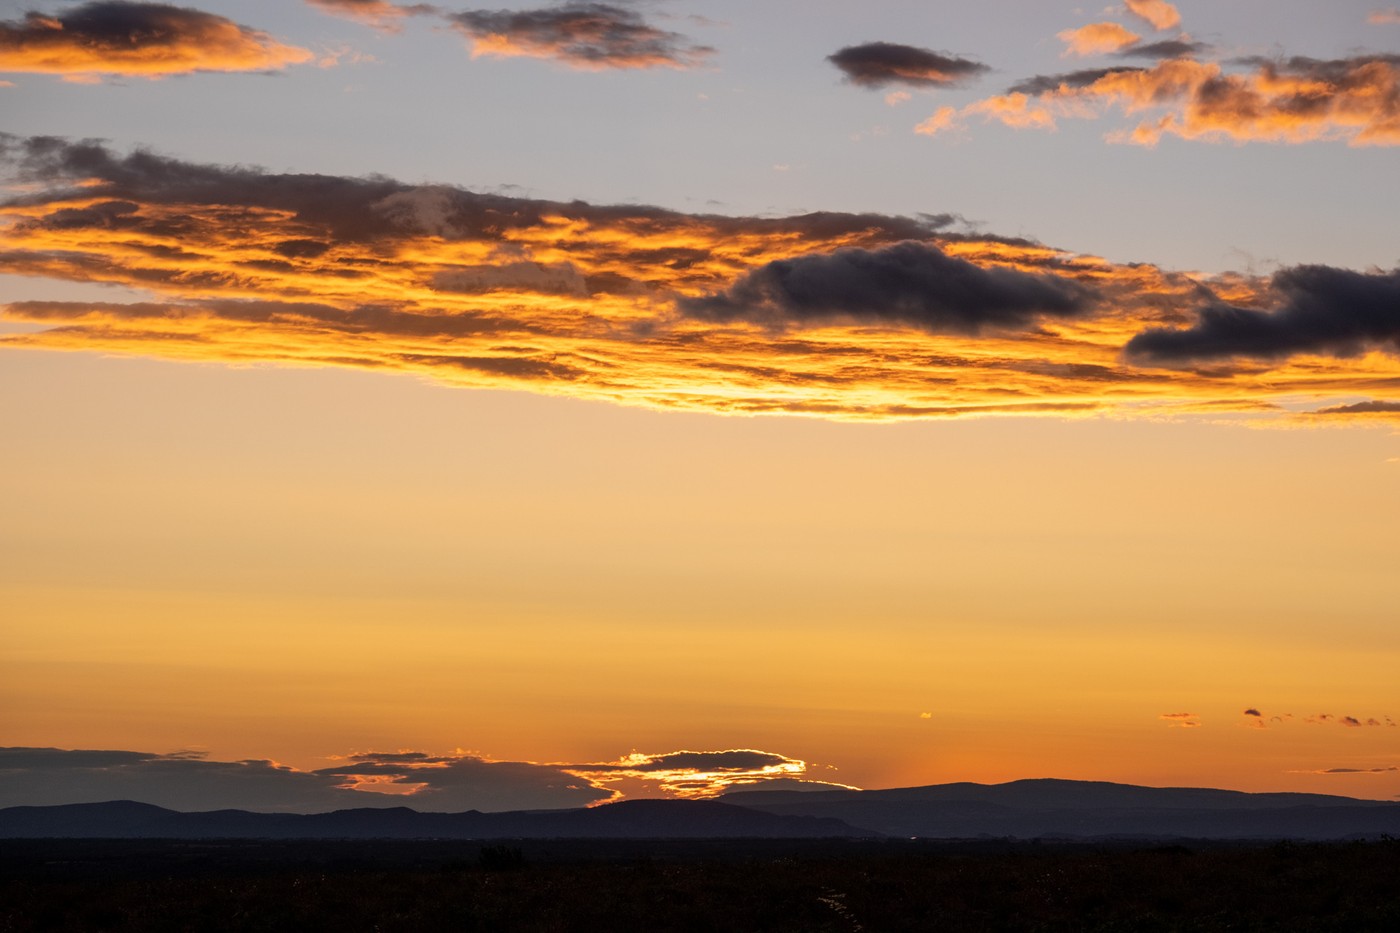
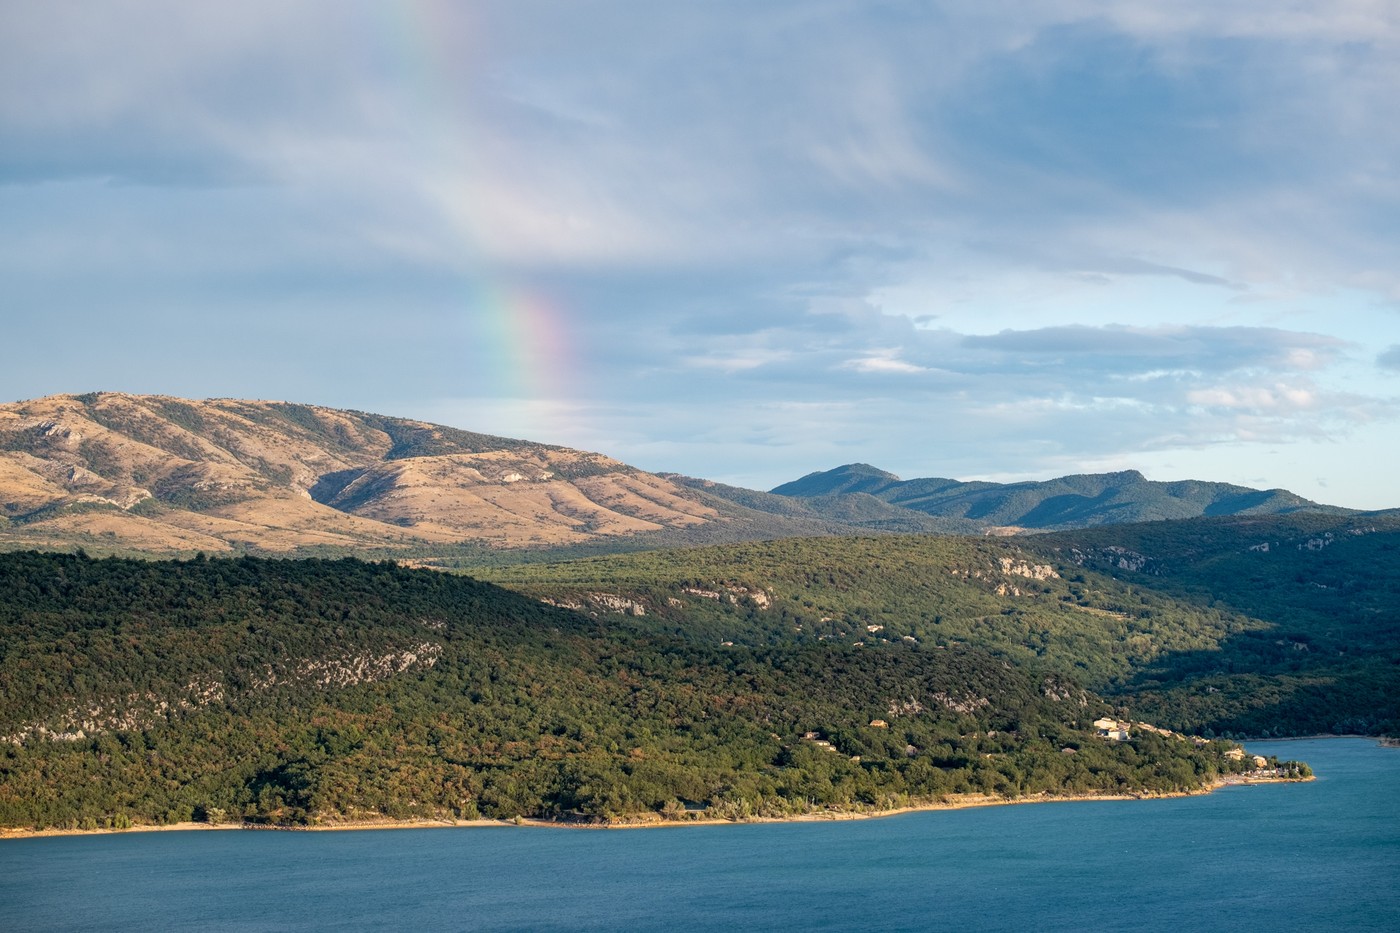
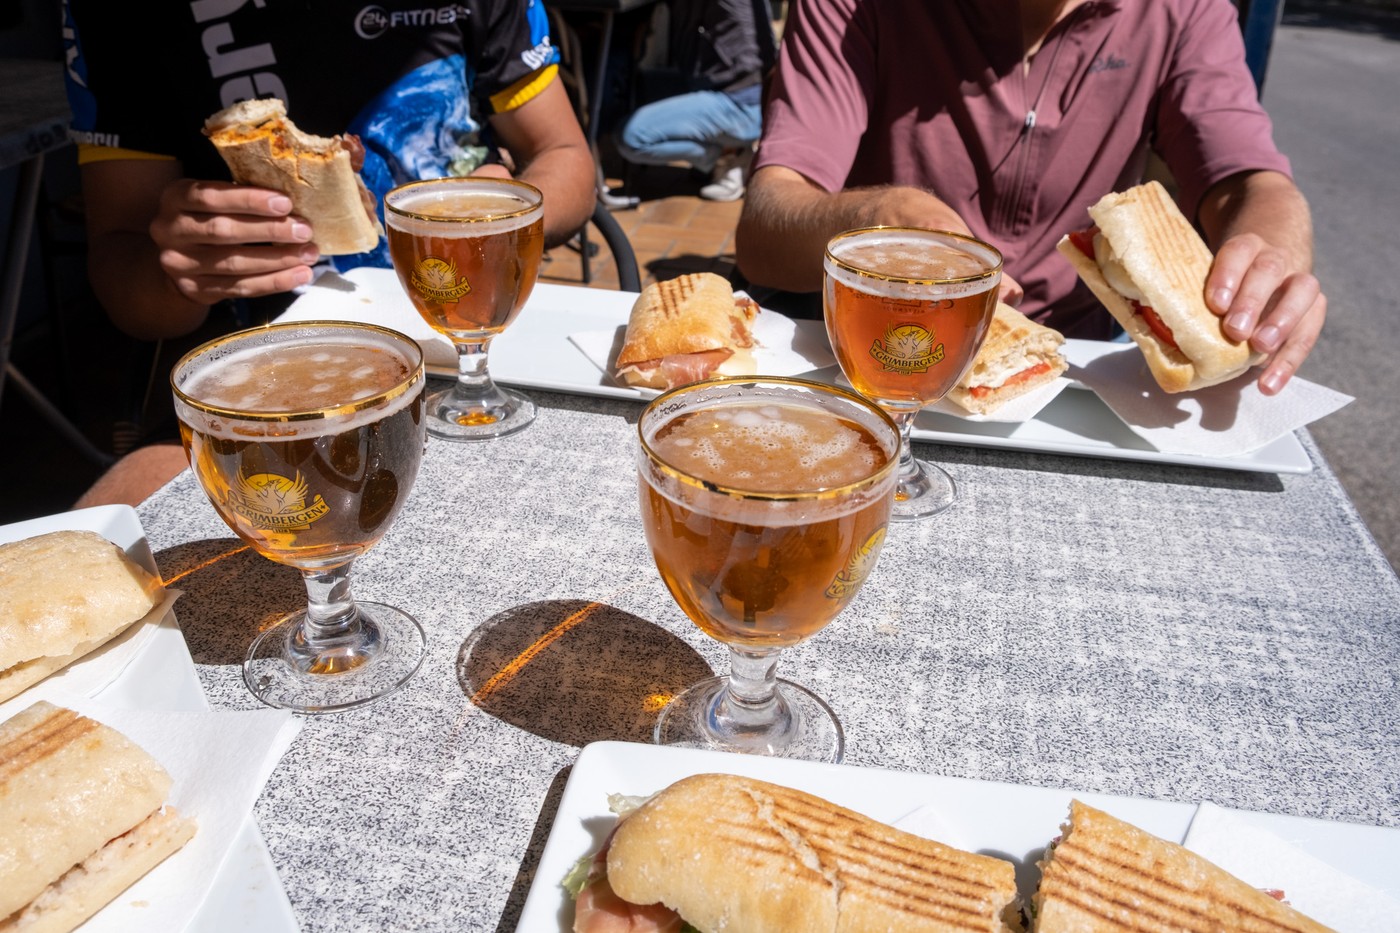
Photos